.png)
Before conversations can appear in Omni Chat, you need to connect at least one channel. This guide walks you through adding a channel from your channel settings.
Open channel settings
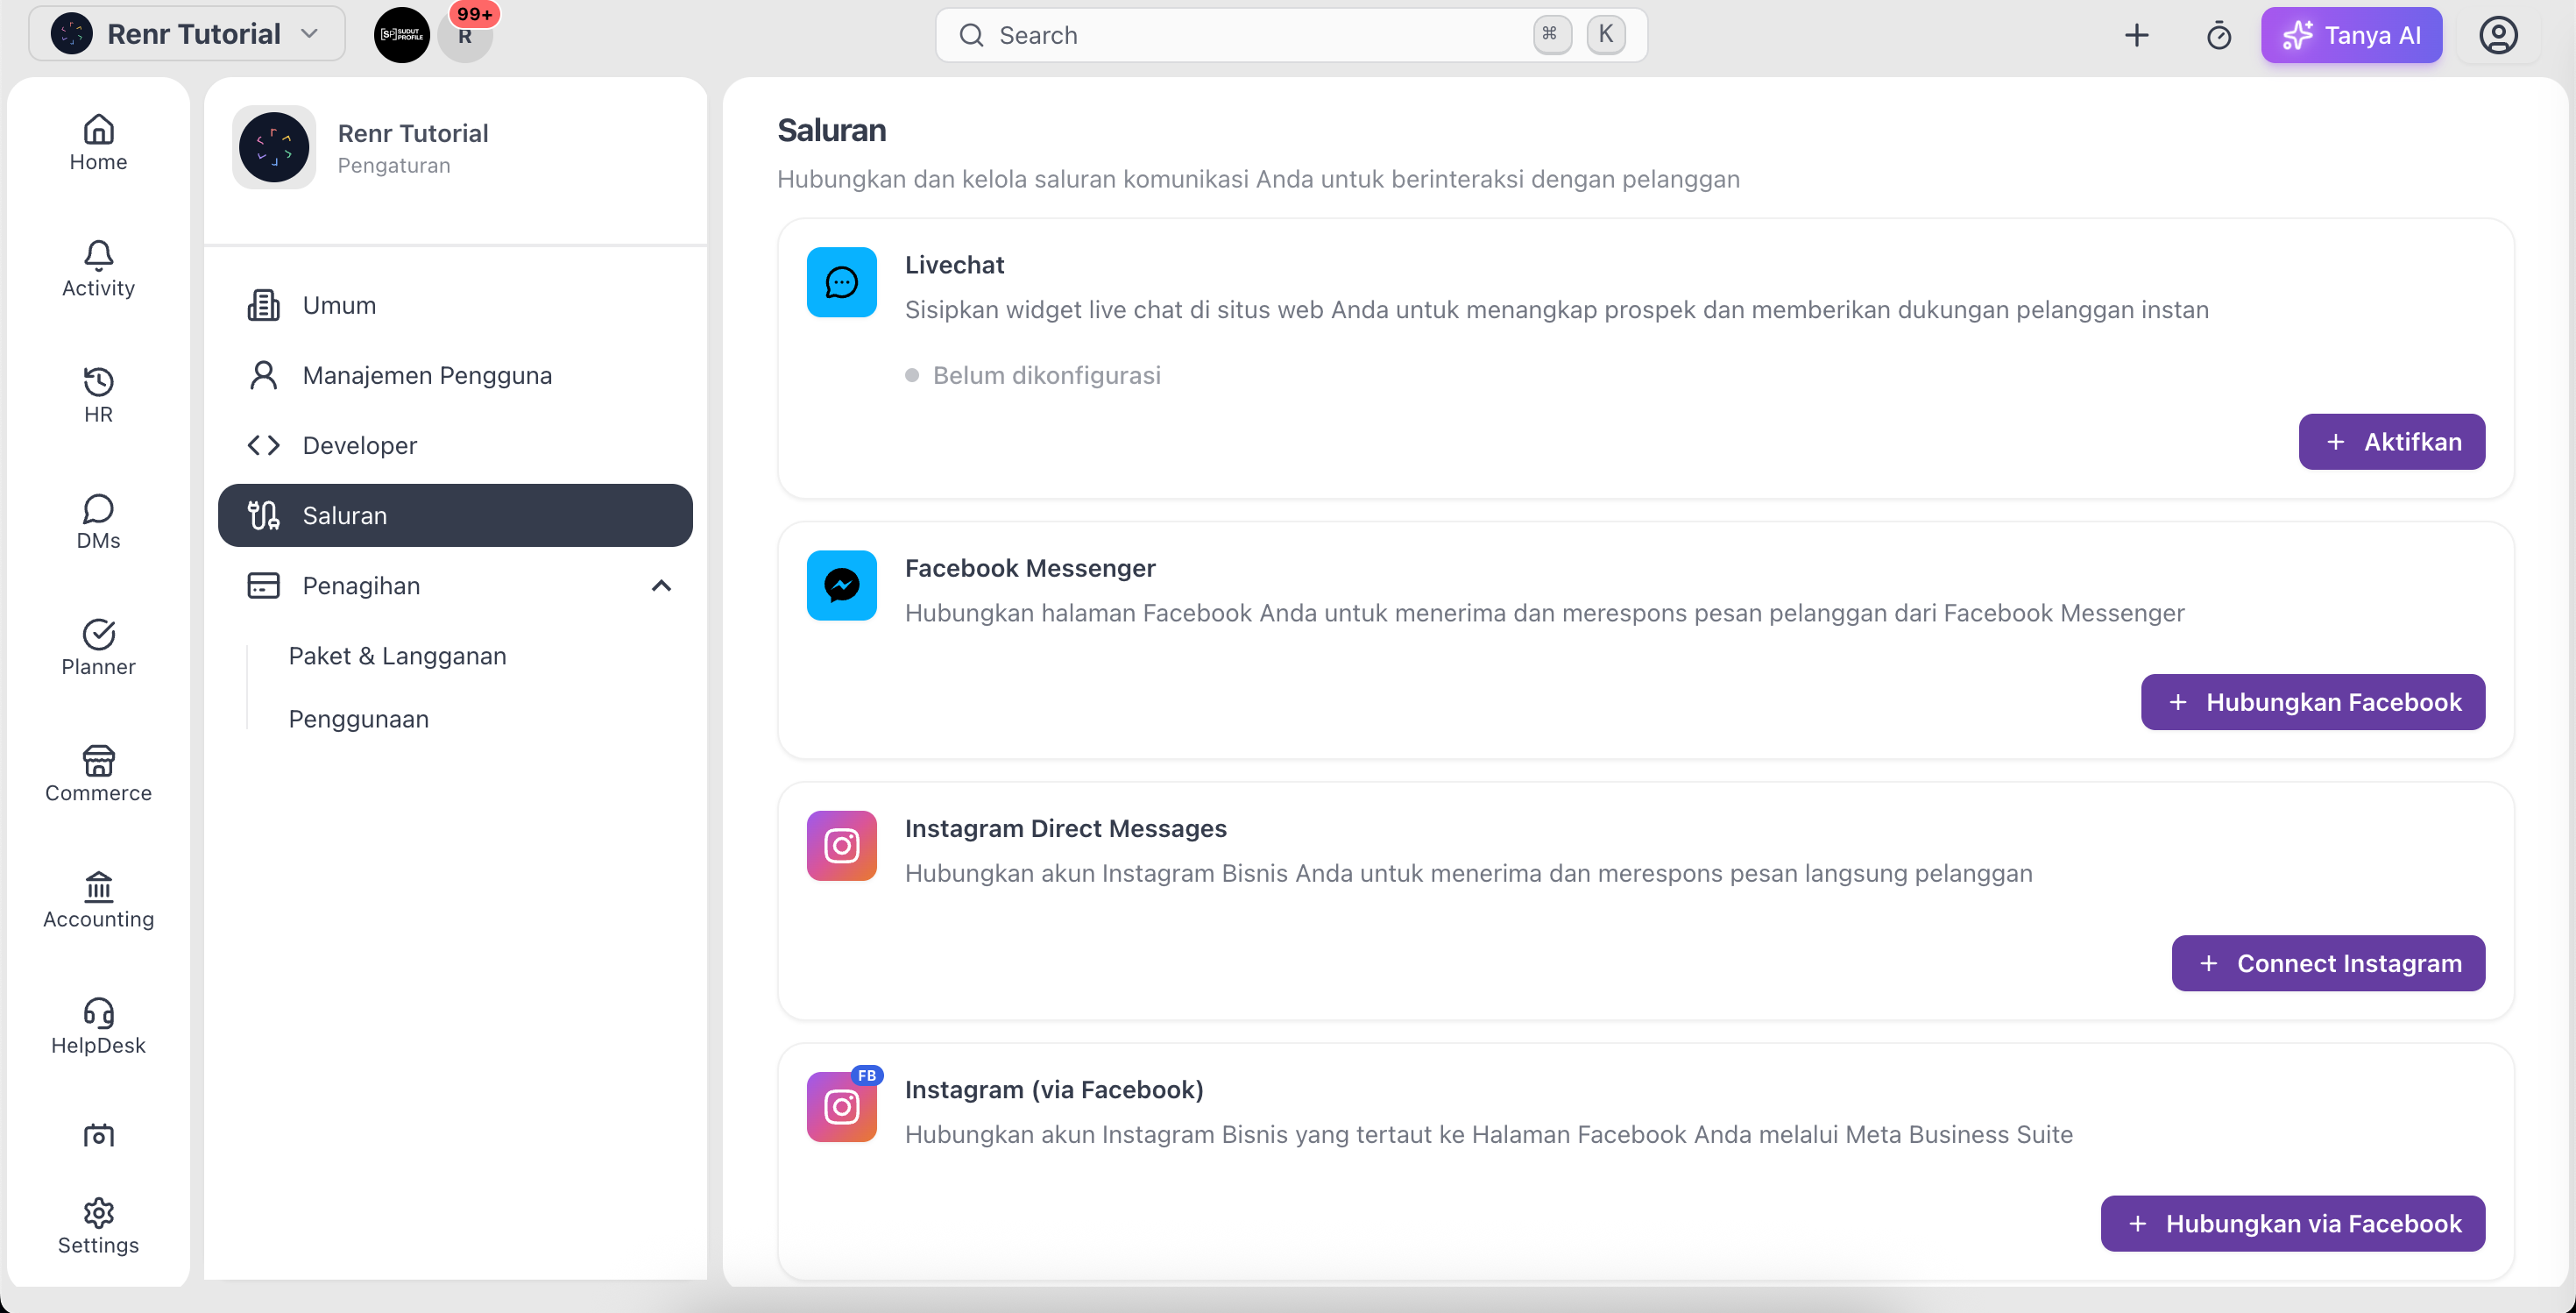
Go to Settings → Channels to see your connected channels and every channel type you can add.
Choose a channel to connect
Pick the channel your customers use and follow its short setup:
- Live Chat — click Enable to switch on the chat widget for your website.
- WhatsApp Business (QR) — click Connect WhatsApp, then Scan QR with your phone (WhatsApp → Linked devices) to link the number.
- WhatsApp Business API and Coexistence — click the matching connect button to set up the cloud number. Coexistence lets you keep using the WhatsApp Business app on the same number.
- Facebook Messenger — click Connect Facebook, sign in, grant access, and select the Page to connect.
- Instagram — click Connect Instagram and authorise the account.
- Email — click Connect Email and enter your SMTP details in the form.
- Custom API — add a name (and optional webhook URL) to build your own integration.
Confirm the connection
- Complete the channel's sign-in, QR scan, or form.
- Wait for the status to switch to Connected.
- Open Omni Chat — new messages from that channel now arrive in your inbox.
Tip: You can connect several channels and filter your inbox by channel, so WhatsApp, Instagram, and Live Chat all live side by side.
Note: Facebook and Instagram ask you to sign in and approve permissions through their own login screens — have the account credentials ready before you start.