.png)
Categories keep your catalog tidy and make products easy to find — both for your team and for customers browsing your store. This guide shows you how to create categories, build a parent–child structure, and order them the way you want.
Open Categories
Click Categories in the Commerce section of the left sidebar. Your categories appear as a tree, so parent categories and their sub-categories are shown together.
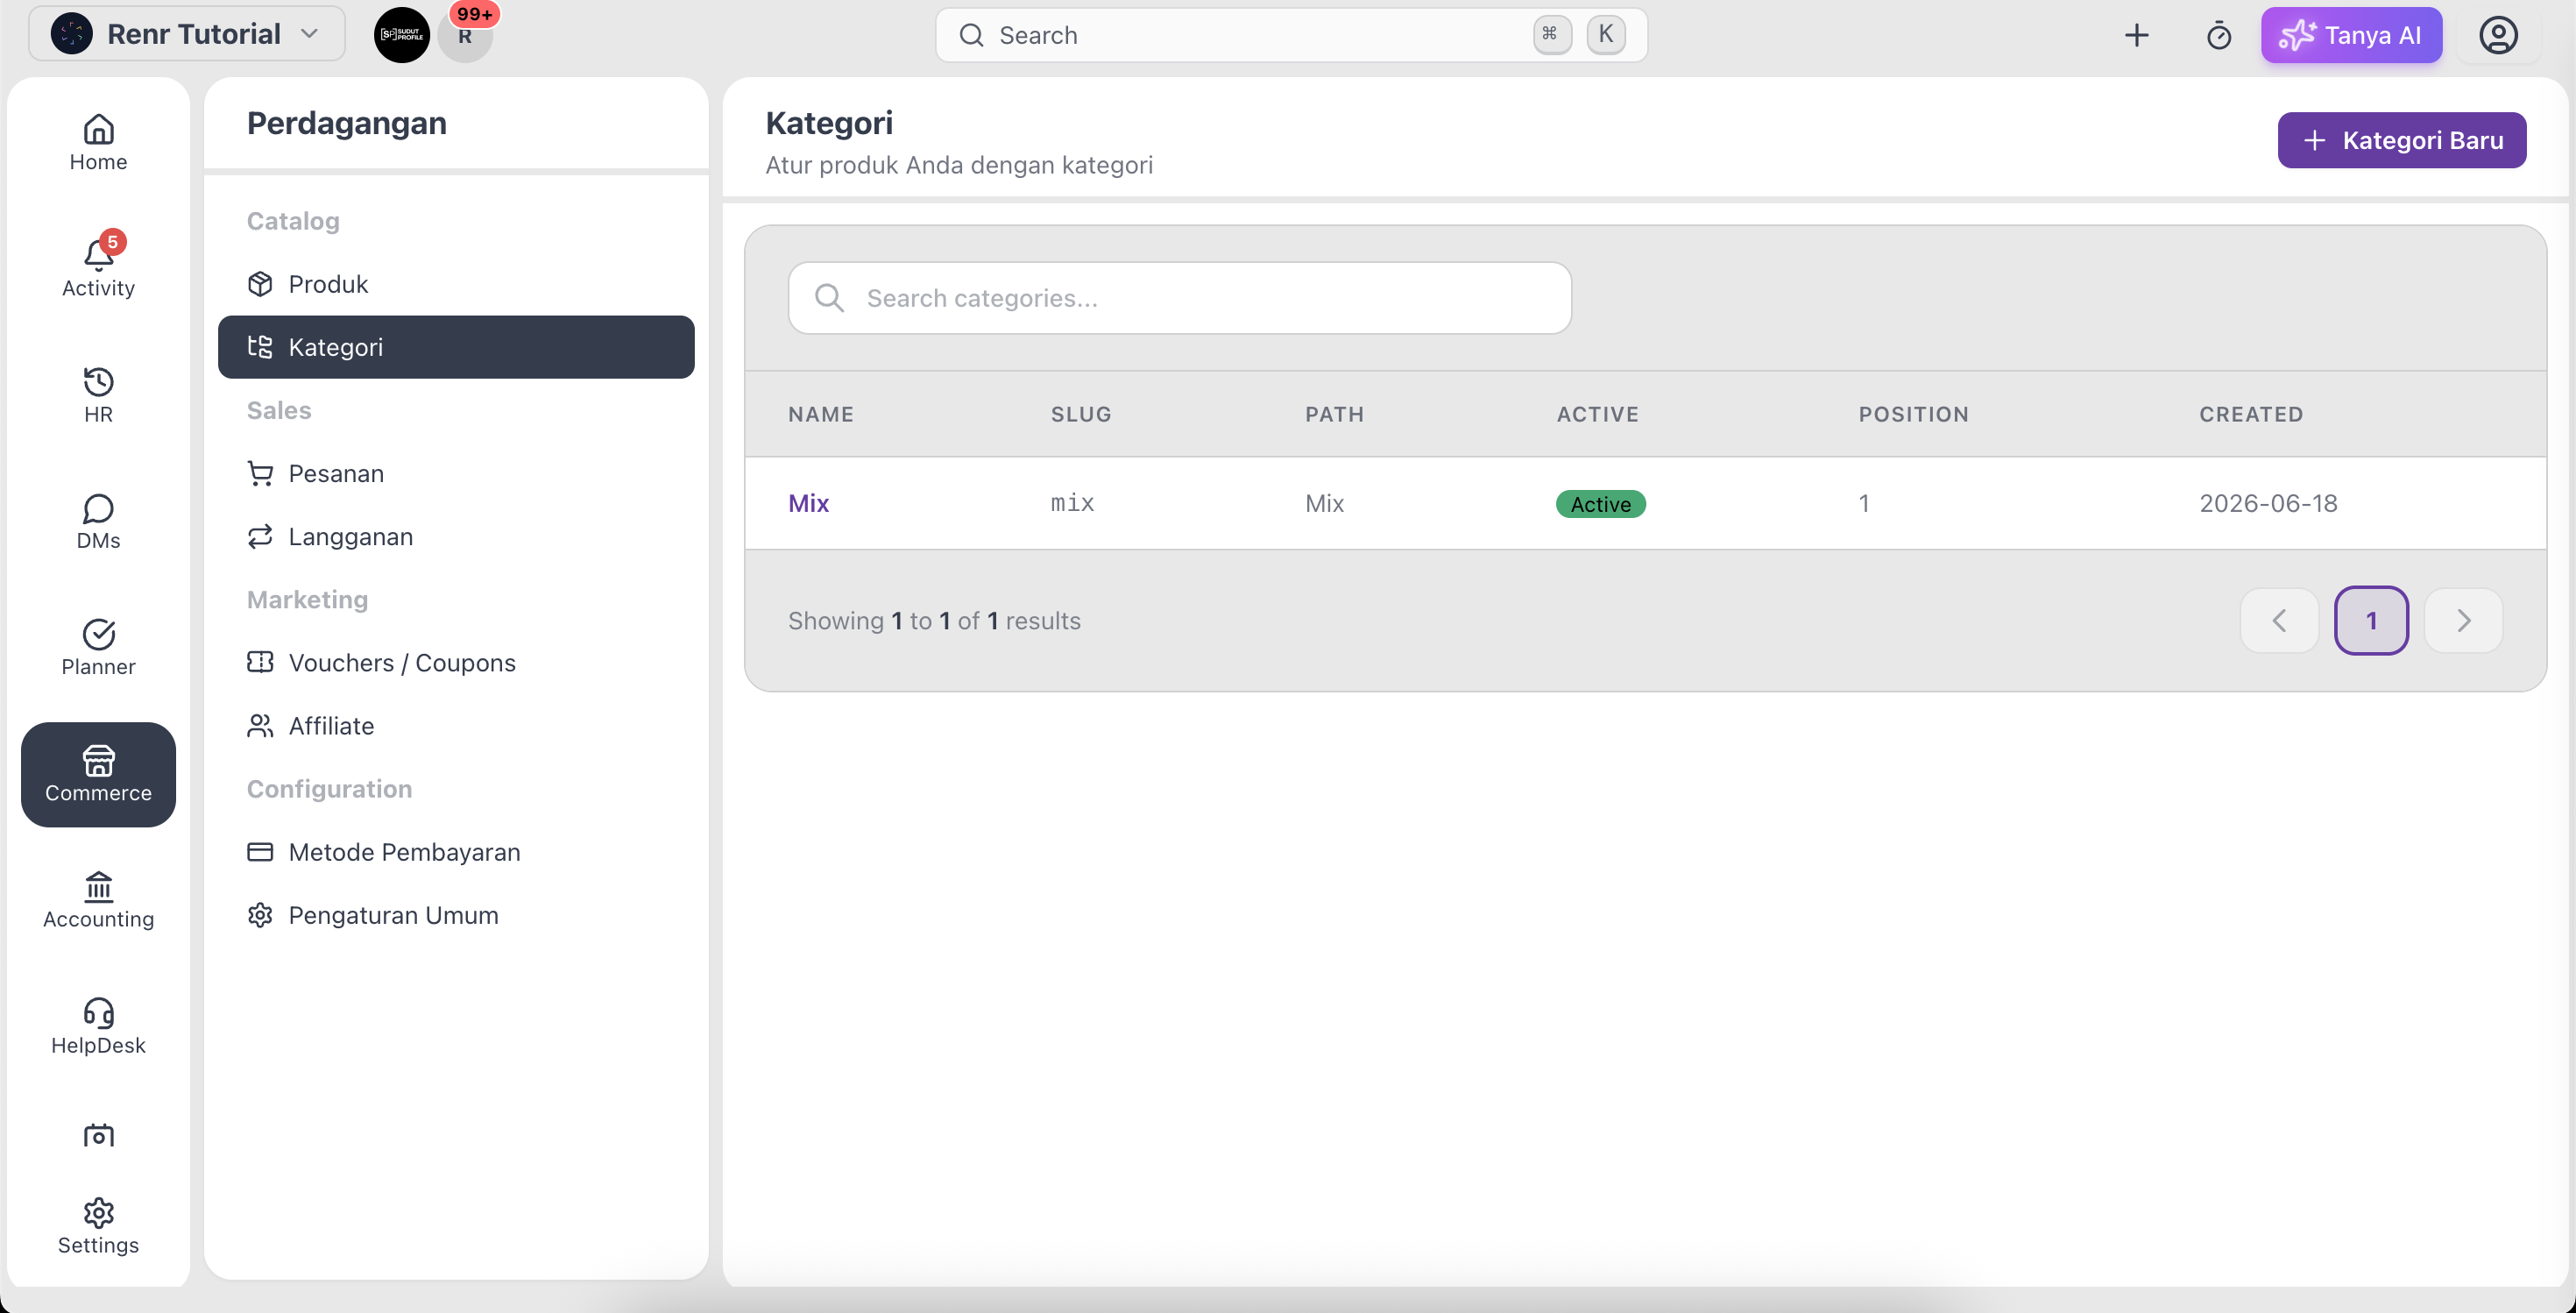
Create a category
- Click New Category.
- Enter a name and, optionally, a description.
- To make it a sub-category, choose a parent category. Leave this empty to create a top-level category.
- Click Save.
Build your structure
Group related products under a shared parent. For example, a Clothing parent might hold Shirts, Trousers, and Accessories beneath it. You can assign a product to a category from the product's detail page.
Reorder categories
Drag any category in the tree to change its position or move it under a different parent. The order you set here is the order customers and your team will see.
[Screenshot: reordering a category by dragging it in the tree.]
Edit or delete a category
Click a category to open it, make your changes, and click Save. To remove one, use Delete. If a category still has products or sub-categories, move those first so nothing is left without a home.
Tip: Keep your tree shallow — two levels is usually enough. A short, clear structure is far easier to browse than a deep one with many nested levels.