.png)
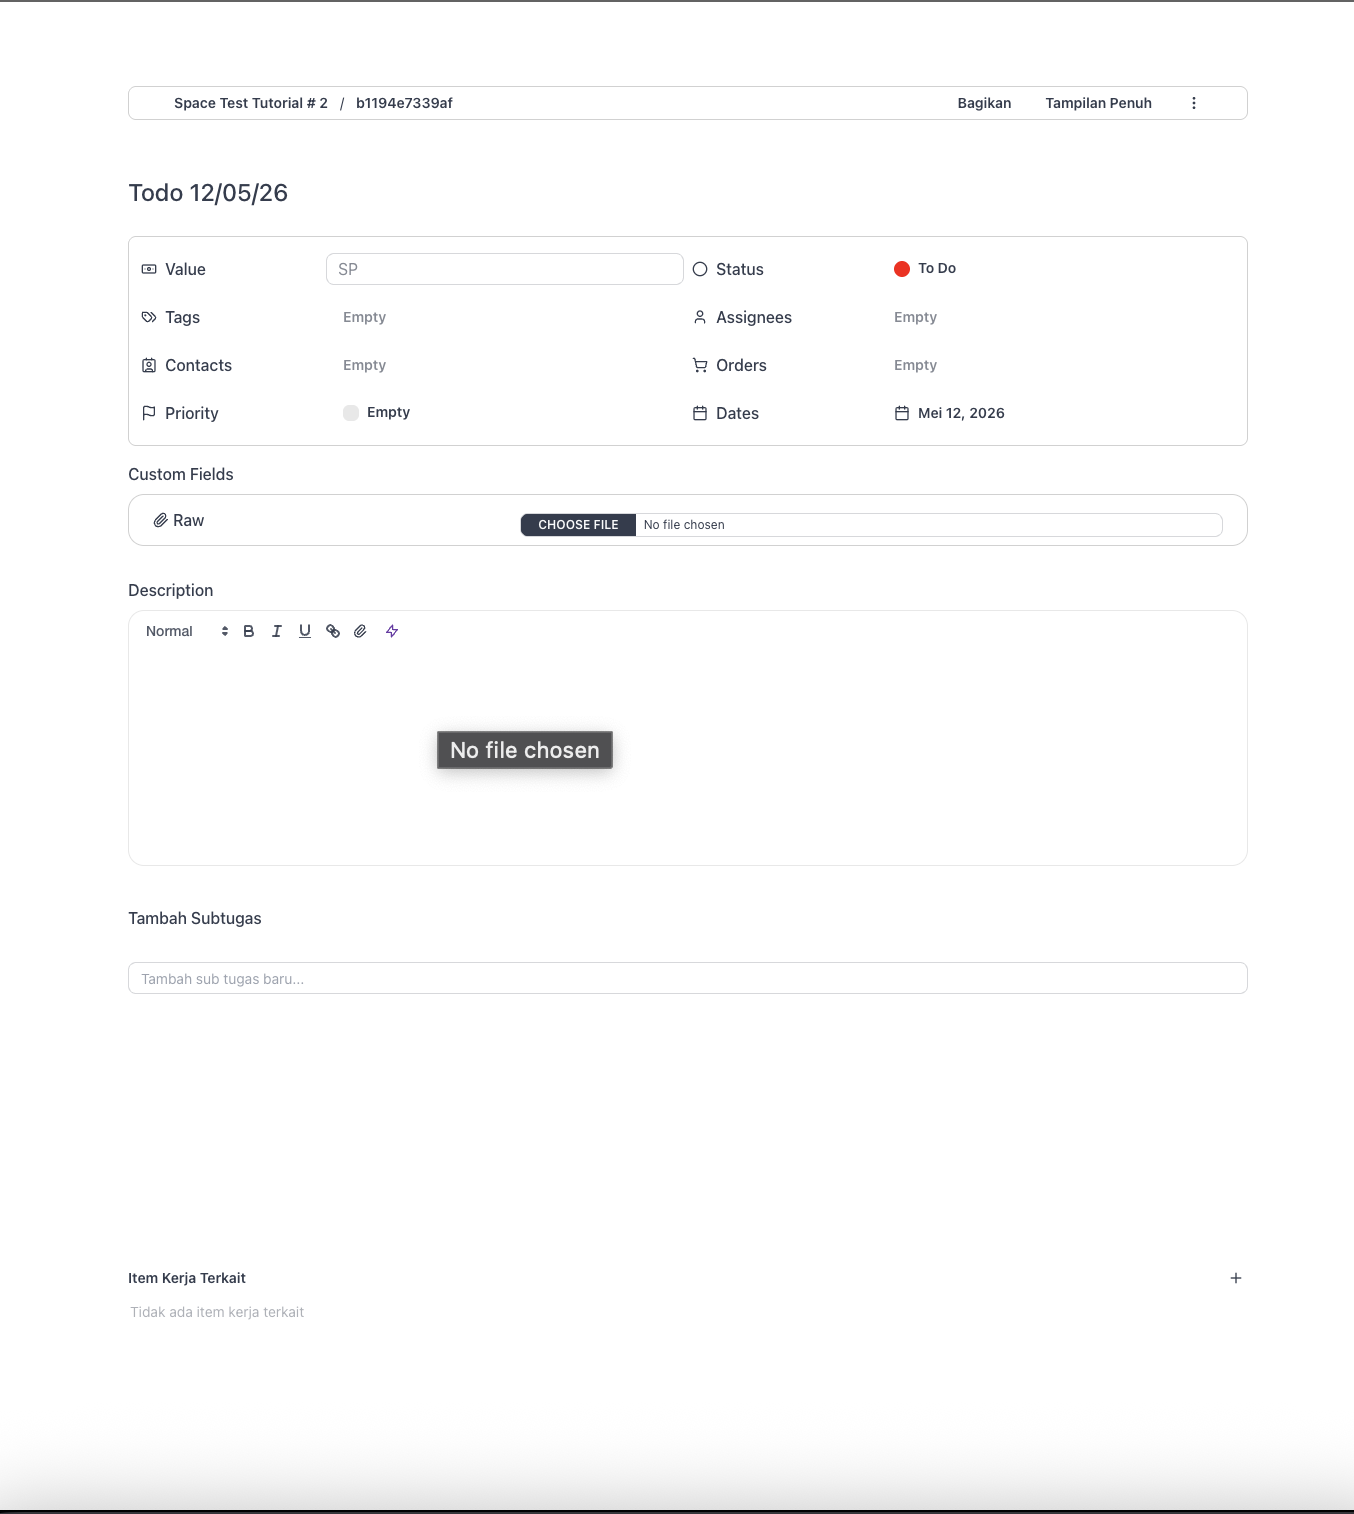
Every Task has a Detail page that gathers everything about it — properties, custom fields, description, attachments, subtasks, linked items, and discussion. This guide walks each section top to bottom.
Tip: Change the layout from the ⋮ menu in the task header → Template: Tabbed view (default, with side panels), Classic view (single stacked column), or Review view (read-focused). Your choice is remembered.
What you'll need
- Access to a Space — see Create a Space if you don't have one yet.
- Any role can create tasks.
- A Task open from any view — List, Board, Table, Calendar, or My Tasks.
Open the Detail page
Click any Task title from any view — Board card, List row, Calendar bar, Timeline bar, or My Tasks. The Detail page opens.
Header and breadcrumb

The header carries the breadcrumb on the left (the Space and the Task's unique code) and the More menu on the right (Copy to duplicate, Delete).
Title bar

The Title is the large editable field at the top. Click and type — it auto-saves a second after you stop typing.
Properties grid

Below the Title is the properties grid — a two-column block of the Task's most-edited fields. Click any to edit.
Value

A monetary value shown with your currency prefix. Use it for Tasks representing revenue, cost, or budget — deals, invoices, line items.
Status
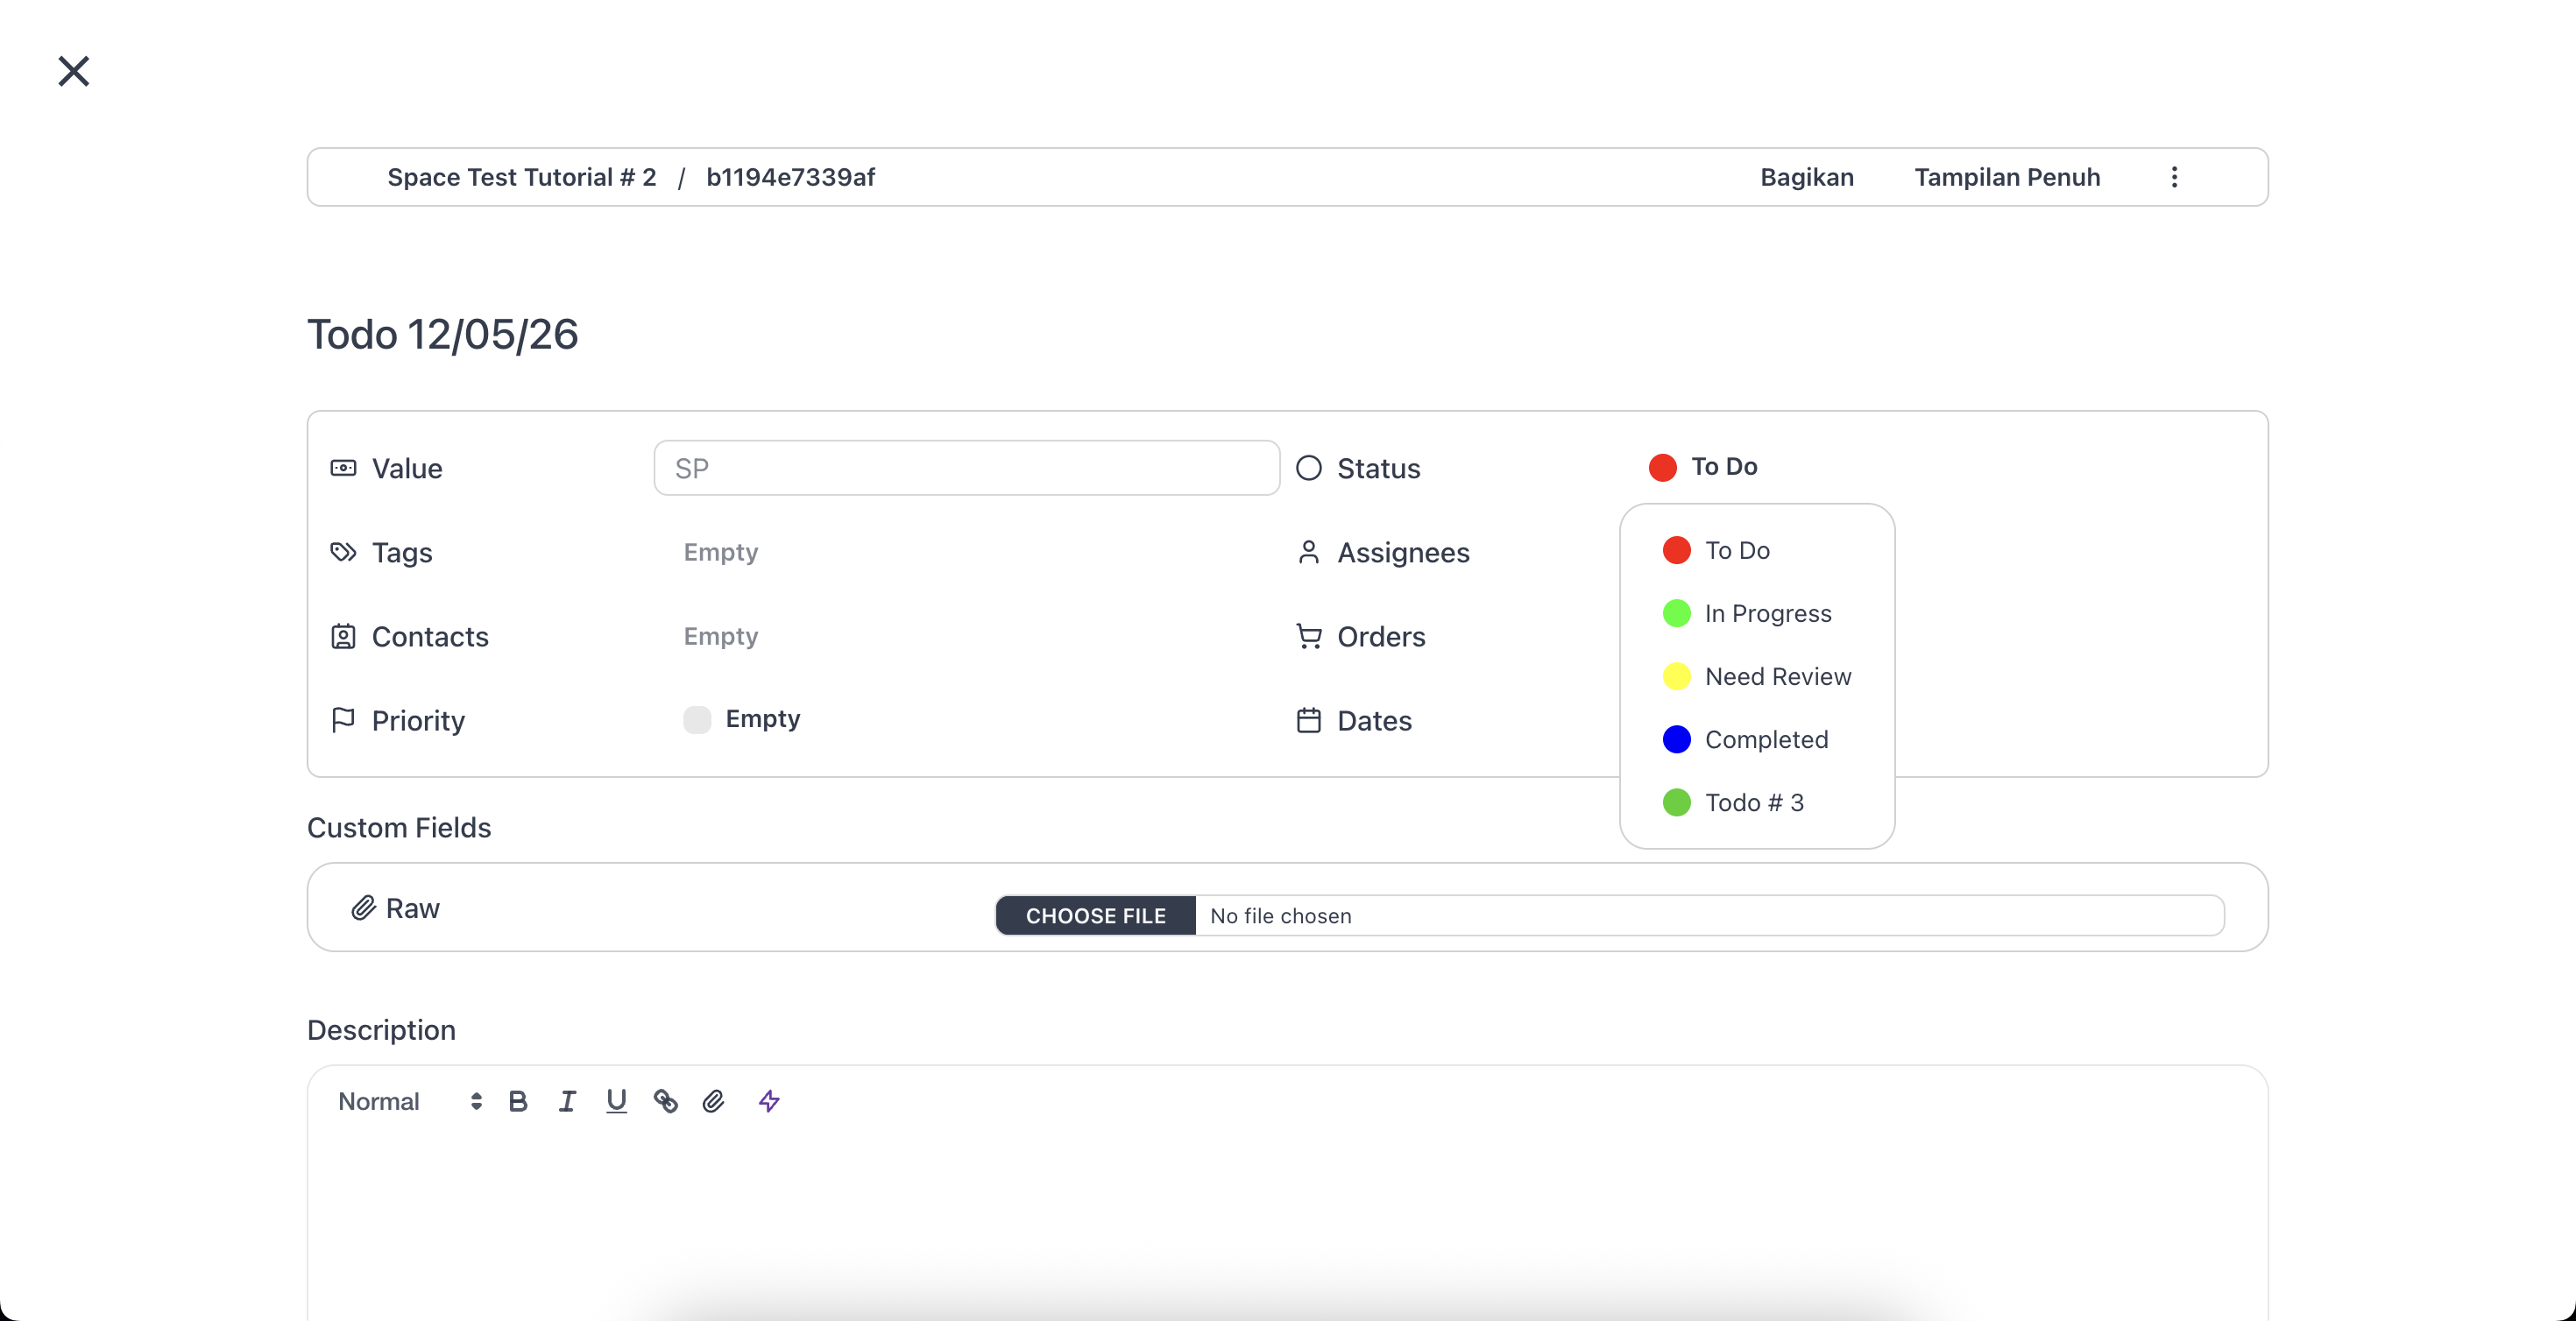
The Task's current Status, from the Statuses defined in the Space. Click to change — the same effect as dragging the Task across Board columns.
Tags
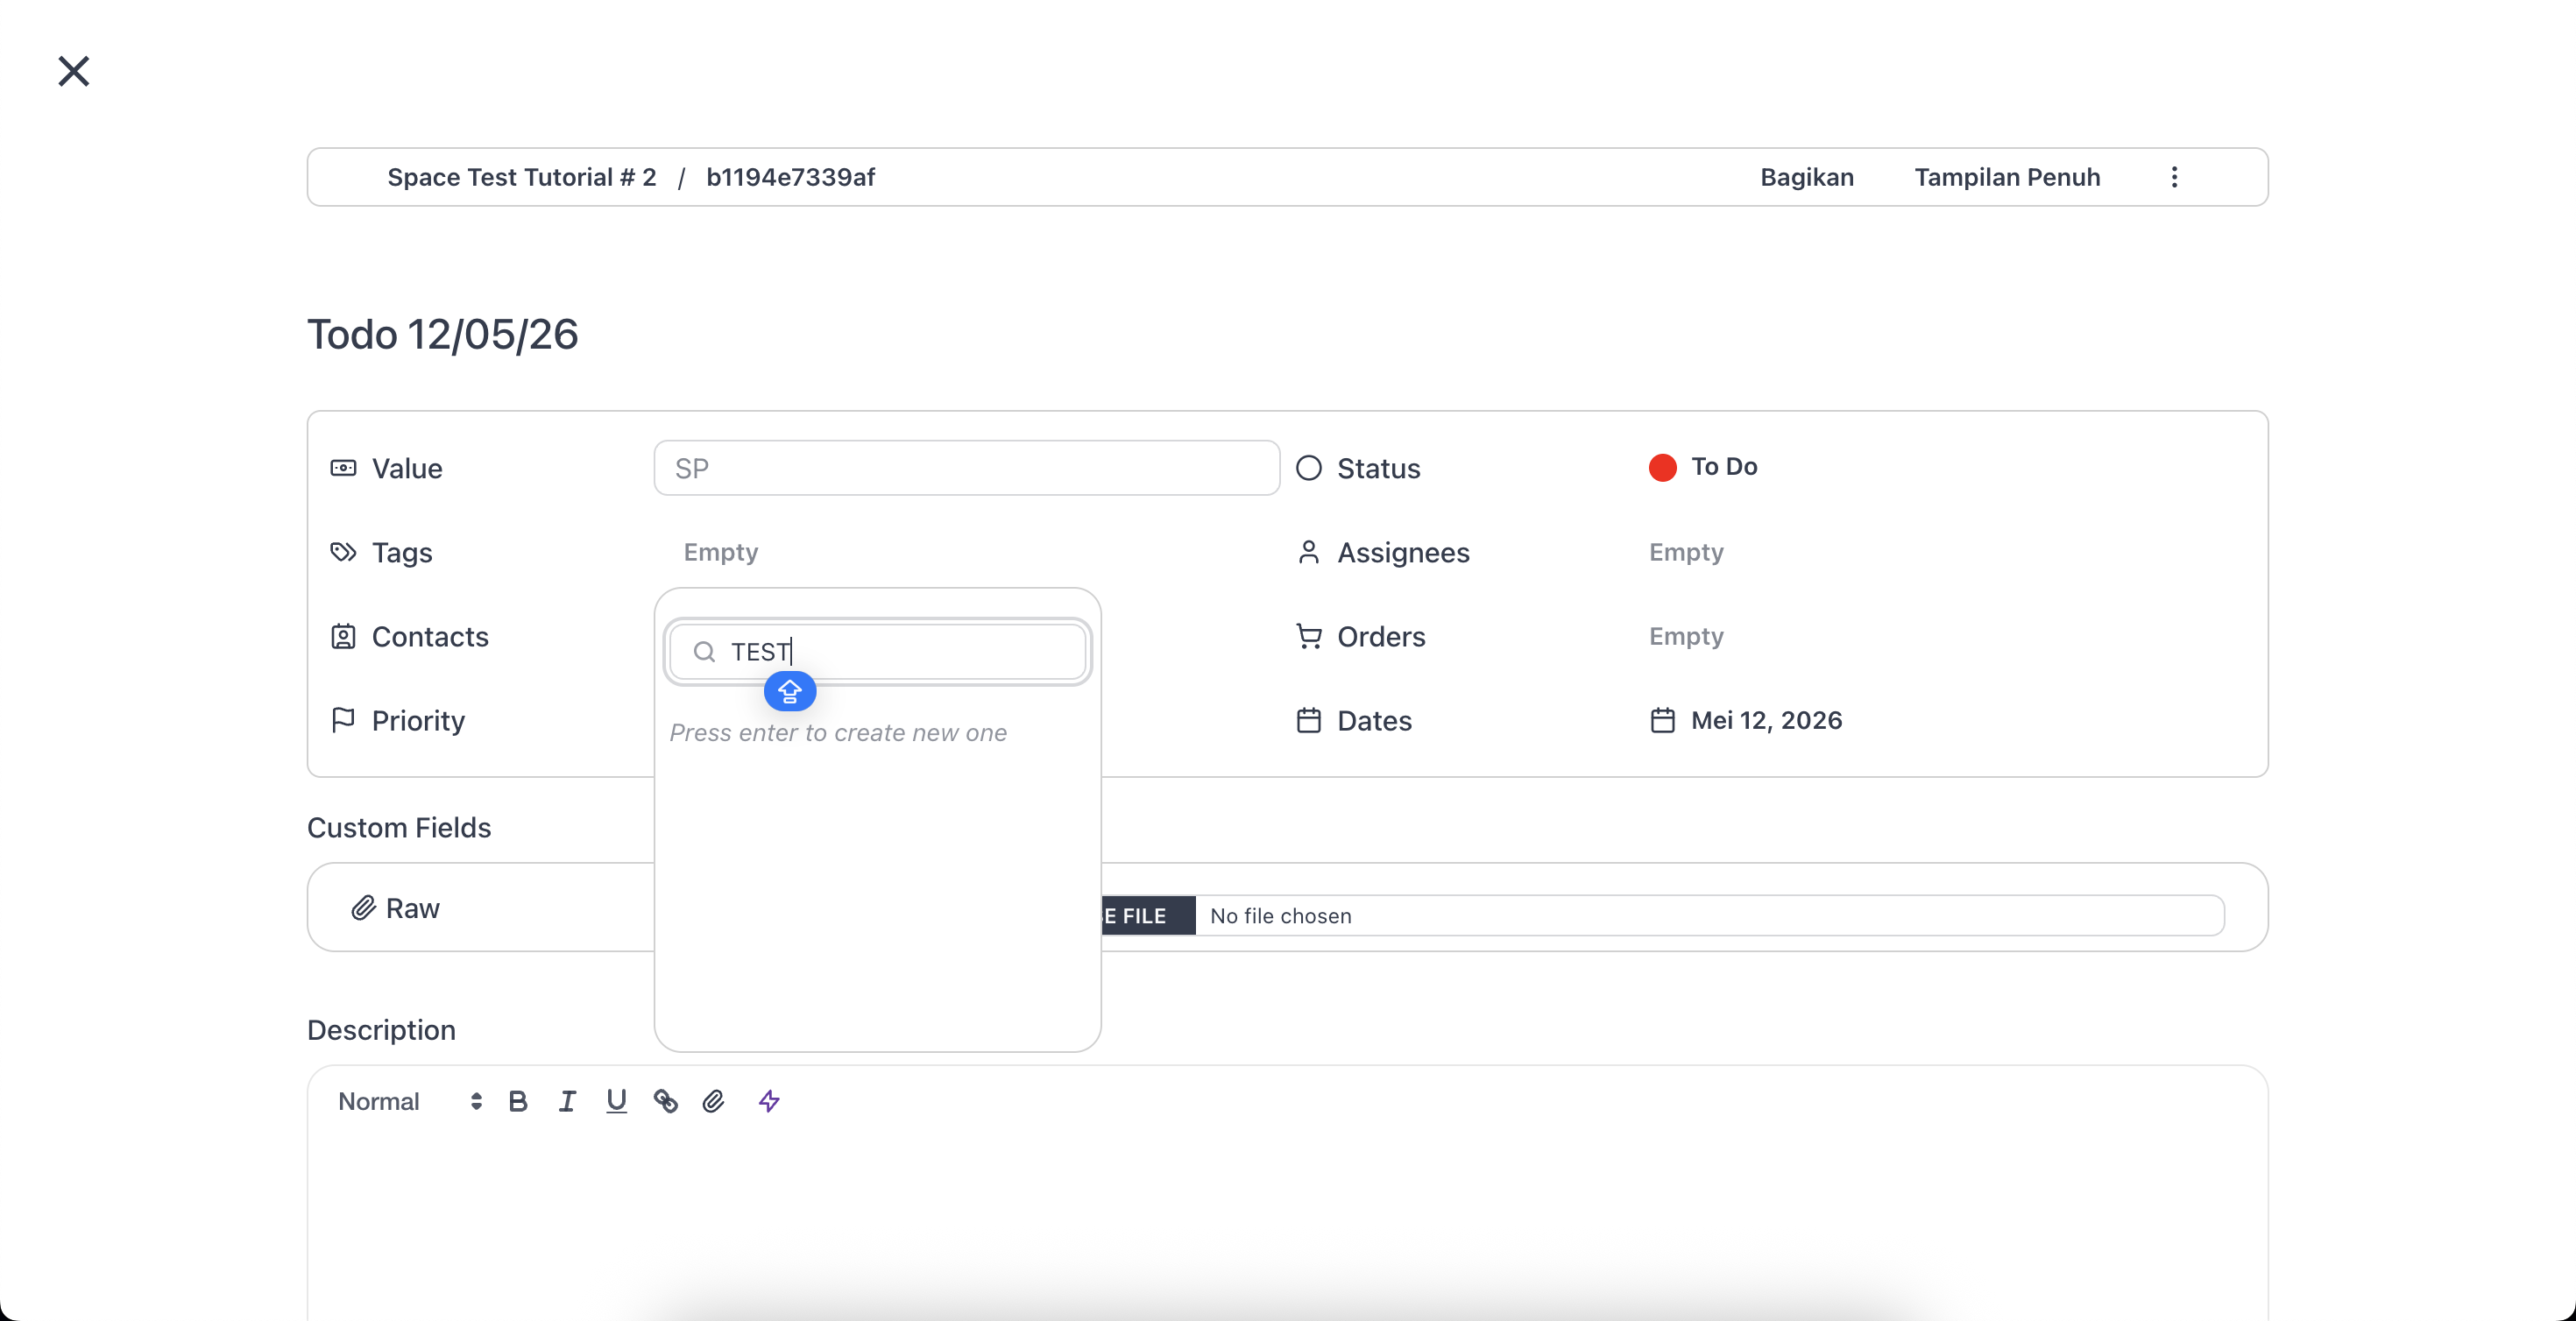
Multi-select labels. Click to open the dropdown, search existing Tags, and check the ones to apply; add new ones on the fly.
Assignees
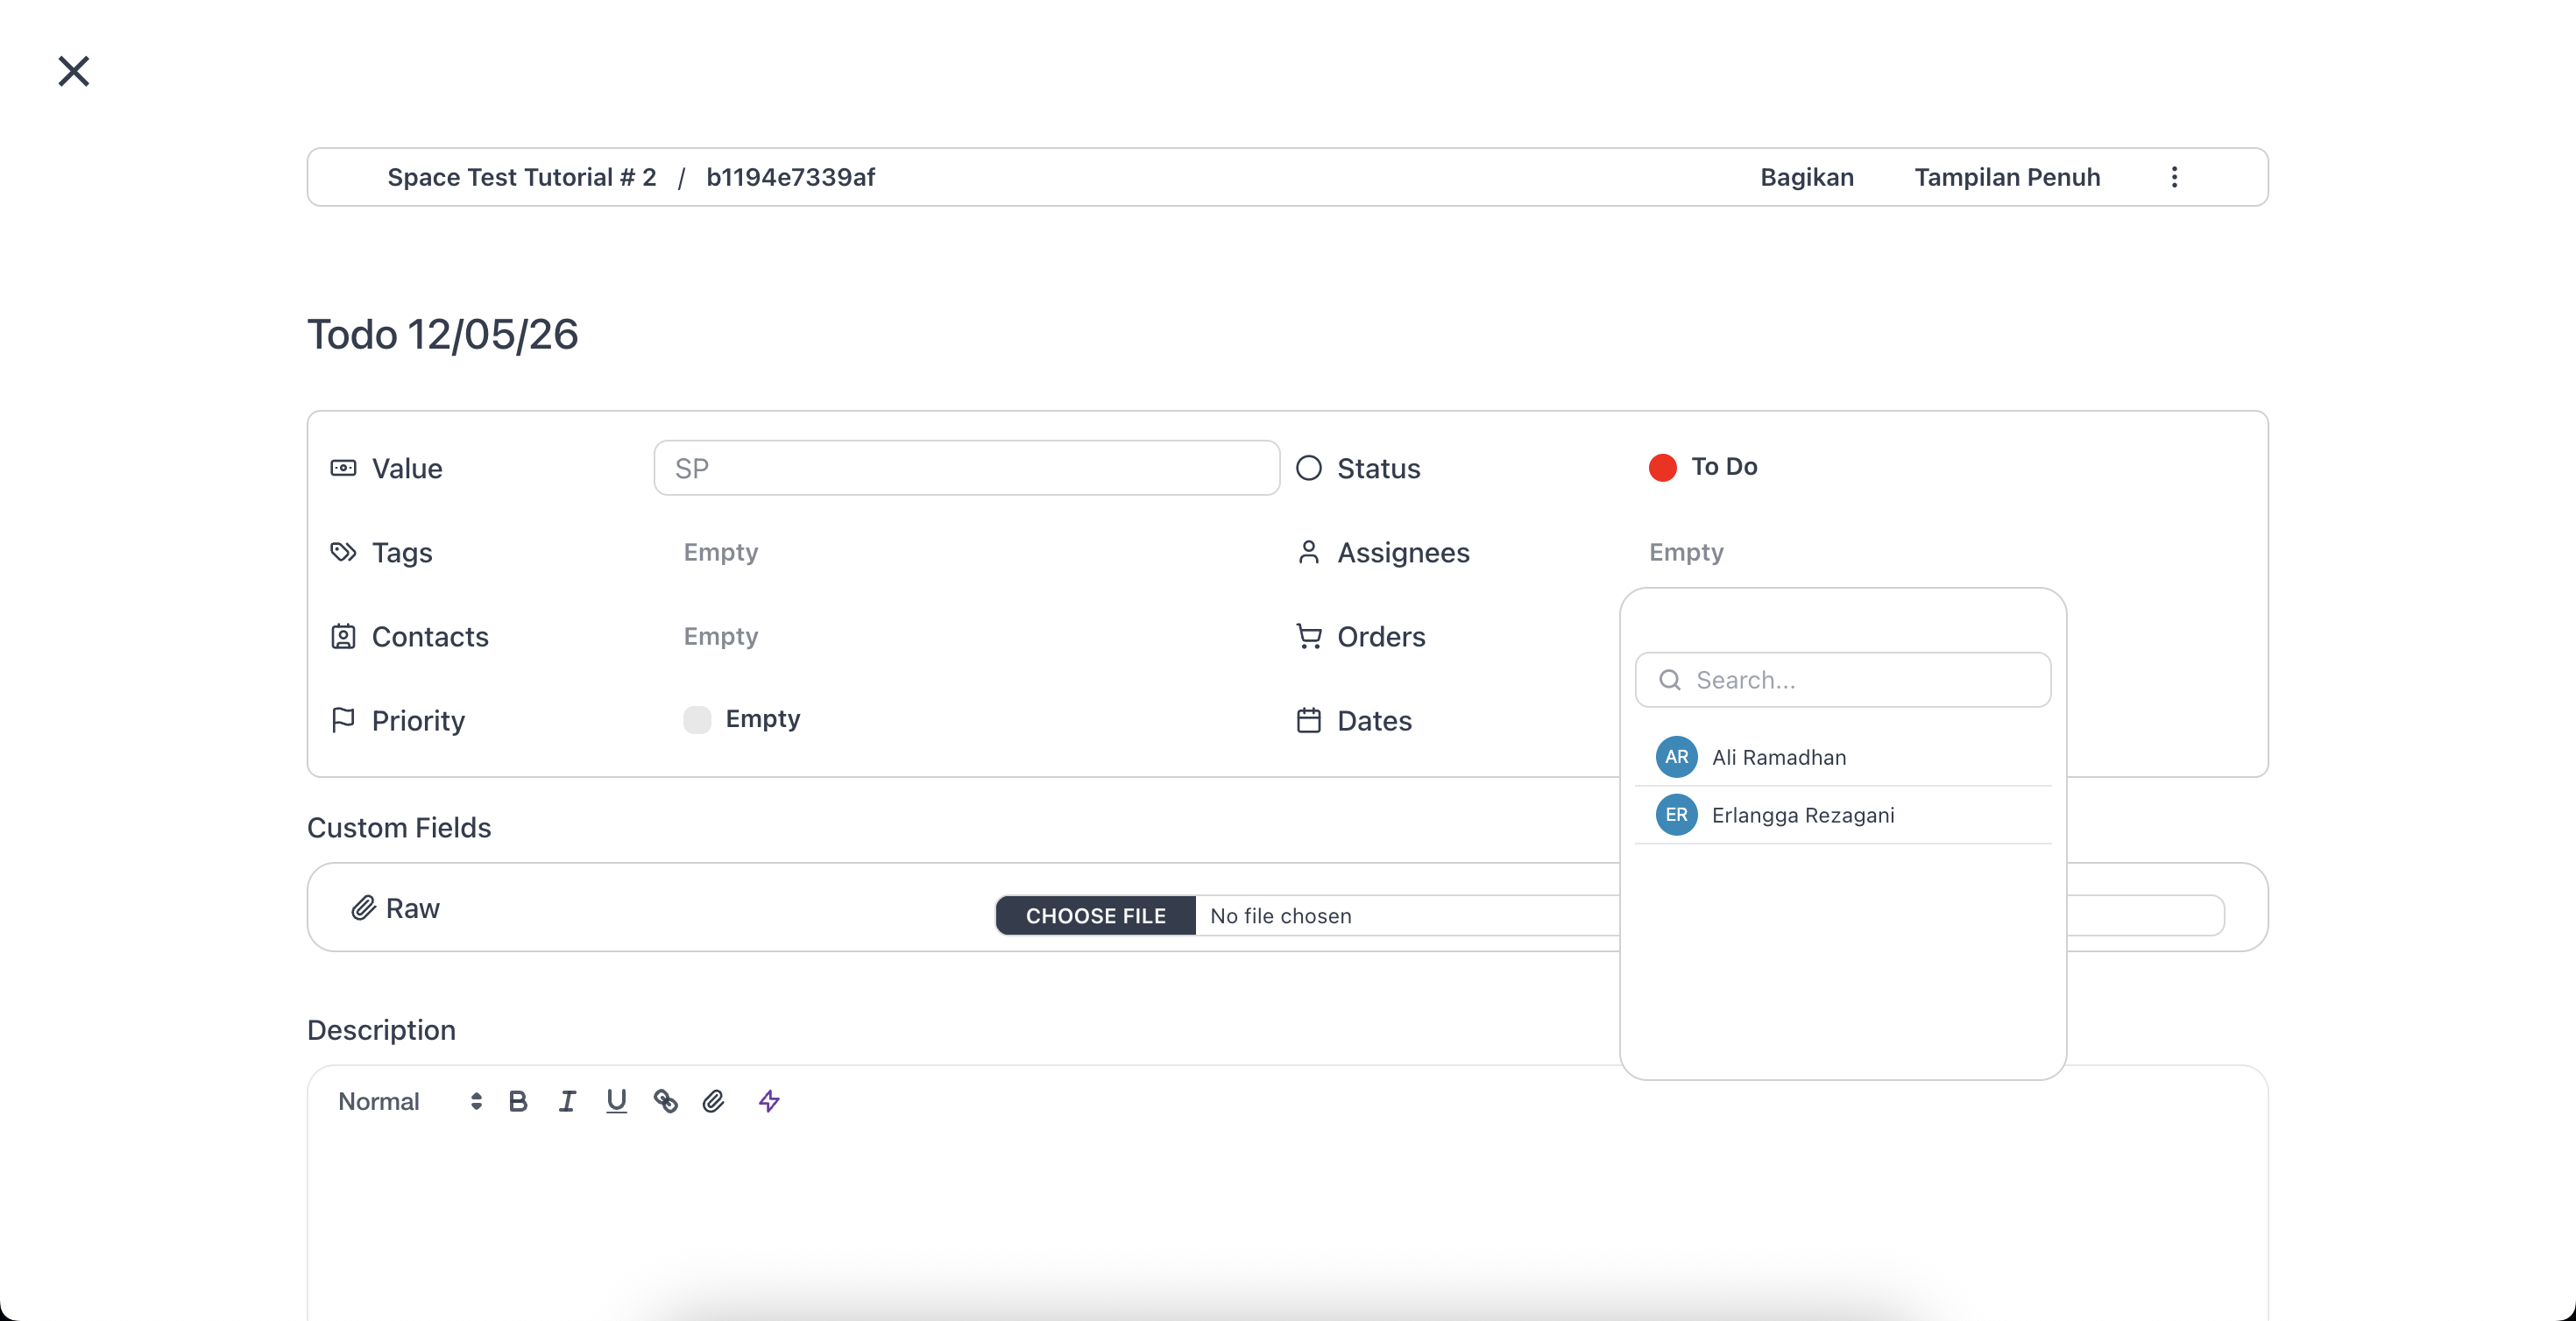
The teammates responsible. Multi-select. With the Member role this field is read-only — only Owners, Admins, and Managers can change Assignees.
Contacts
Linked CRM Contacts. Click to search every Contact in your business; each linked Contact's avatar appears — click it to open their CRM page.
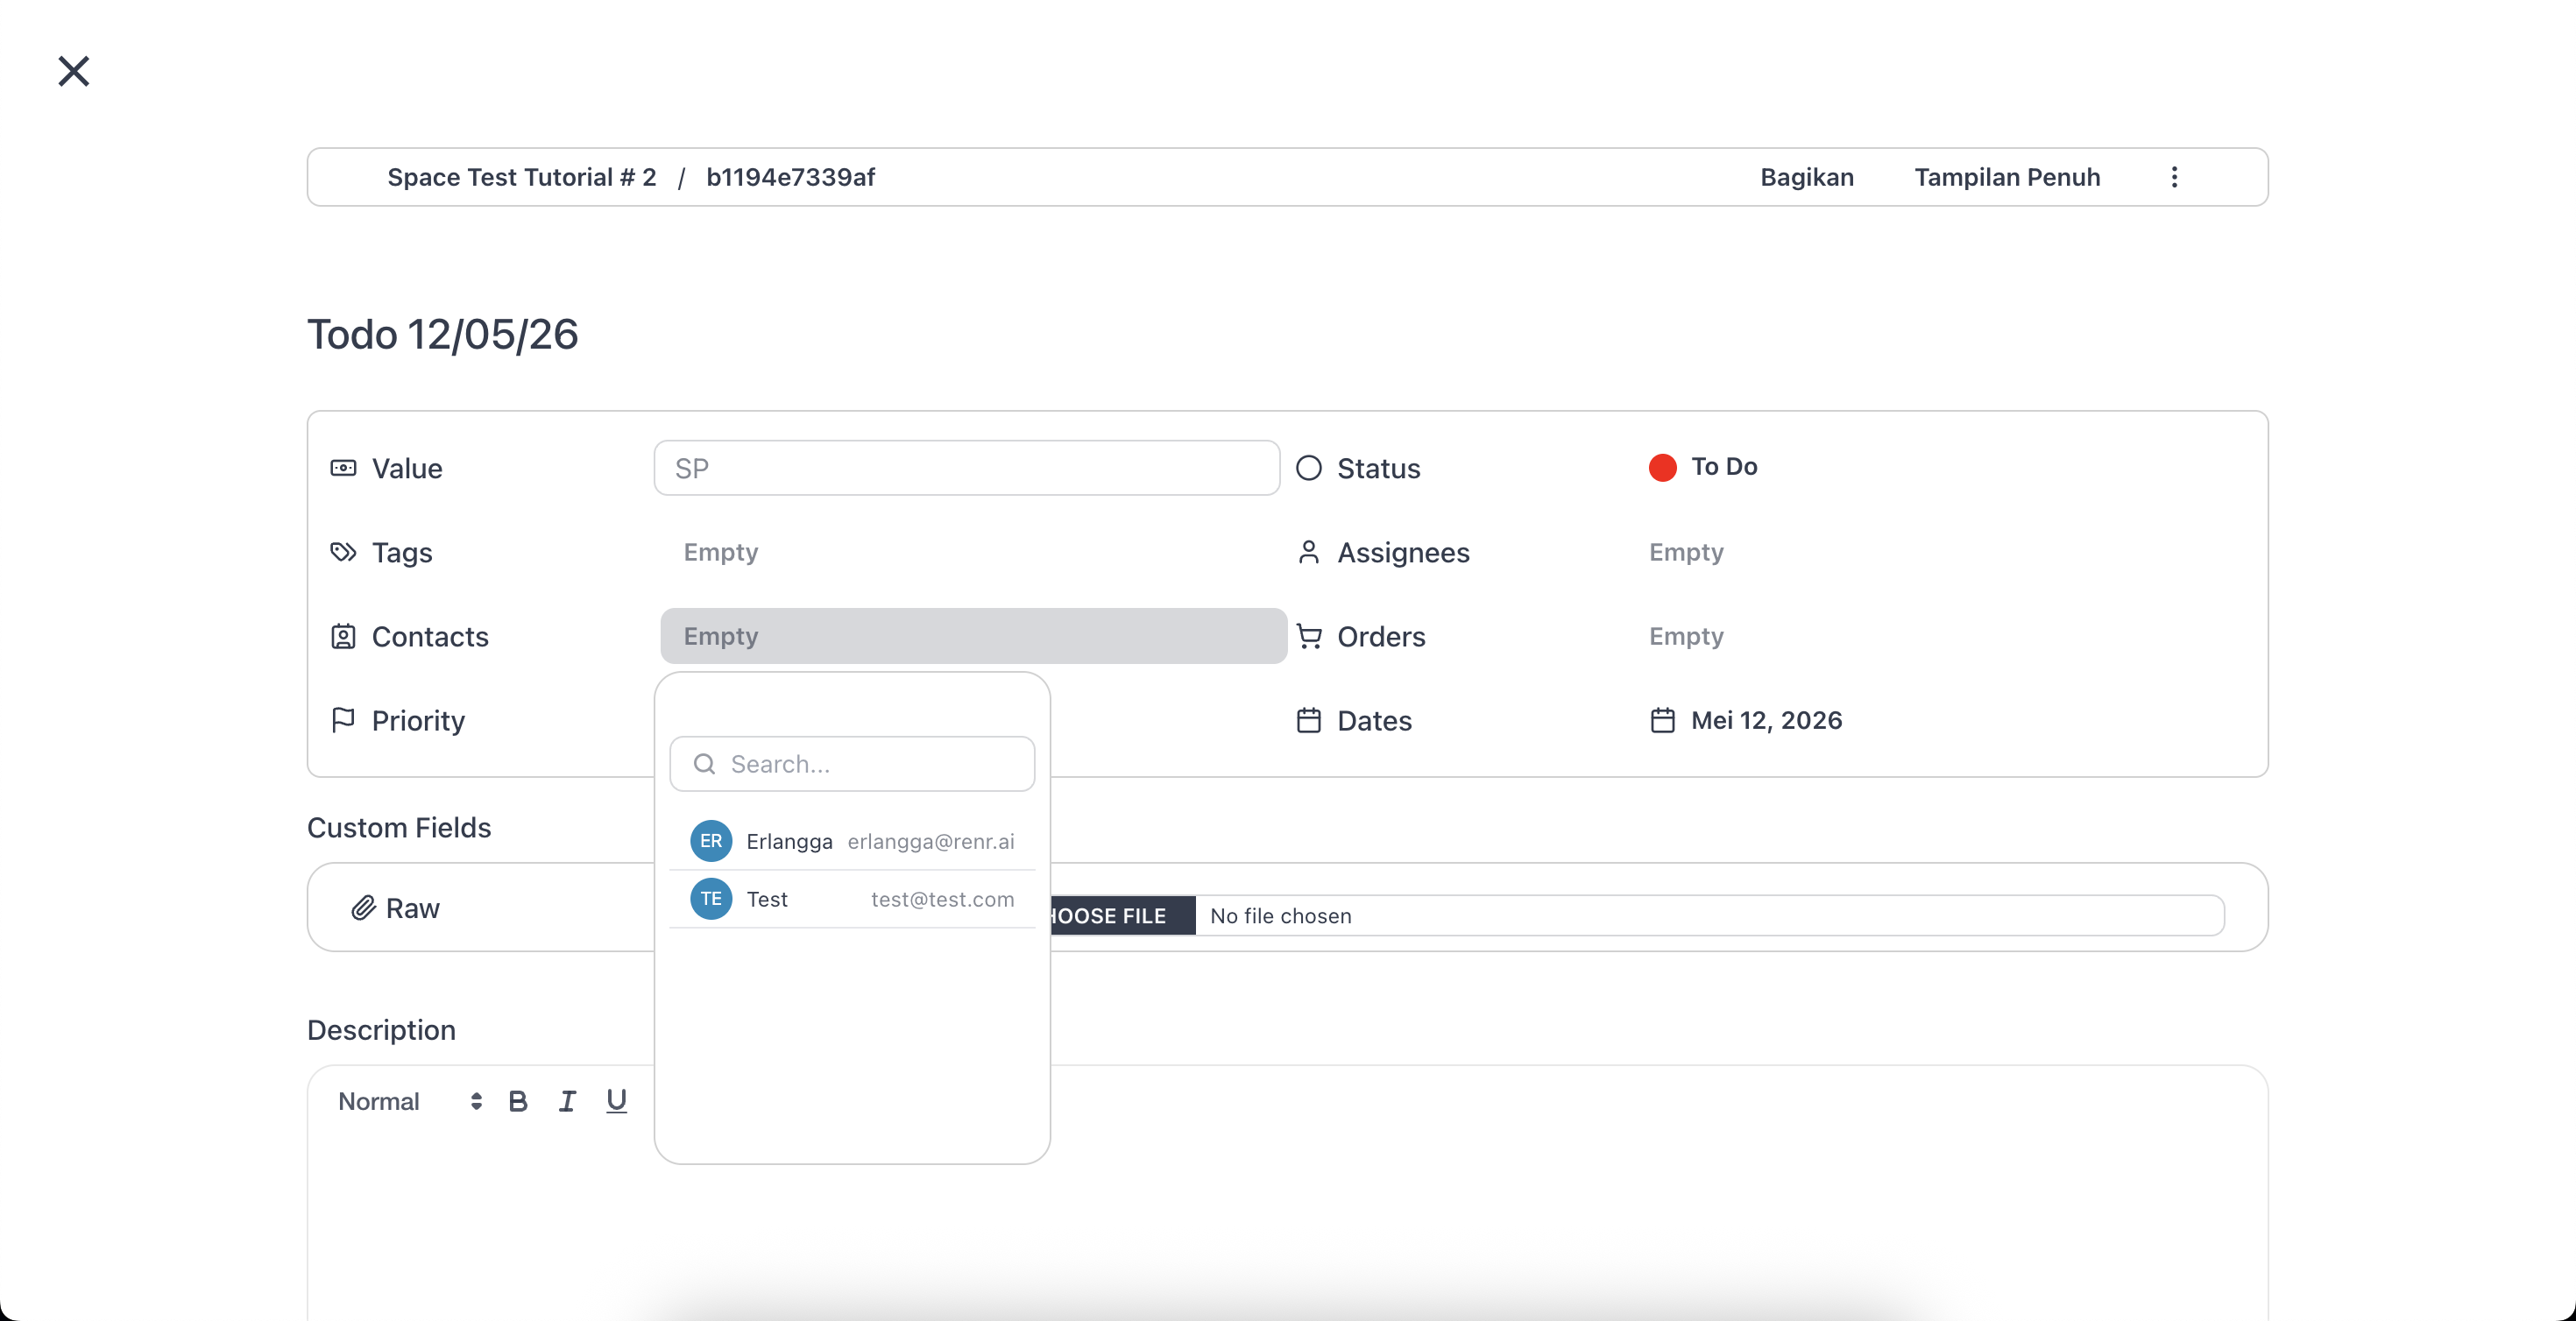
Use Contacts when a Task belongs to a customer, lead, or partner — the Task then shows alongside the Contact's history.
Orders
Linked Commerce Orders. Click to search orders; each shows its number with a status colour pill. Click an order to open its Detail page.
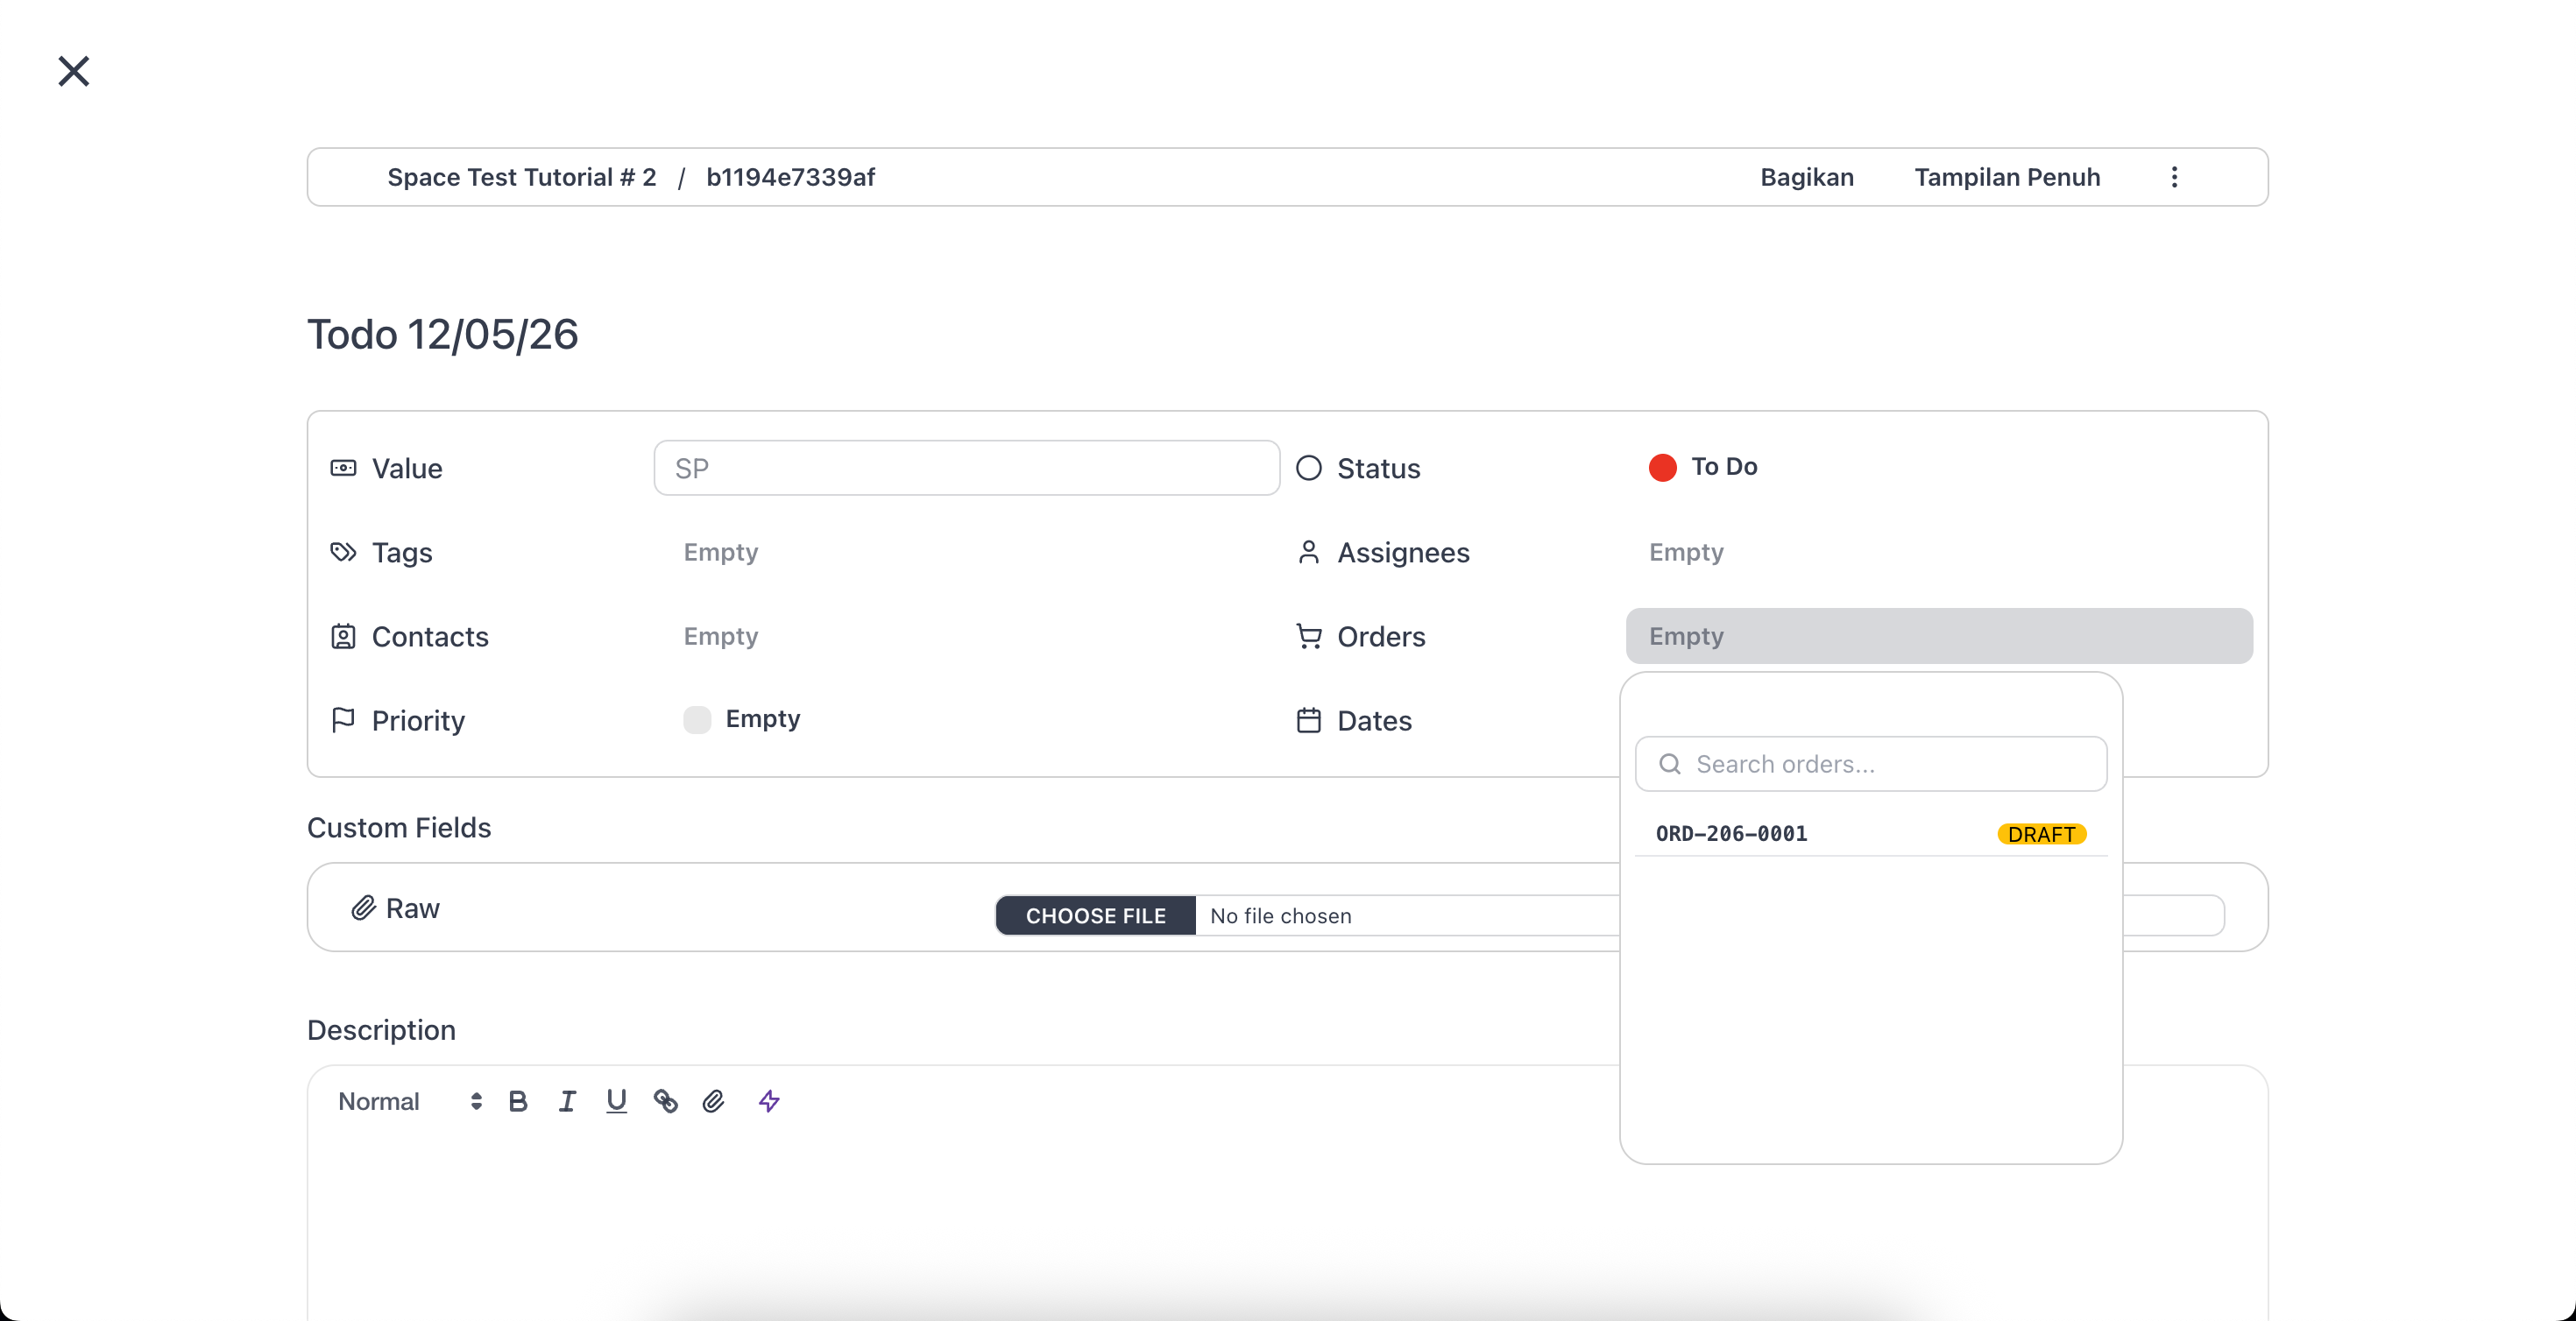
Use Orders when a Task delivers against a sale — fulfilment, custom-build, post-sale follow-up.
Company
Link a CRM company the same way you link Contacts: open the Company control, search by name, and select it. Linked companies appear as badges — click the ✕ on a badge to remove one.
[Screenshot: the Company control on the task detail — search and selected company badge.]
Priority
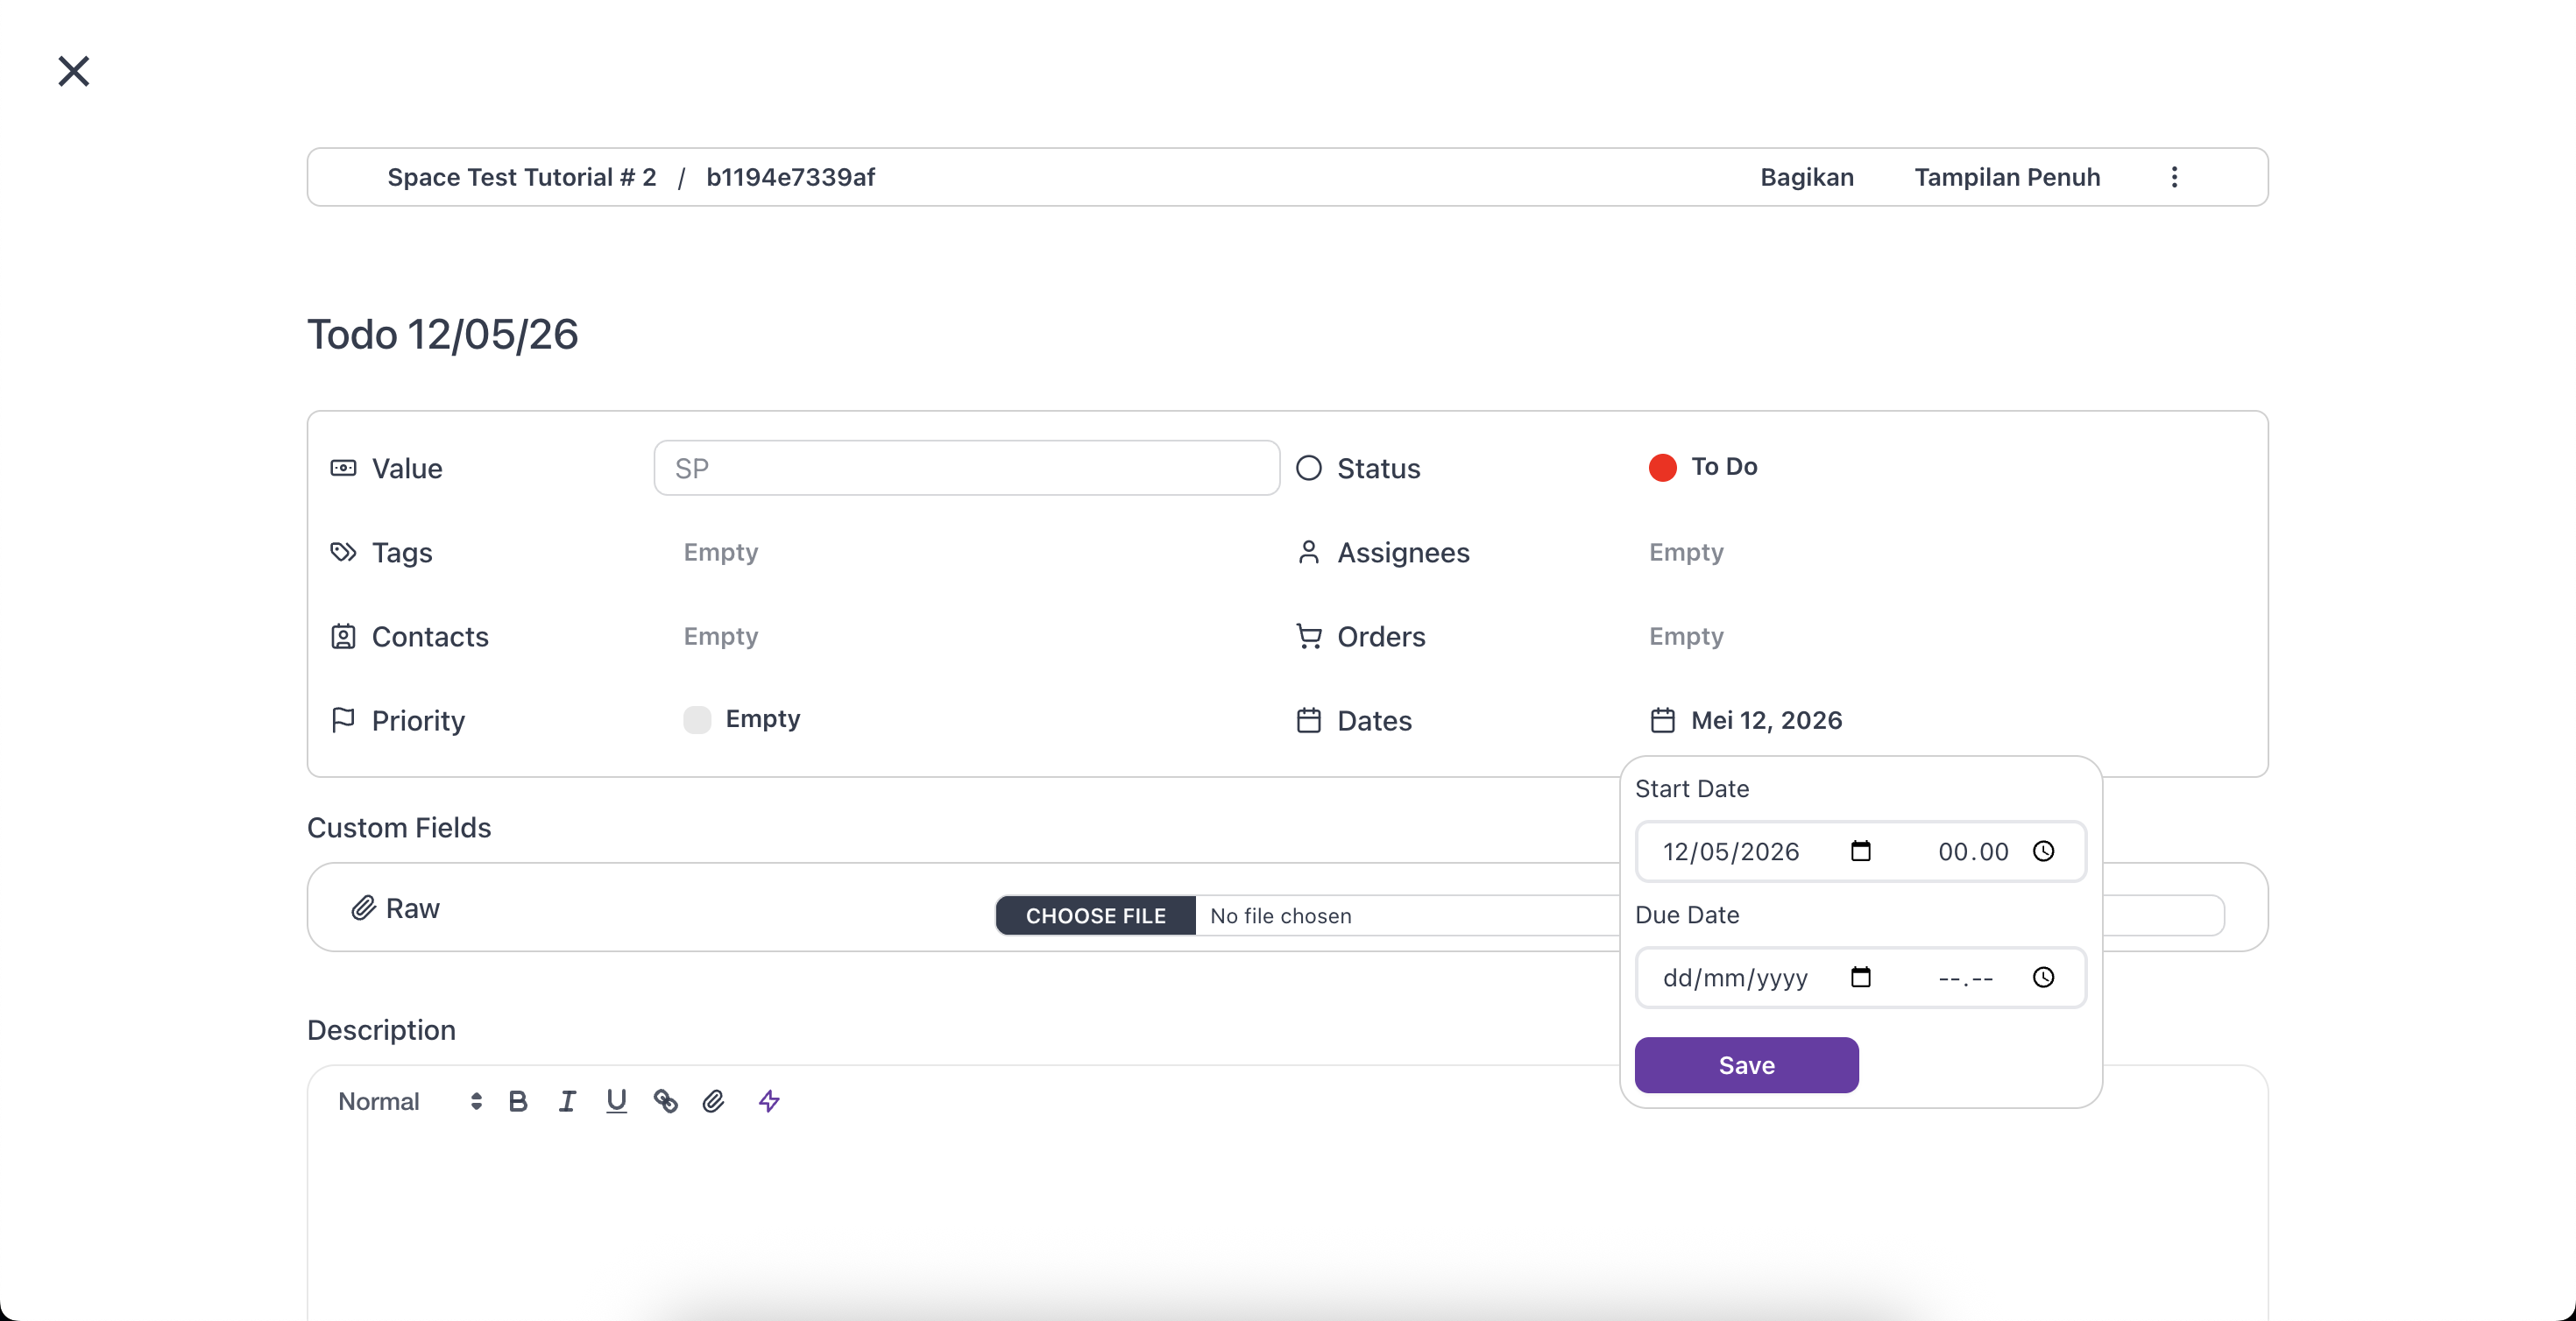
Date and time pickers for when the Task begins and when it must be done. Tasks with both dates show as bars on Calendar and Timeline views.
Custom Fields
Below the standard grid sits the Custom Fields grid — a three-column block of extra fields the Owner or Admin defined.

Custom Fields can be any supported type: Text, Number, Date / DateTime, Select / Multi-select, Checkbox, Email / Phone / URL (format-validated), and File / Image.
Description
A full Quill rich-text editor for long-form details — the same toolbar as Quick Create, with the AI Assistant sparkle for rewriting and the paperclip for inline attachments up to 50 MB.
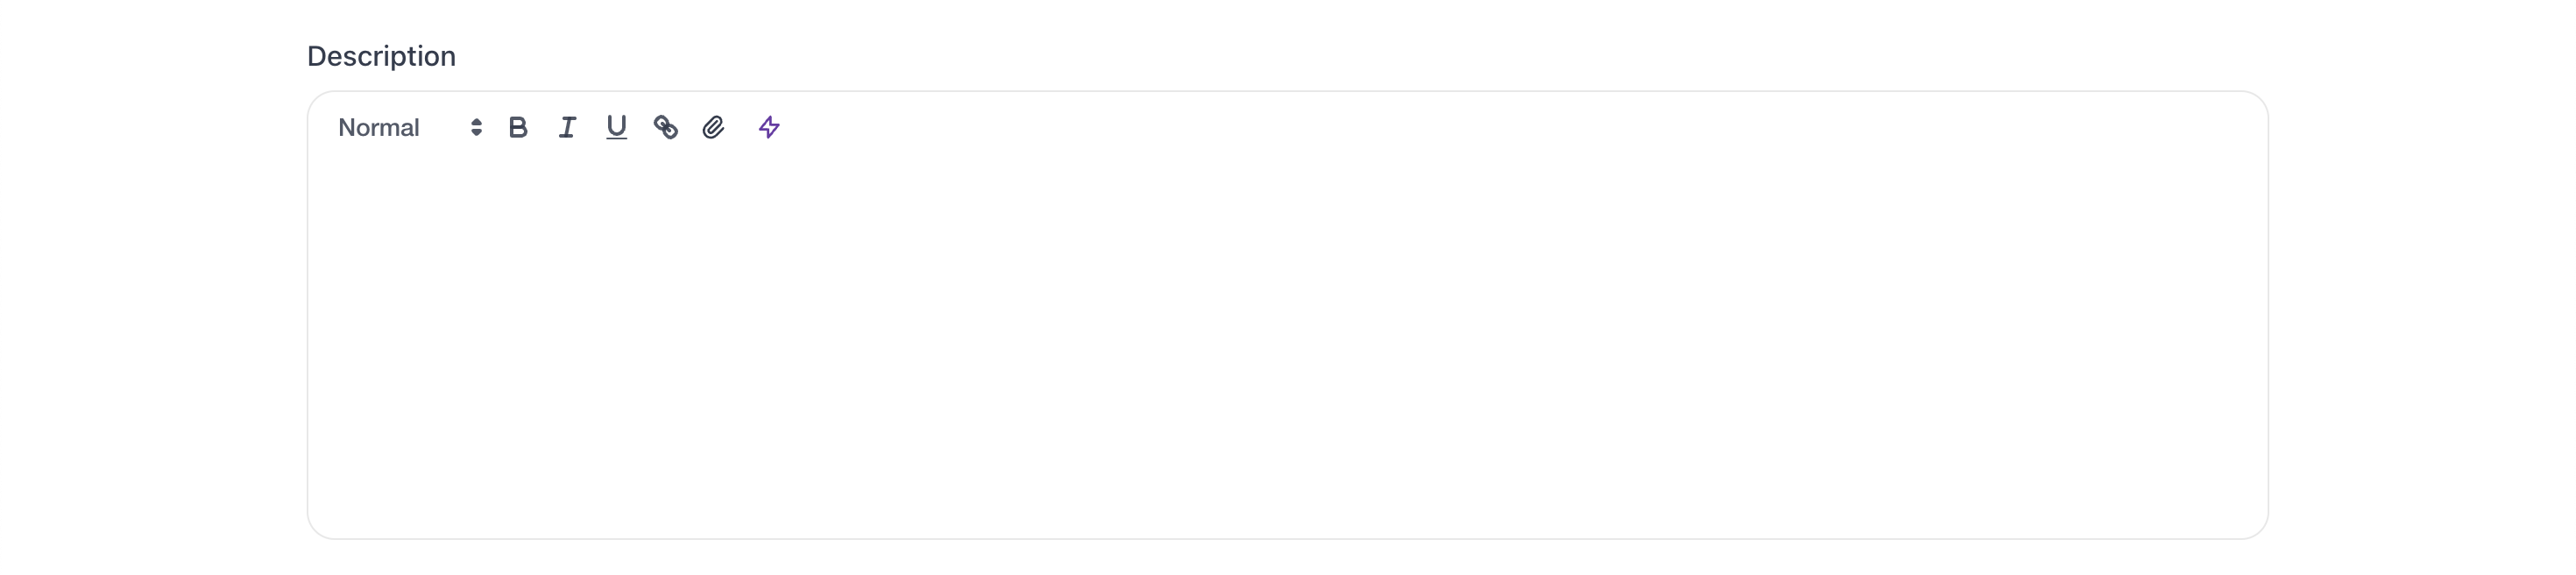
The Description auto-saves a moment after you stop typing.
Attachments
Files attached to the Task. Drop files onto the Description editor (inserted as inline links) or upload via the Attachments section. Each attachment carries a download link and a delete icon; maximum 50 MB per file.
Subtasks (when applicable)
If this Task is a parent (not itself a subtask), a Subtasks section appears below the Description — an inline table you edit row by row.

A Task can have subtasks, but a subtask cannot — the hierarchy is one level deep. For the full flow, see subtasks.
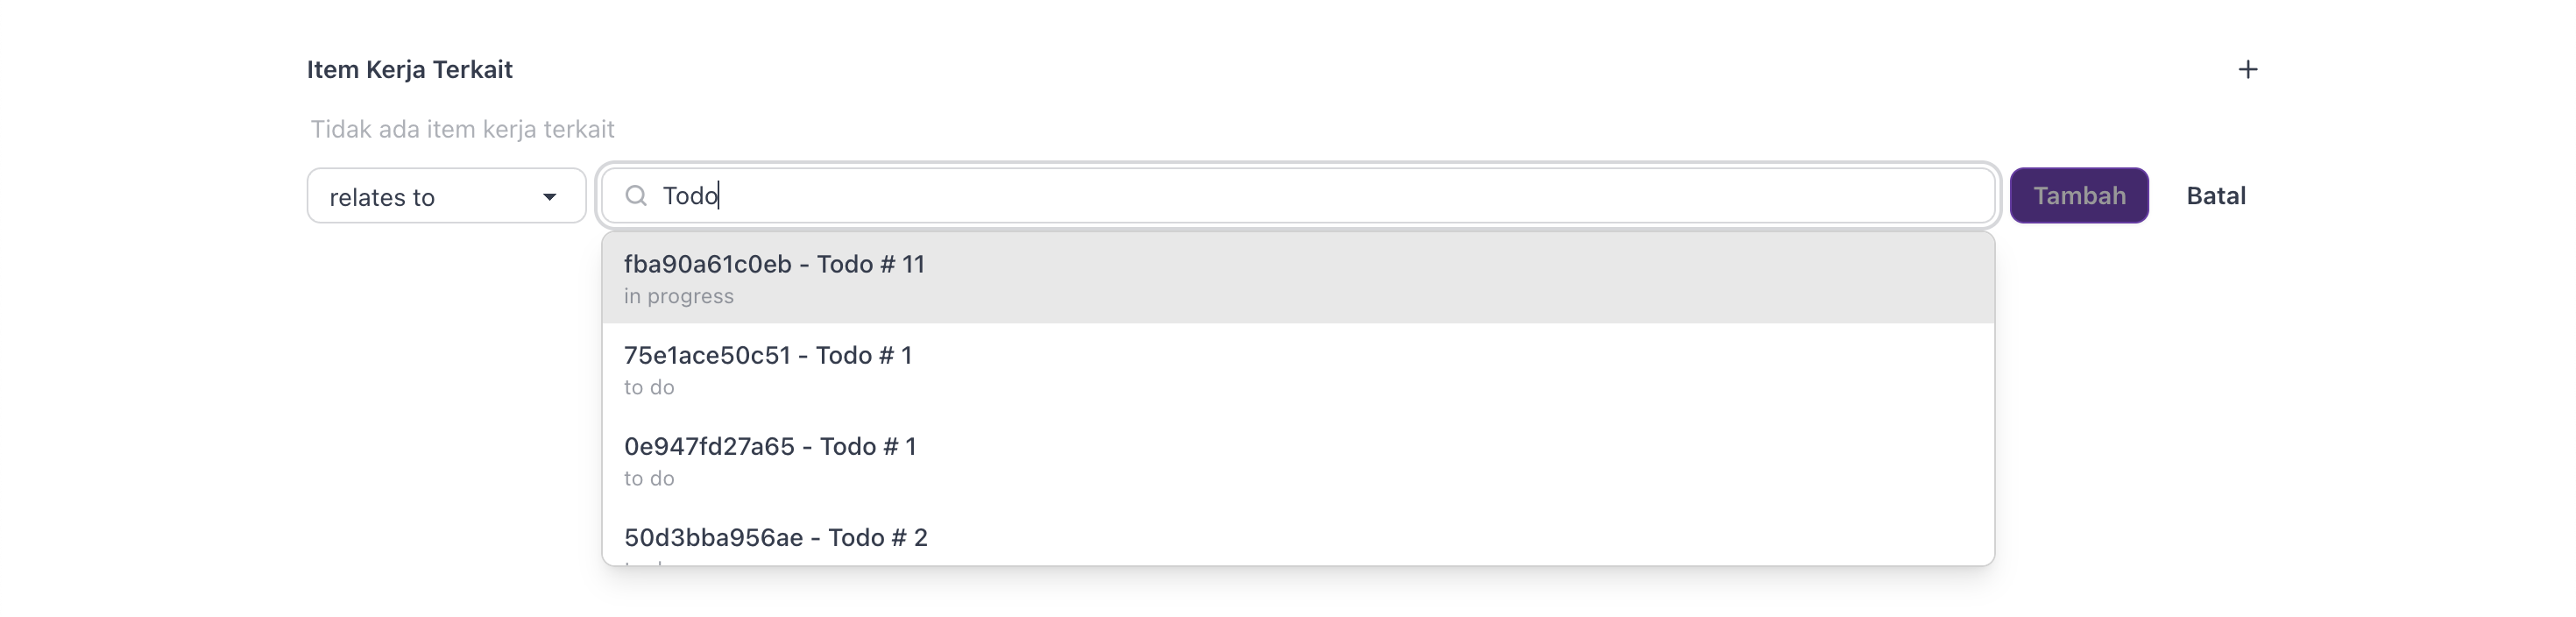
Linked Items
Other Tasks linked to this one — Blocks, Is Blocked By, Duplicates, Relates To, and Clones.
Whiteboard
Each task has its own whiteboard for sketches, diagrams, and notes. In the right-hand panel, click the Whiteboard icon, then Open Whiteboard to launch the canvas. Changes save automatically; a small yellow Edited dot on the icon marks new updates.
[Screenshot: the Whiteboard panel on the task detail with the Open Whiteboard button.]
Discussion
At the bottom of the Detail page is the Discussion thread — a real-time conversation linked to the task that also displays its activity history. Use it to clarify requirements, share progress, or hand off work.
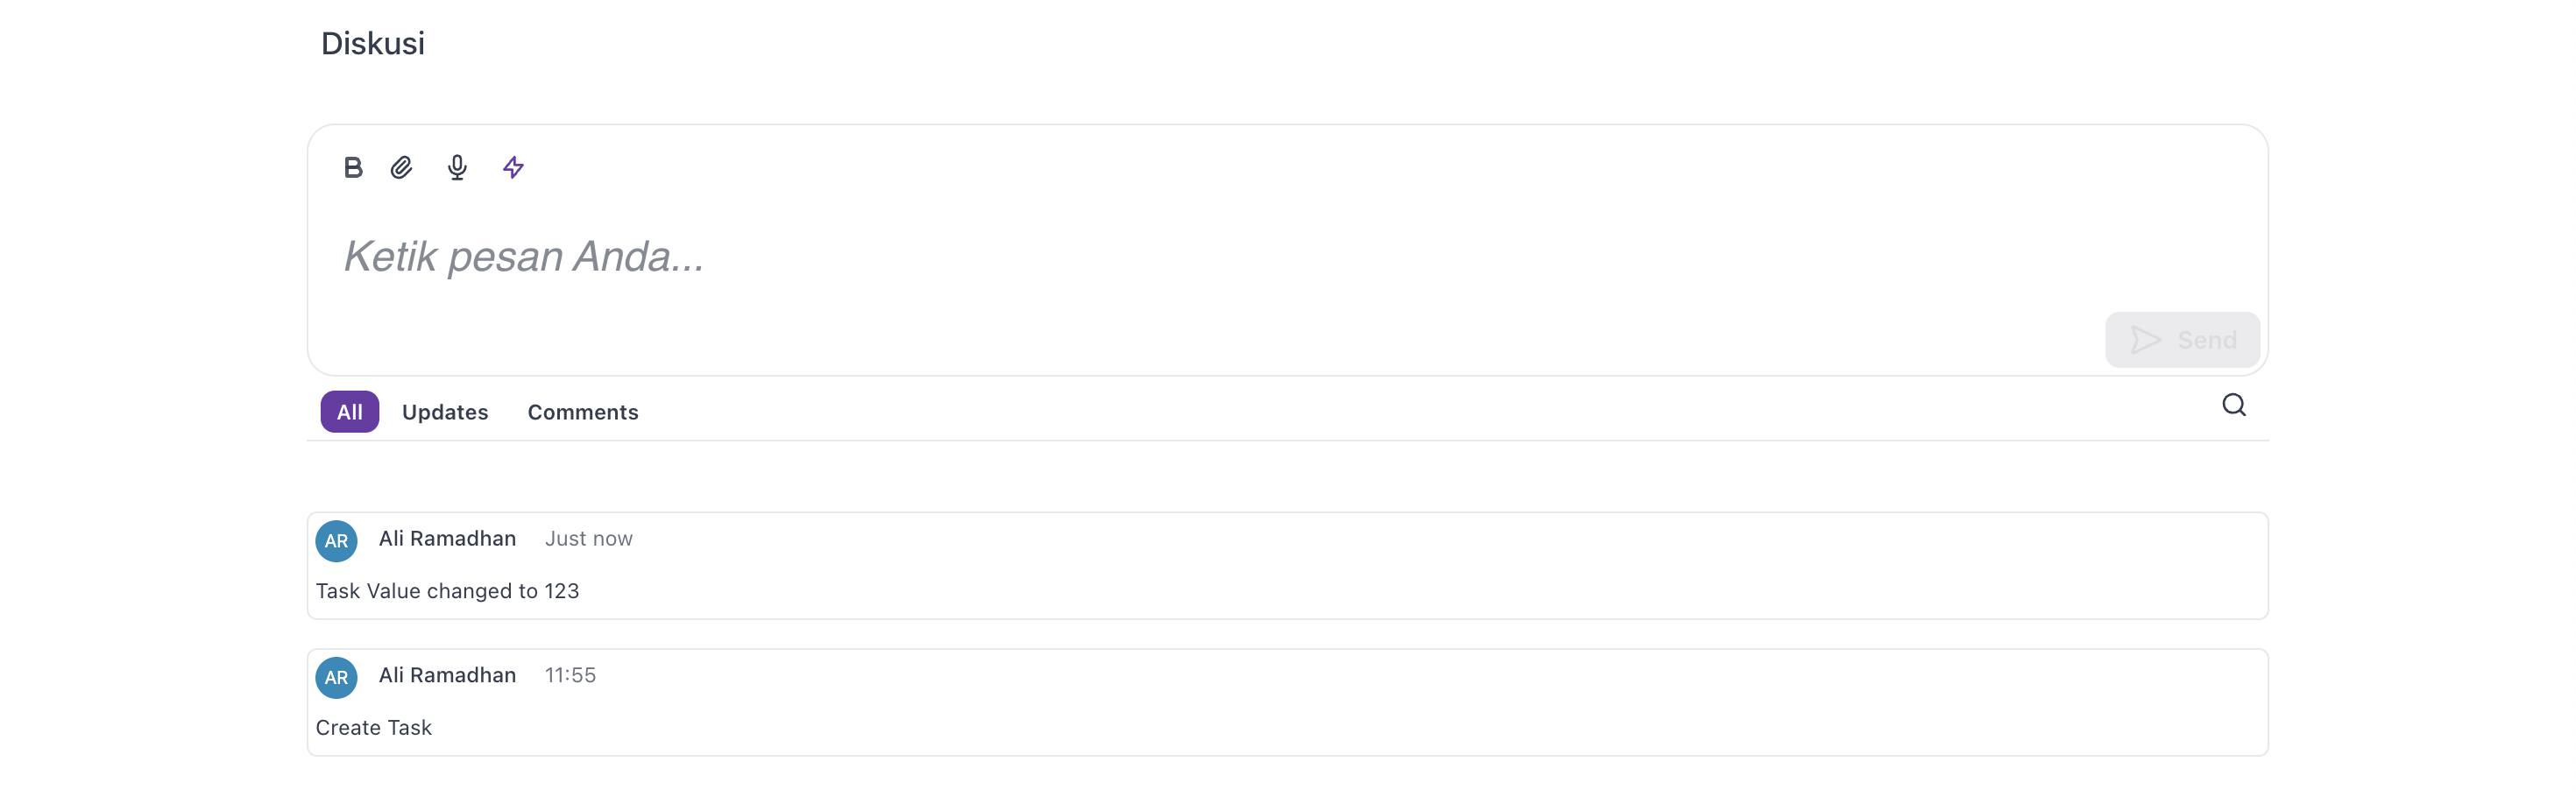
Every change — Title, Status, new Subtask, new message — appears live for everyone with the Task open. No refresh needed.