.png)
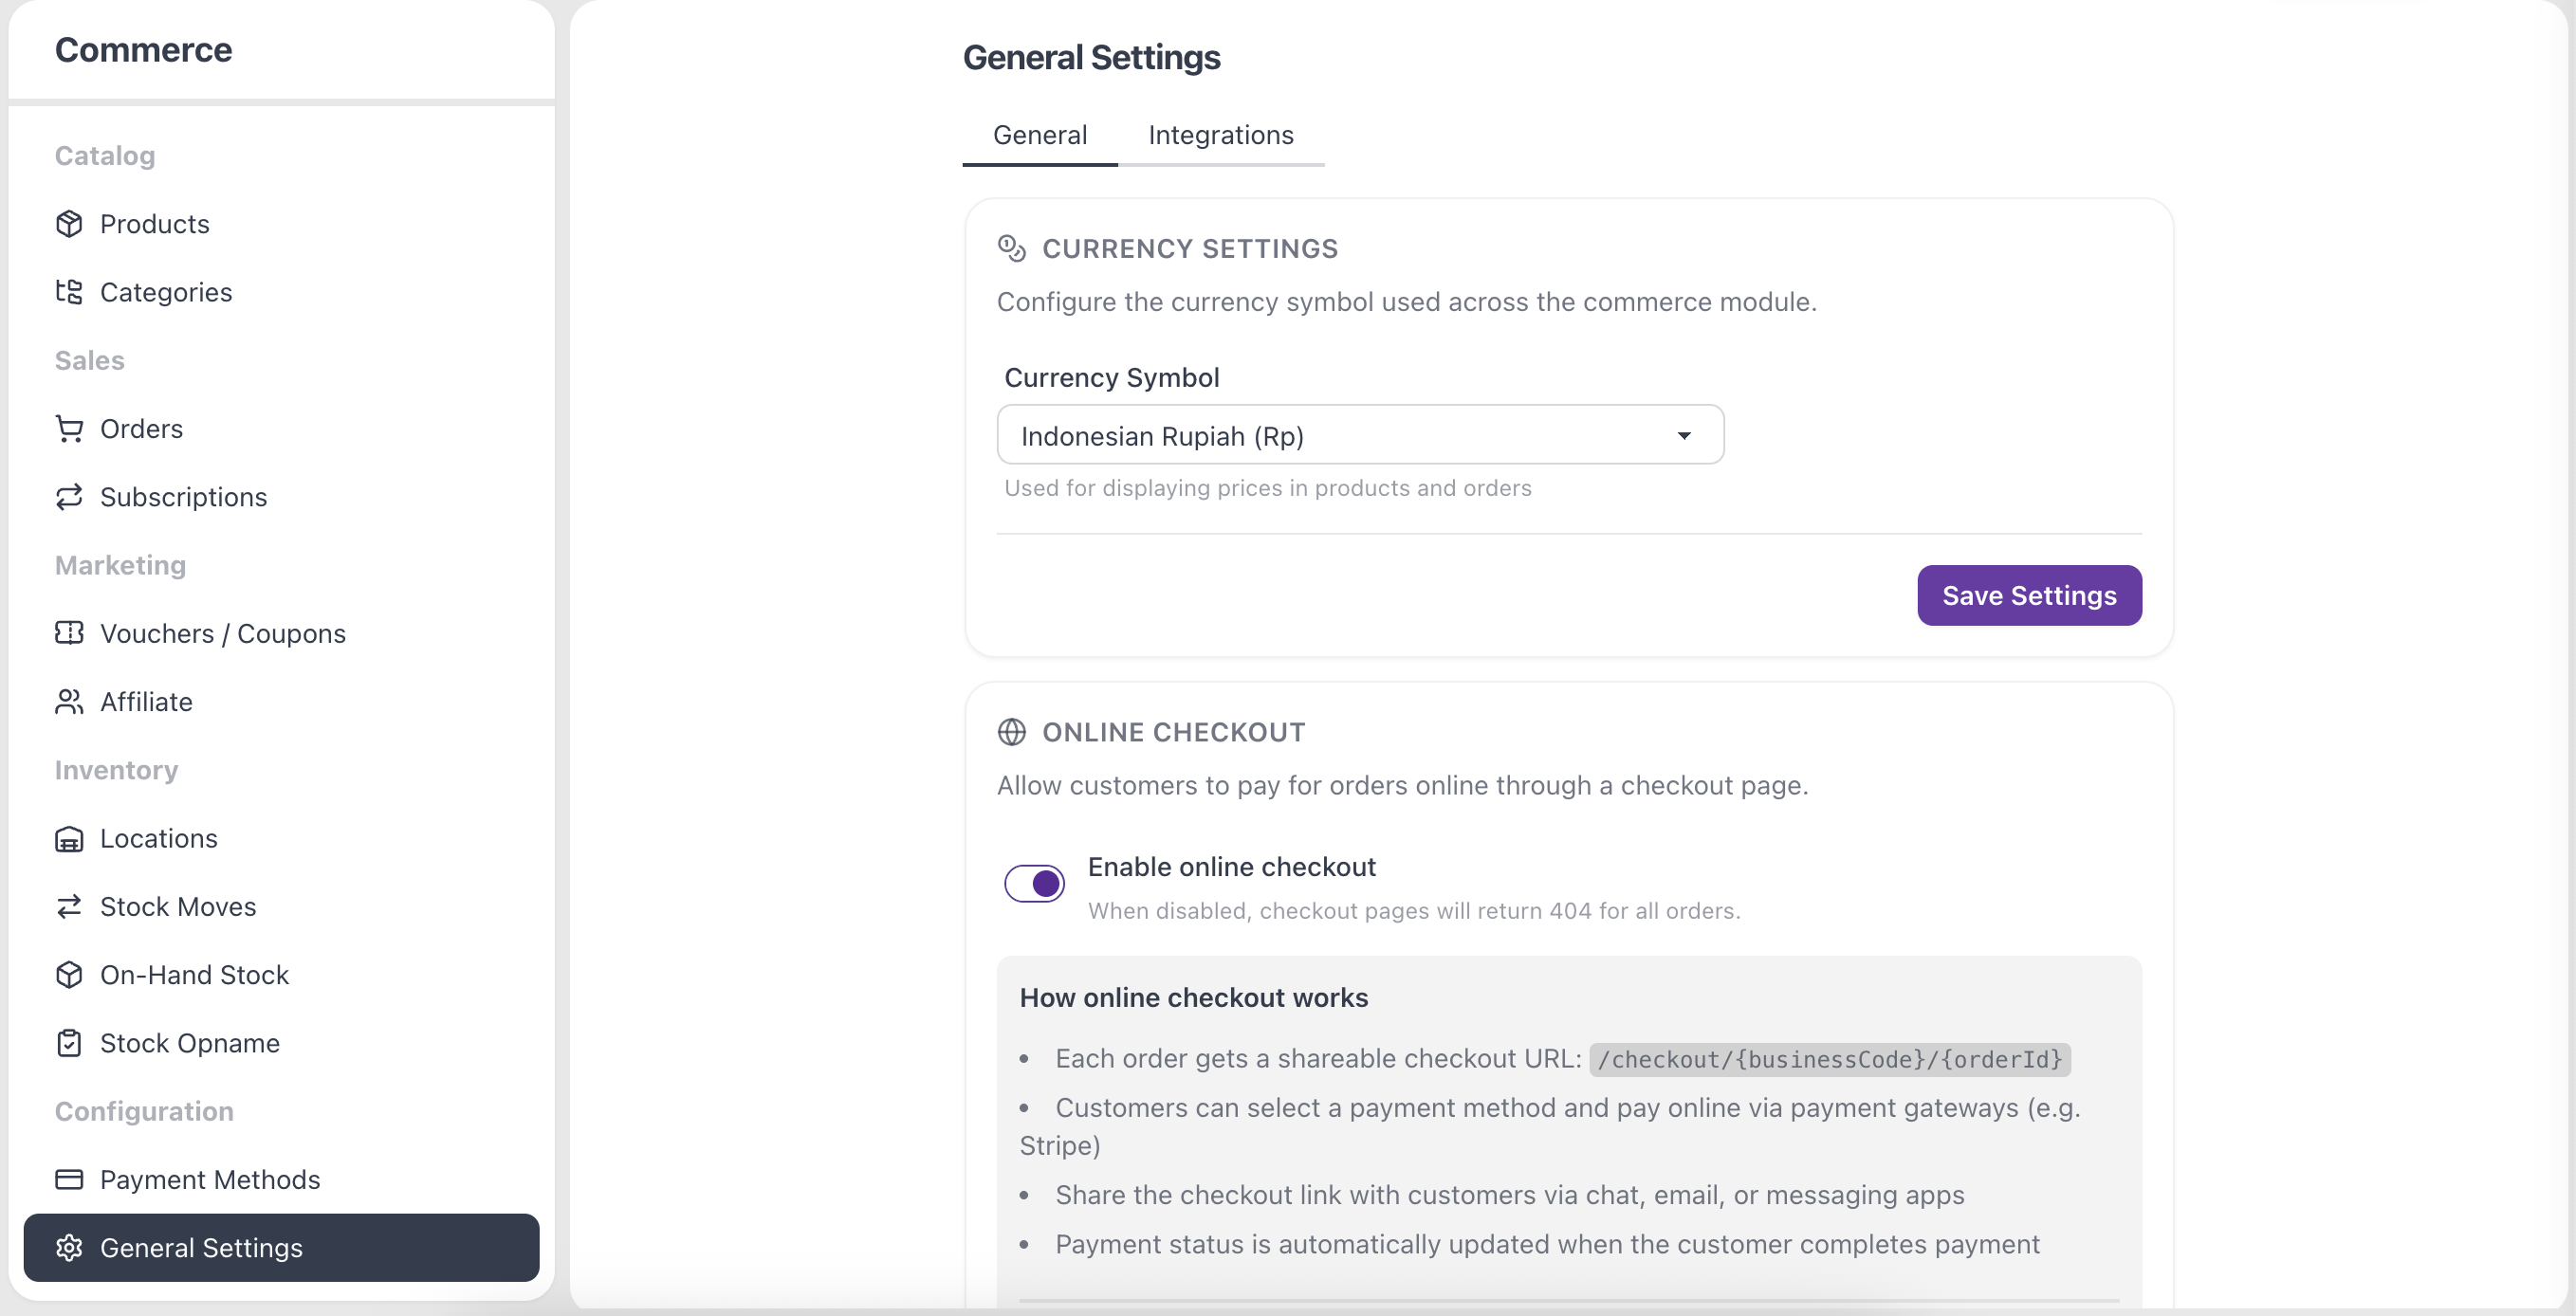
The General Settings page is where you control how your store behaves. It has two tabs — General (currency, checkout, shipping) and Integrations (Facebook Pixel). Each card saves on its own, so click Save Settings after changing a section.
Currency
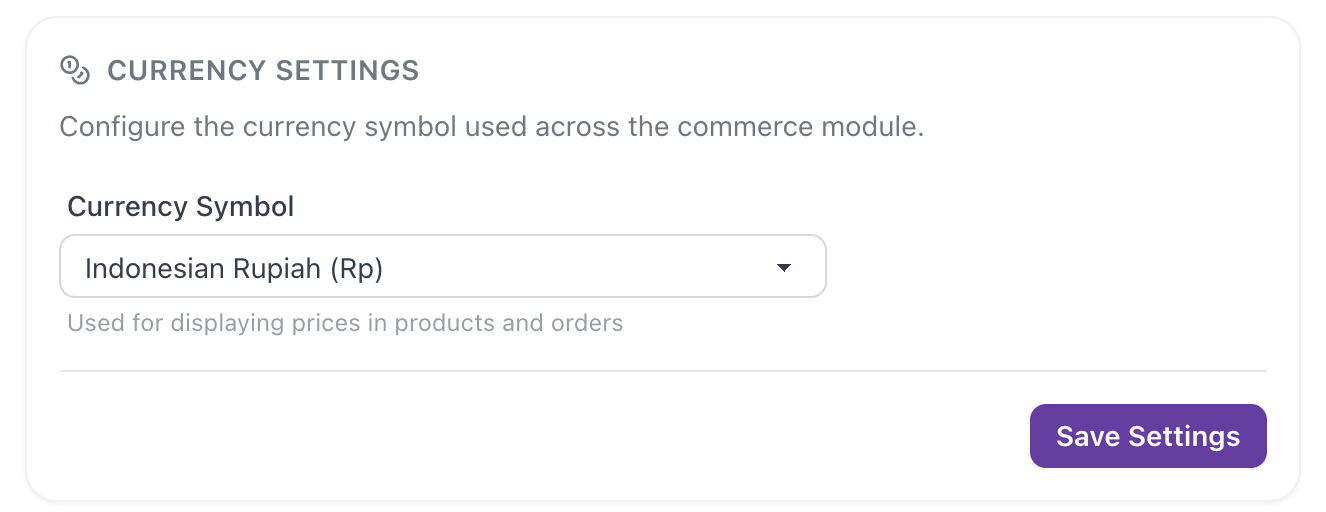
On the General tab, open Currency Settings and pick your Currency Symbol (for example Rp, $, or €) from the list. This symbol is used to display prices across your products and orders. Click Save Settings.
Online Checkout
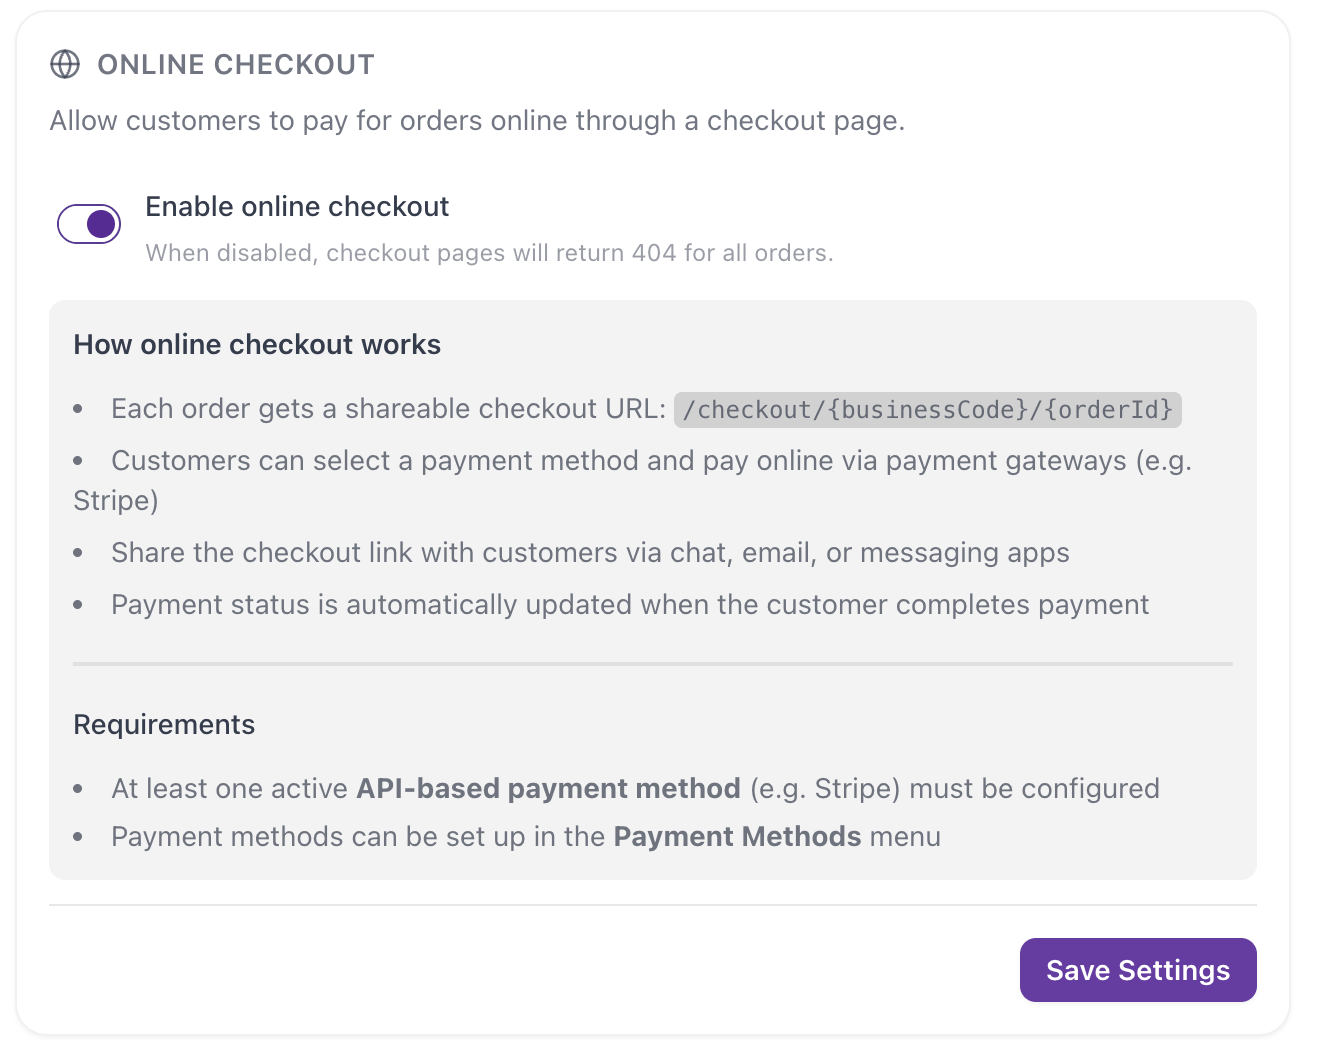
Turn on Enable online checkout to give every order a shareable checkout link where customers can pay online.
- You need at least one active API-based payment method (for example Stripe), set up under Payment Methods.
- When checkout is off, checkout pages return a 404 for all orders.
Click Save Settings to apply.
Shipping (Ongkir)
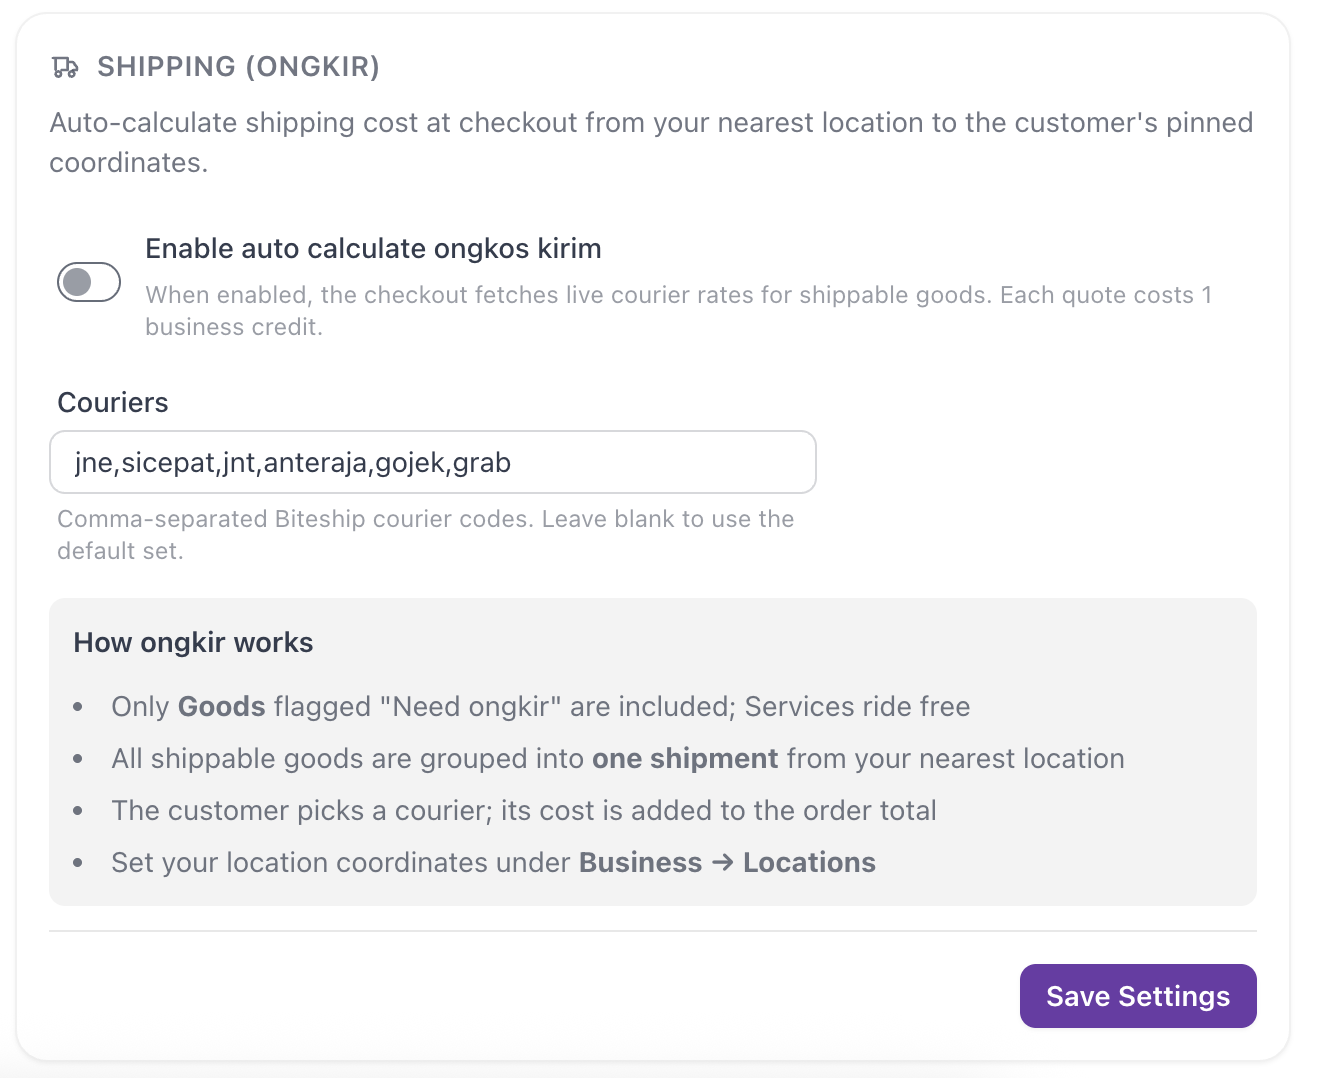
Turn on Enable auto calculate ongkos kirim to fetch live courier rates at checkout.
- Enter courier codes in Couriers — comma-separated Biteship codes (for example jne,sicepat,jnt). Leave it blank to use the default set.
- Only Goods flagged "Need ongkir" are shipped; each live quote costs 1 business credit.
- Set your location coordinates under Business → Locations so rates calculate from the right place.
Click Save Settings to apply.
Facebook Pixel
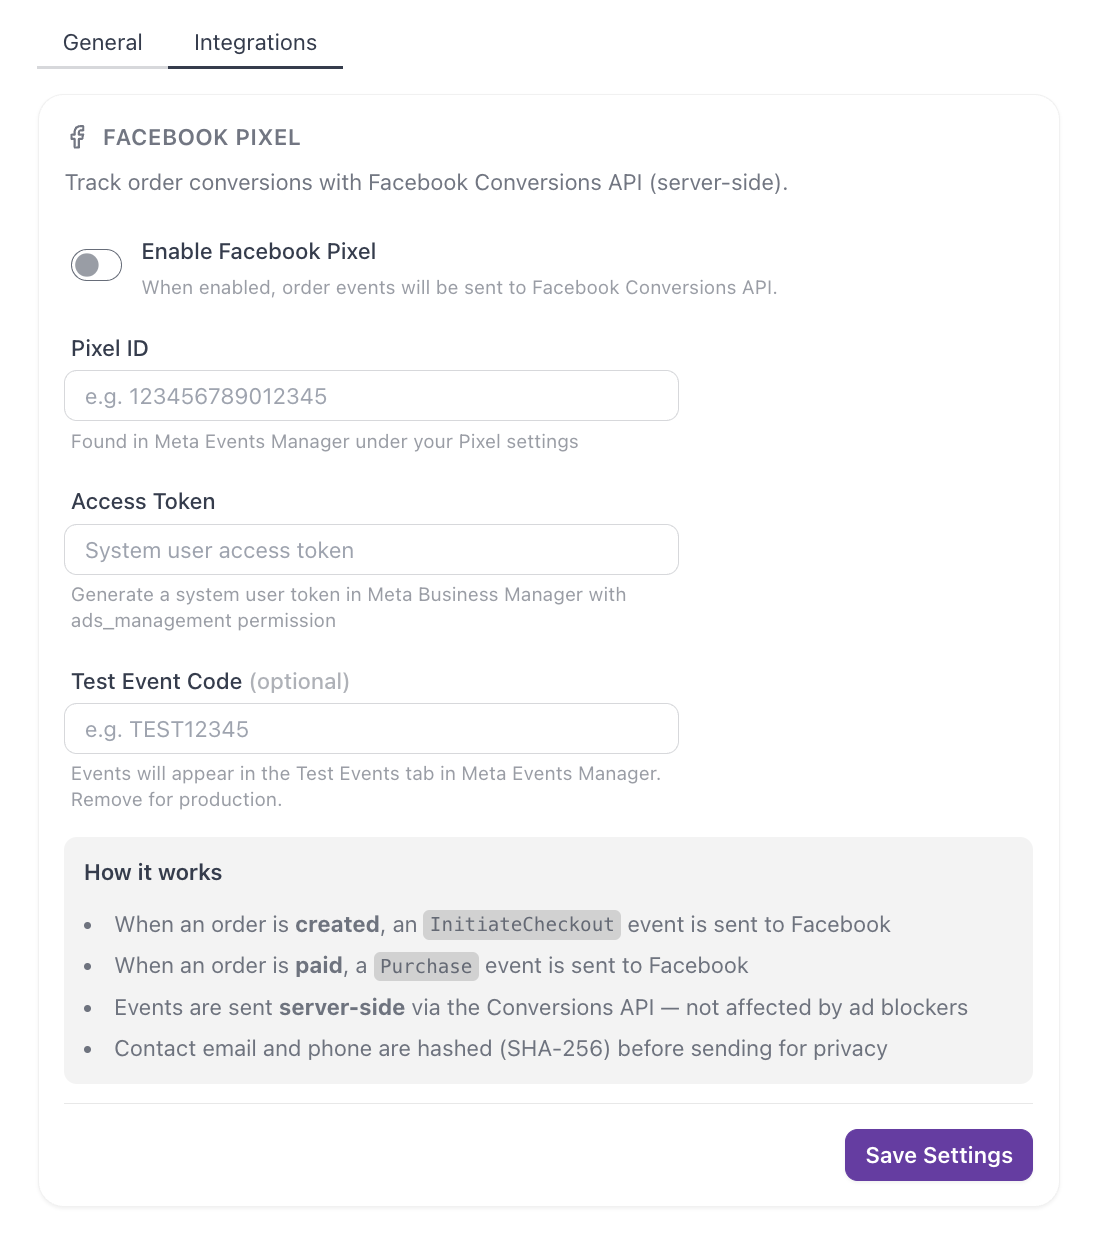
On the Integrations tab, open Facebook Pixel to track order conversions through Meta's server-side Conversions API.
- Turn on Enable Facebook Pixel.
- Enter your Pixel ID and Access Token from Meta Events Manager.
- Optionally add a Test Event Code while you verify events, then remove it for production.
- Click Save Settings.
Renr then sends an InitiateCheckout event when an order is created and a Purchase event when it is paid.
Tip: Each card has its own Save Settings button — save the section you changed before switching tabs.