.png)
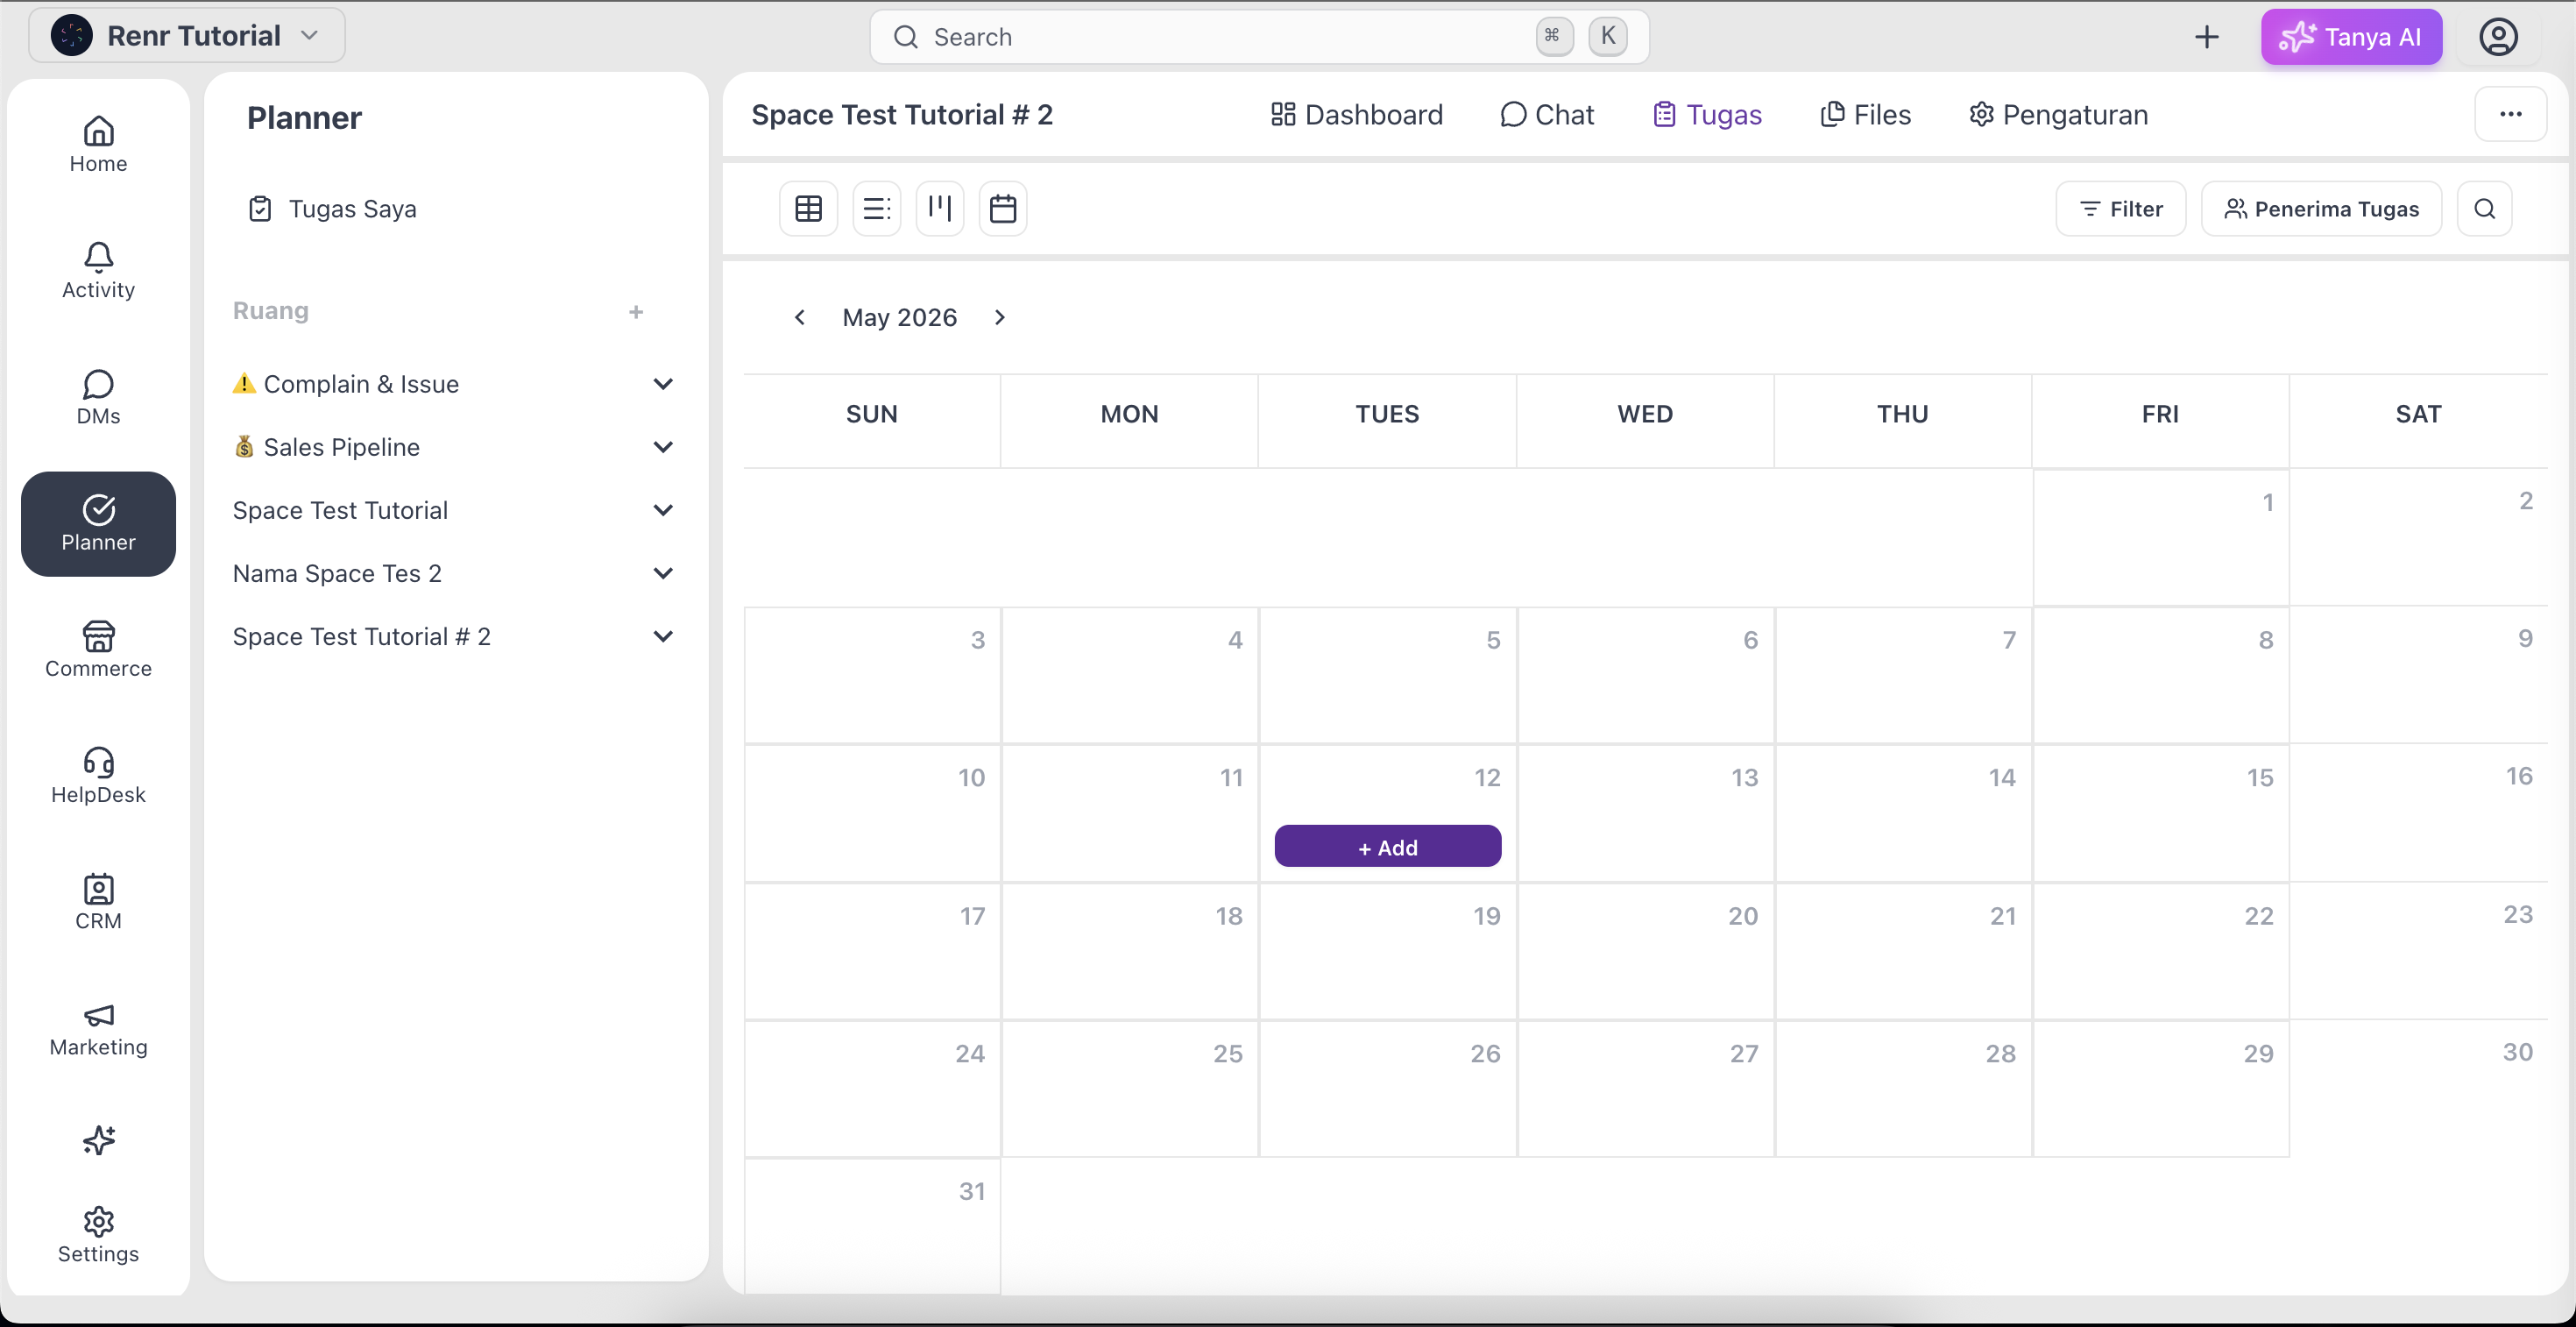
The calendar view displays tasks based on their date ranges in a monthly calendar layout, making it easier to plan schedules, monitor timelines, and manage workload distribution at a glance.
Tasks can also be created directly from the calendar based on your selected date grid, with the start date automatically assigned from the grid you click..
What you'll need
- Access to a Space — see Create a Space if you don't have one yet.
- A role that can create tasks (every role—Owner, Admin, Manager, and Member—can create tasks).
- The Task tab opens on calendar view.
The Task tab open on Calendar view.
Click the Task tab in the space tab bar, then click Calendar in the view switcher at the top.

Click a date to set the start date.
Click any empty area of a date cell. A small Quick Create popover will appear for that selected day, with the Title field focused and the Start Date automatically set based on the date grid you clicked.
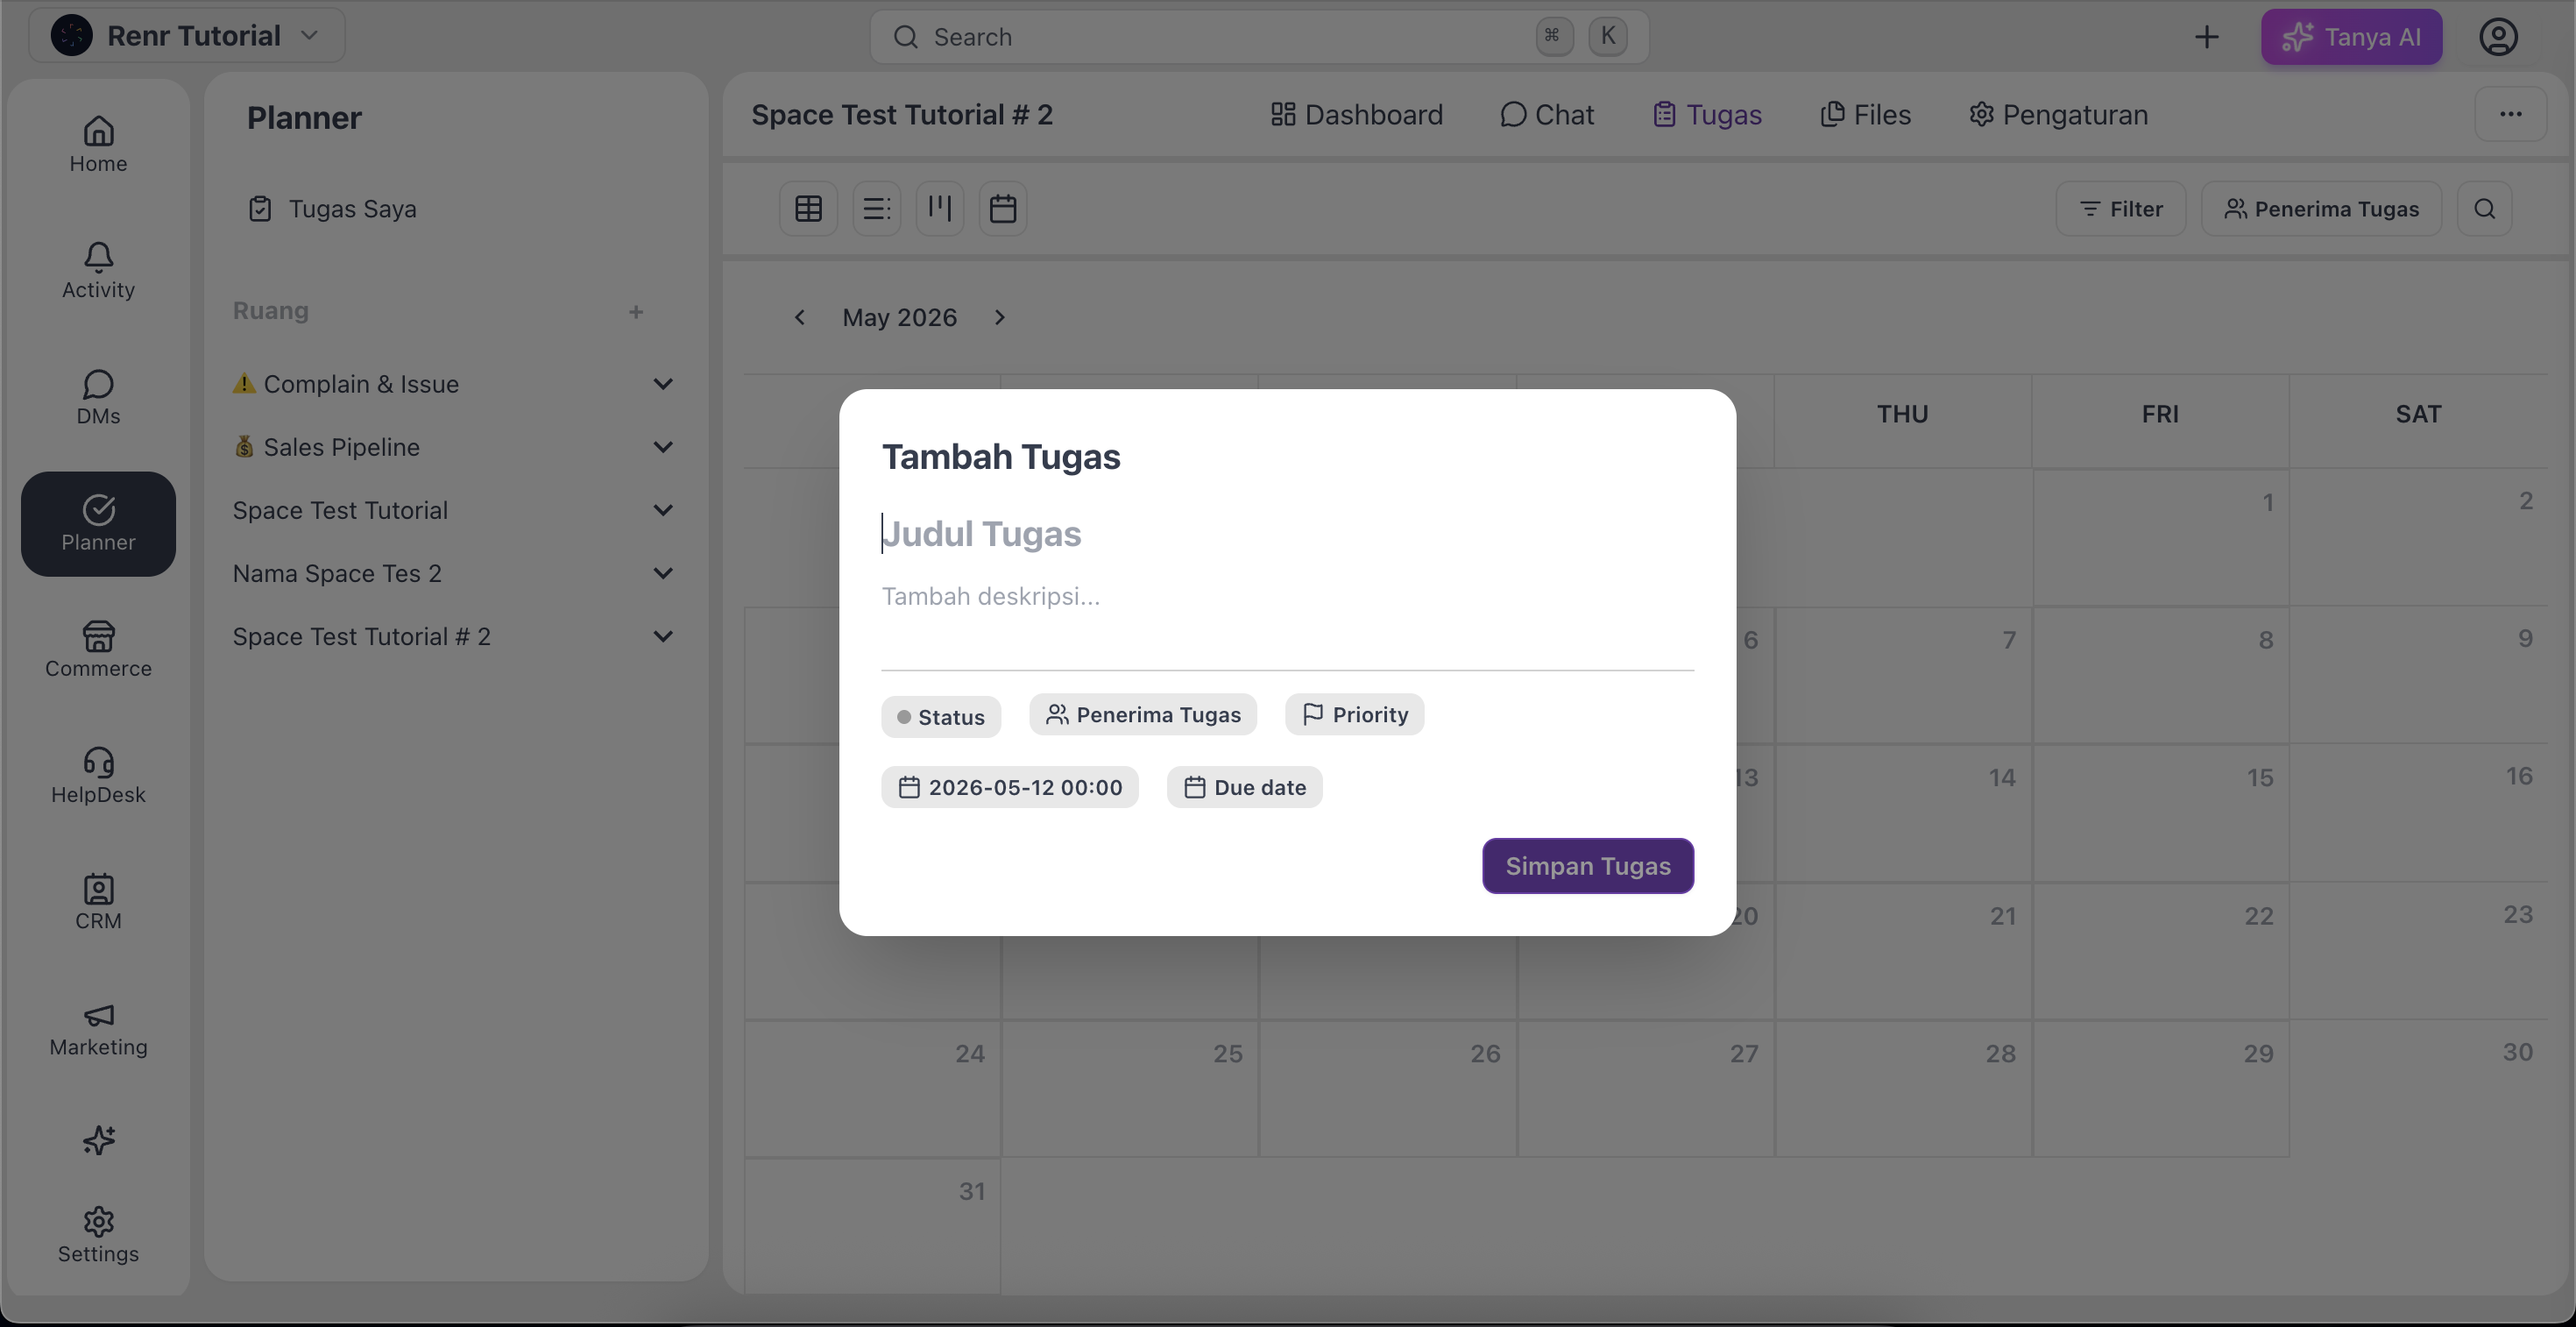
Enter a title, choose a status, then click “Submit” or press Enter.
The task is created in that column with no description, assignee, or due date. You can fill those in later by clicking the new card to show the detail page.
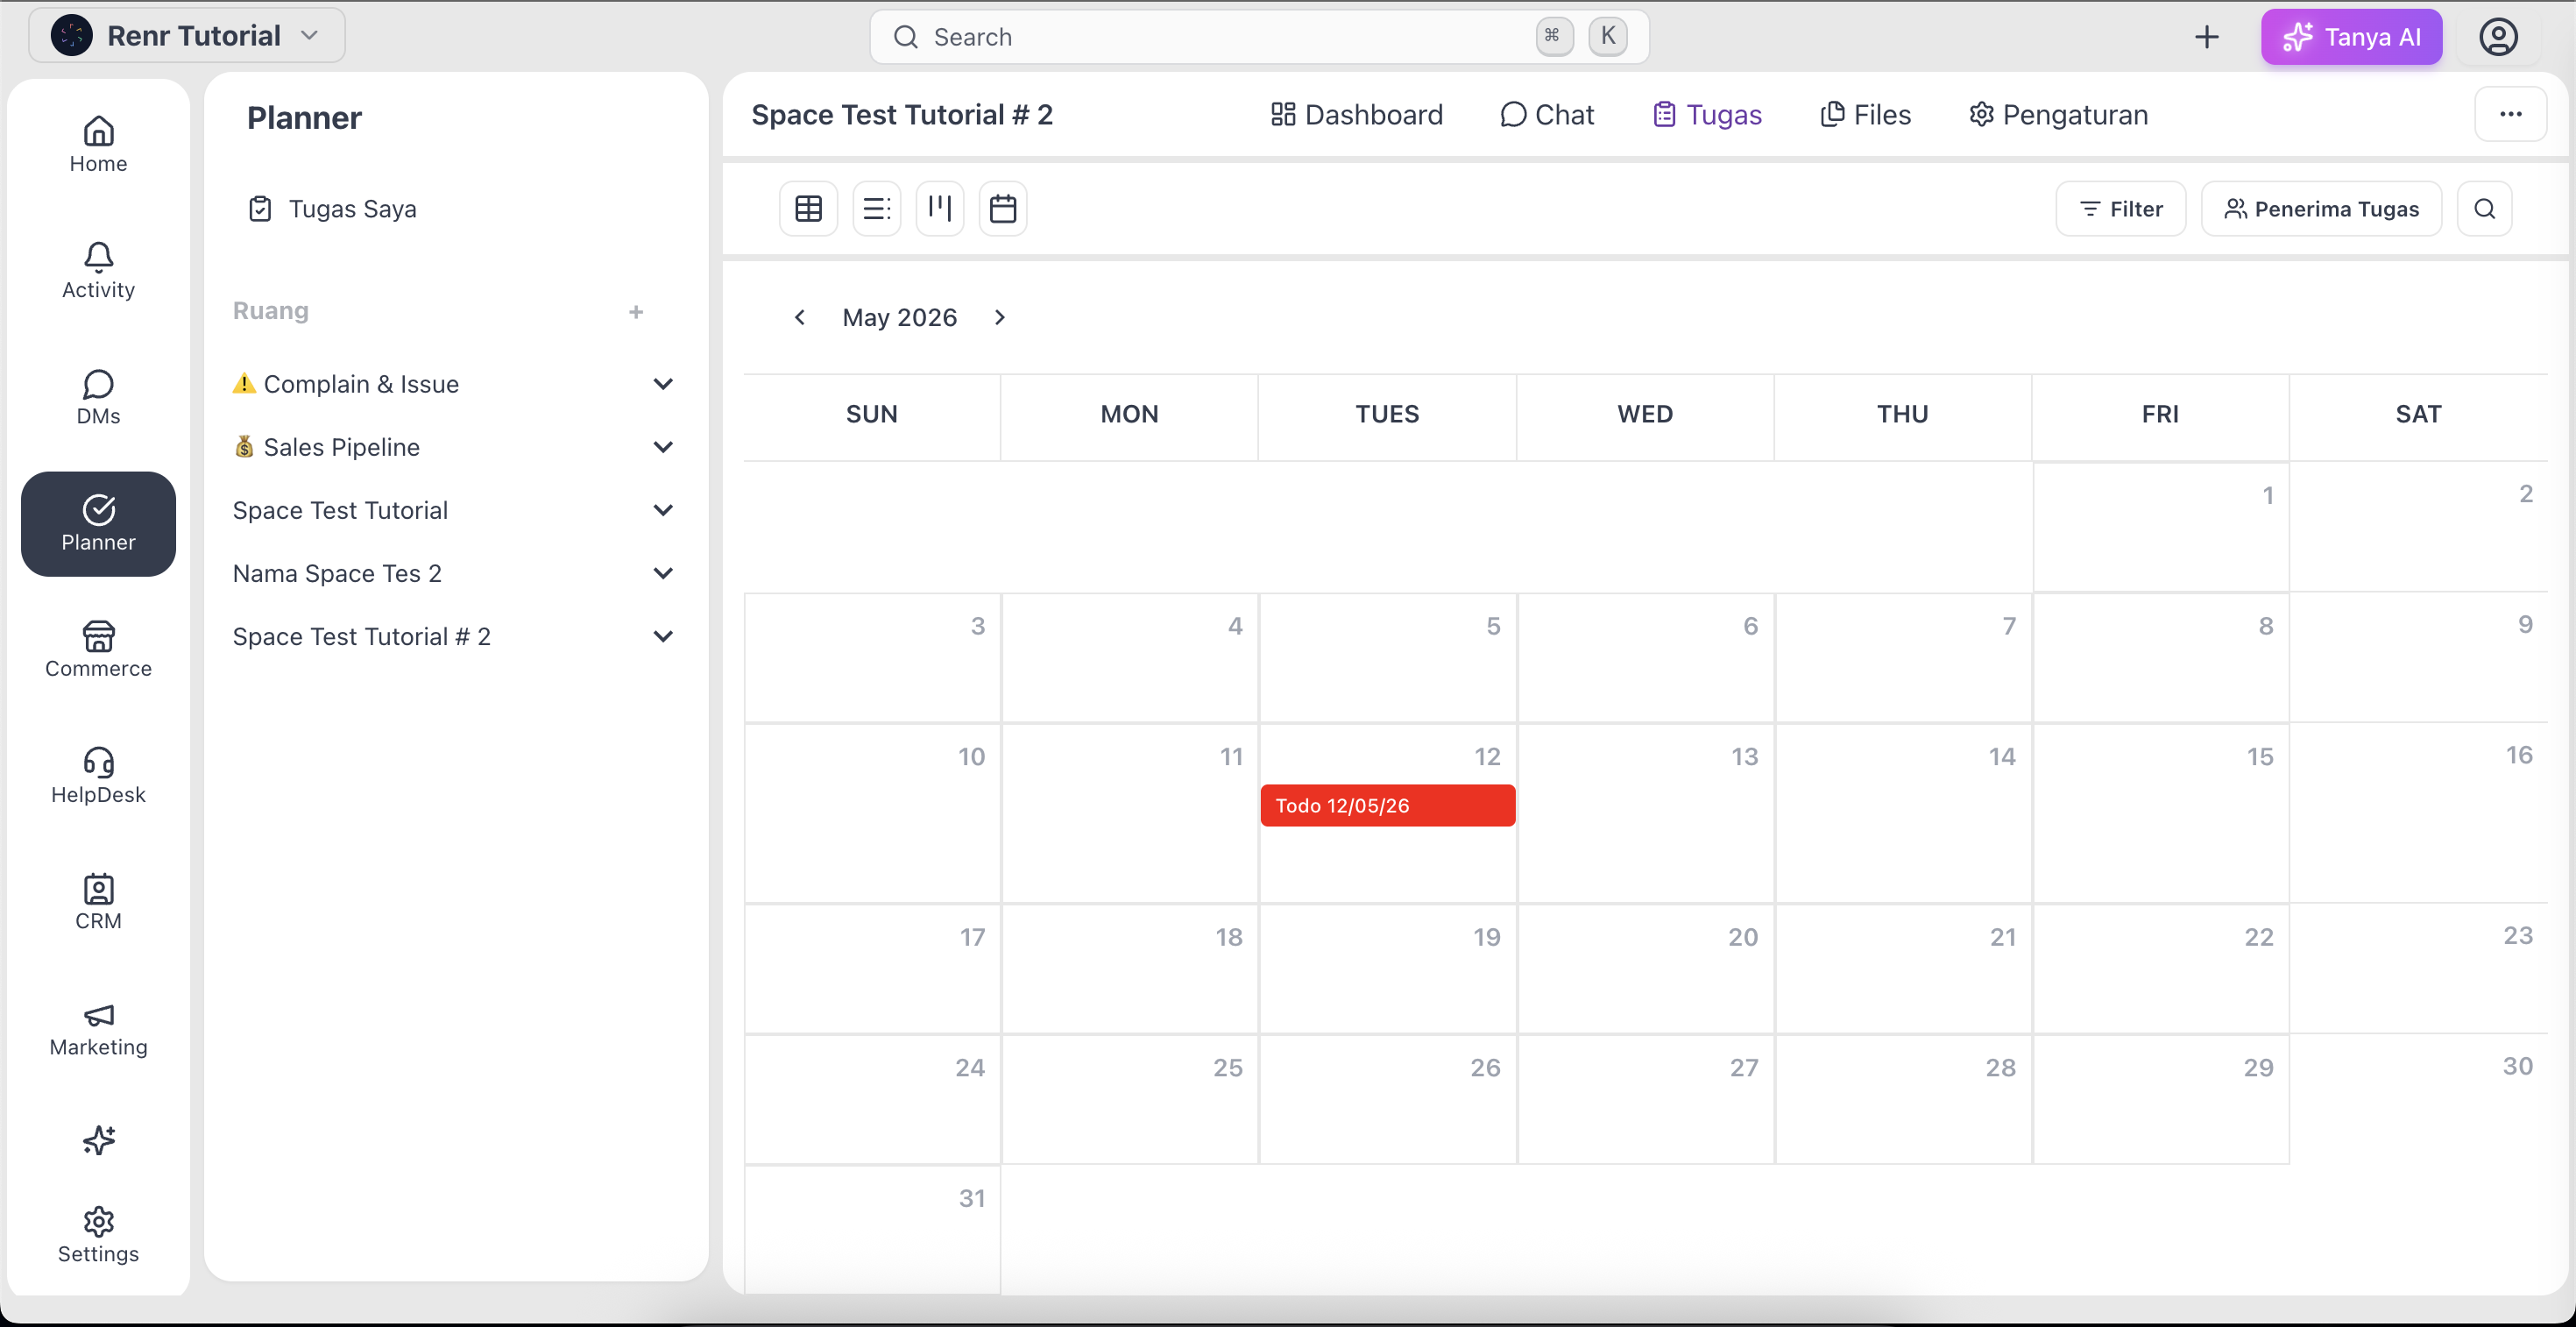
The new task appears immediately:
- As a card at the top of the column you clicked.
- In the picked space—as a card on a board, a row on a list and table, or a bar on a calendar (if start or due dates are set).
- For every assignee—in their My Tasks page.
- On the calendar grid—as a pill on the day for single-day tasks or a bar spanning the range for multi-day tasks.