.png)
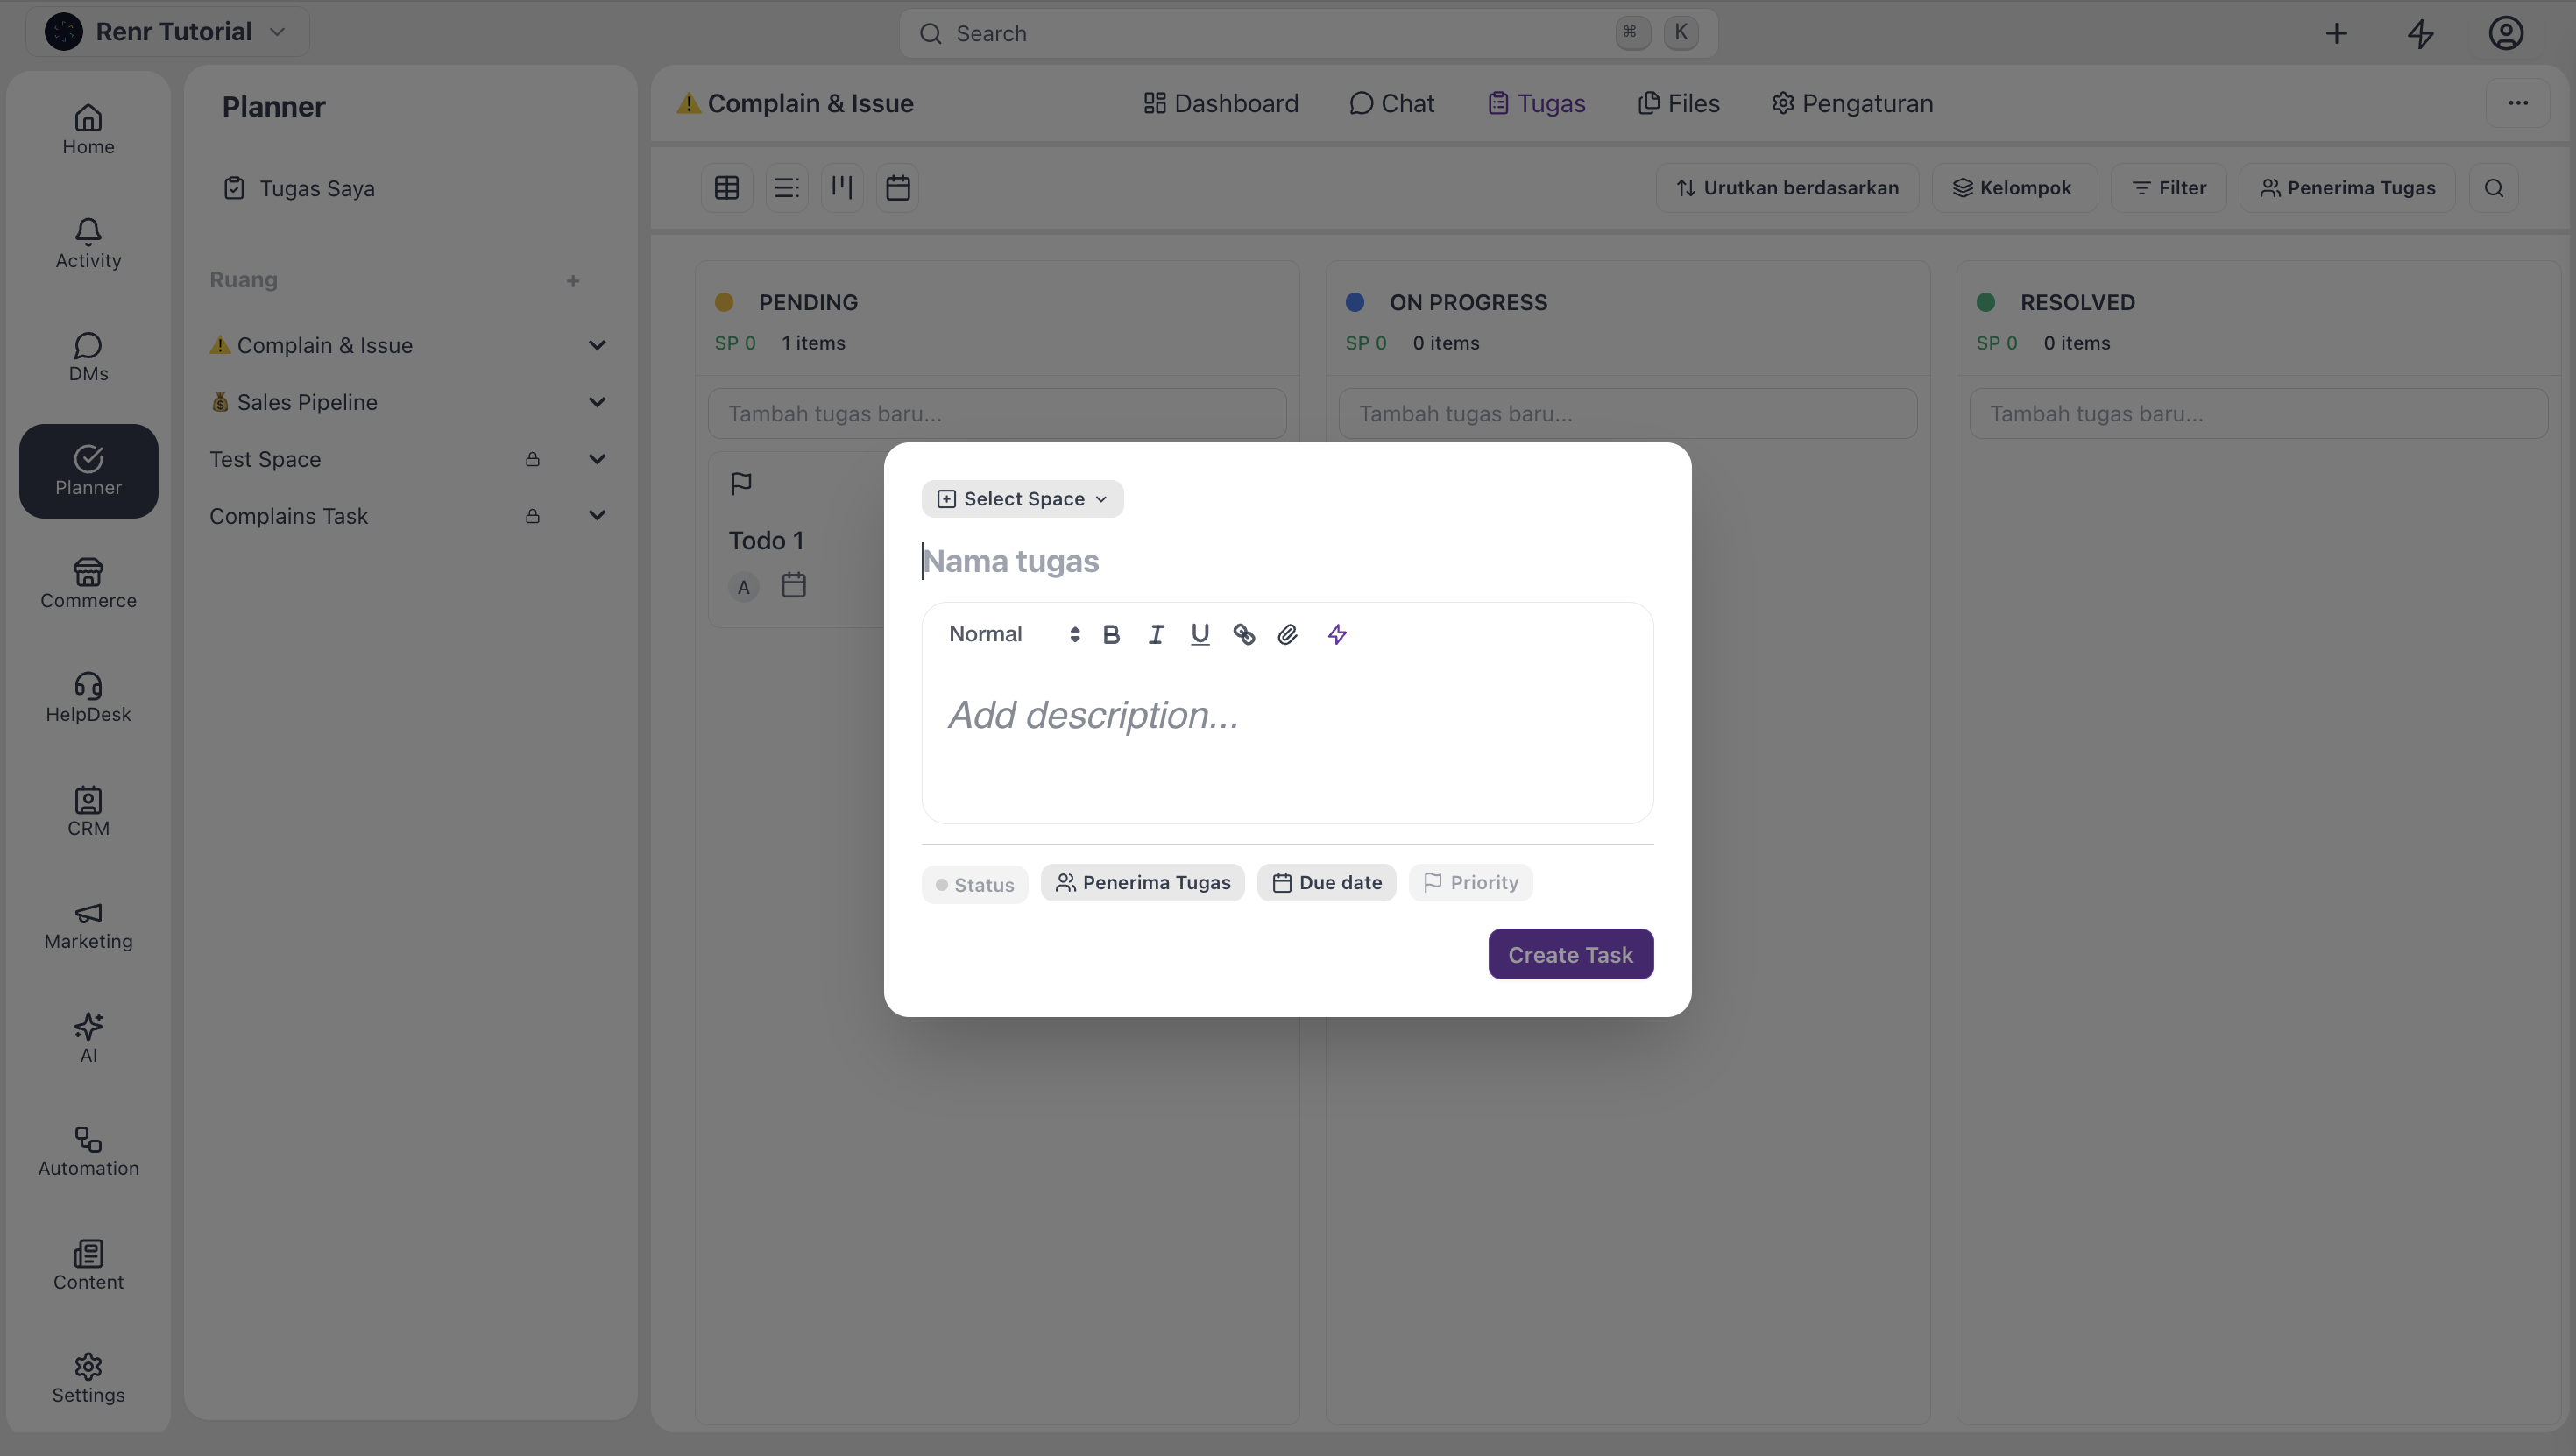
This guide walks you through creating a new task using the Quick Create modal—the fastest way to put work into a space. By the end, you'll know where to find the New Task button, what each field in the modal means, and what happens after you click Create.
What you'll need
- Access to a Space — see Intro to Space if you don't have one yet.
- A role that can create tasks (every role—Owner, Admin, Manager, and Member—can create tasks).
Open Quick Create
There are two places to open Quick Create from a Space:
- Click the + Add task button at the top of the Task tab — opens the modal with no preset Status.
- Click the + at the top of any column on Board view — opens the modal with that column's Status already selected.
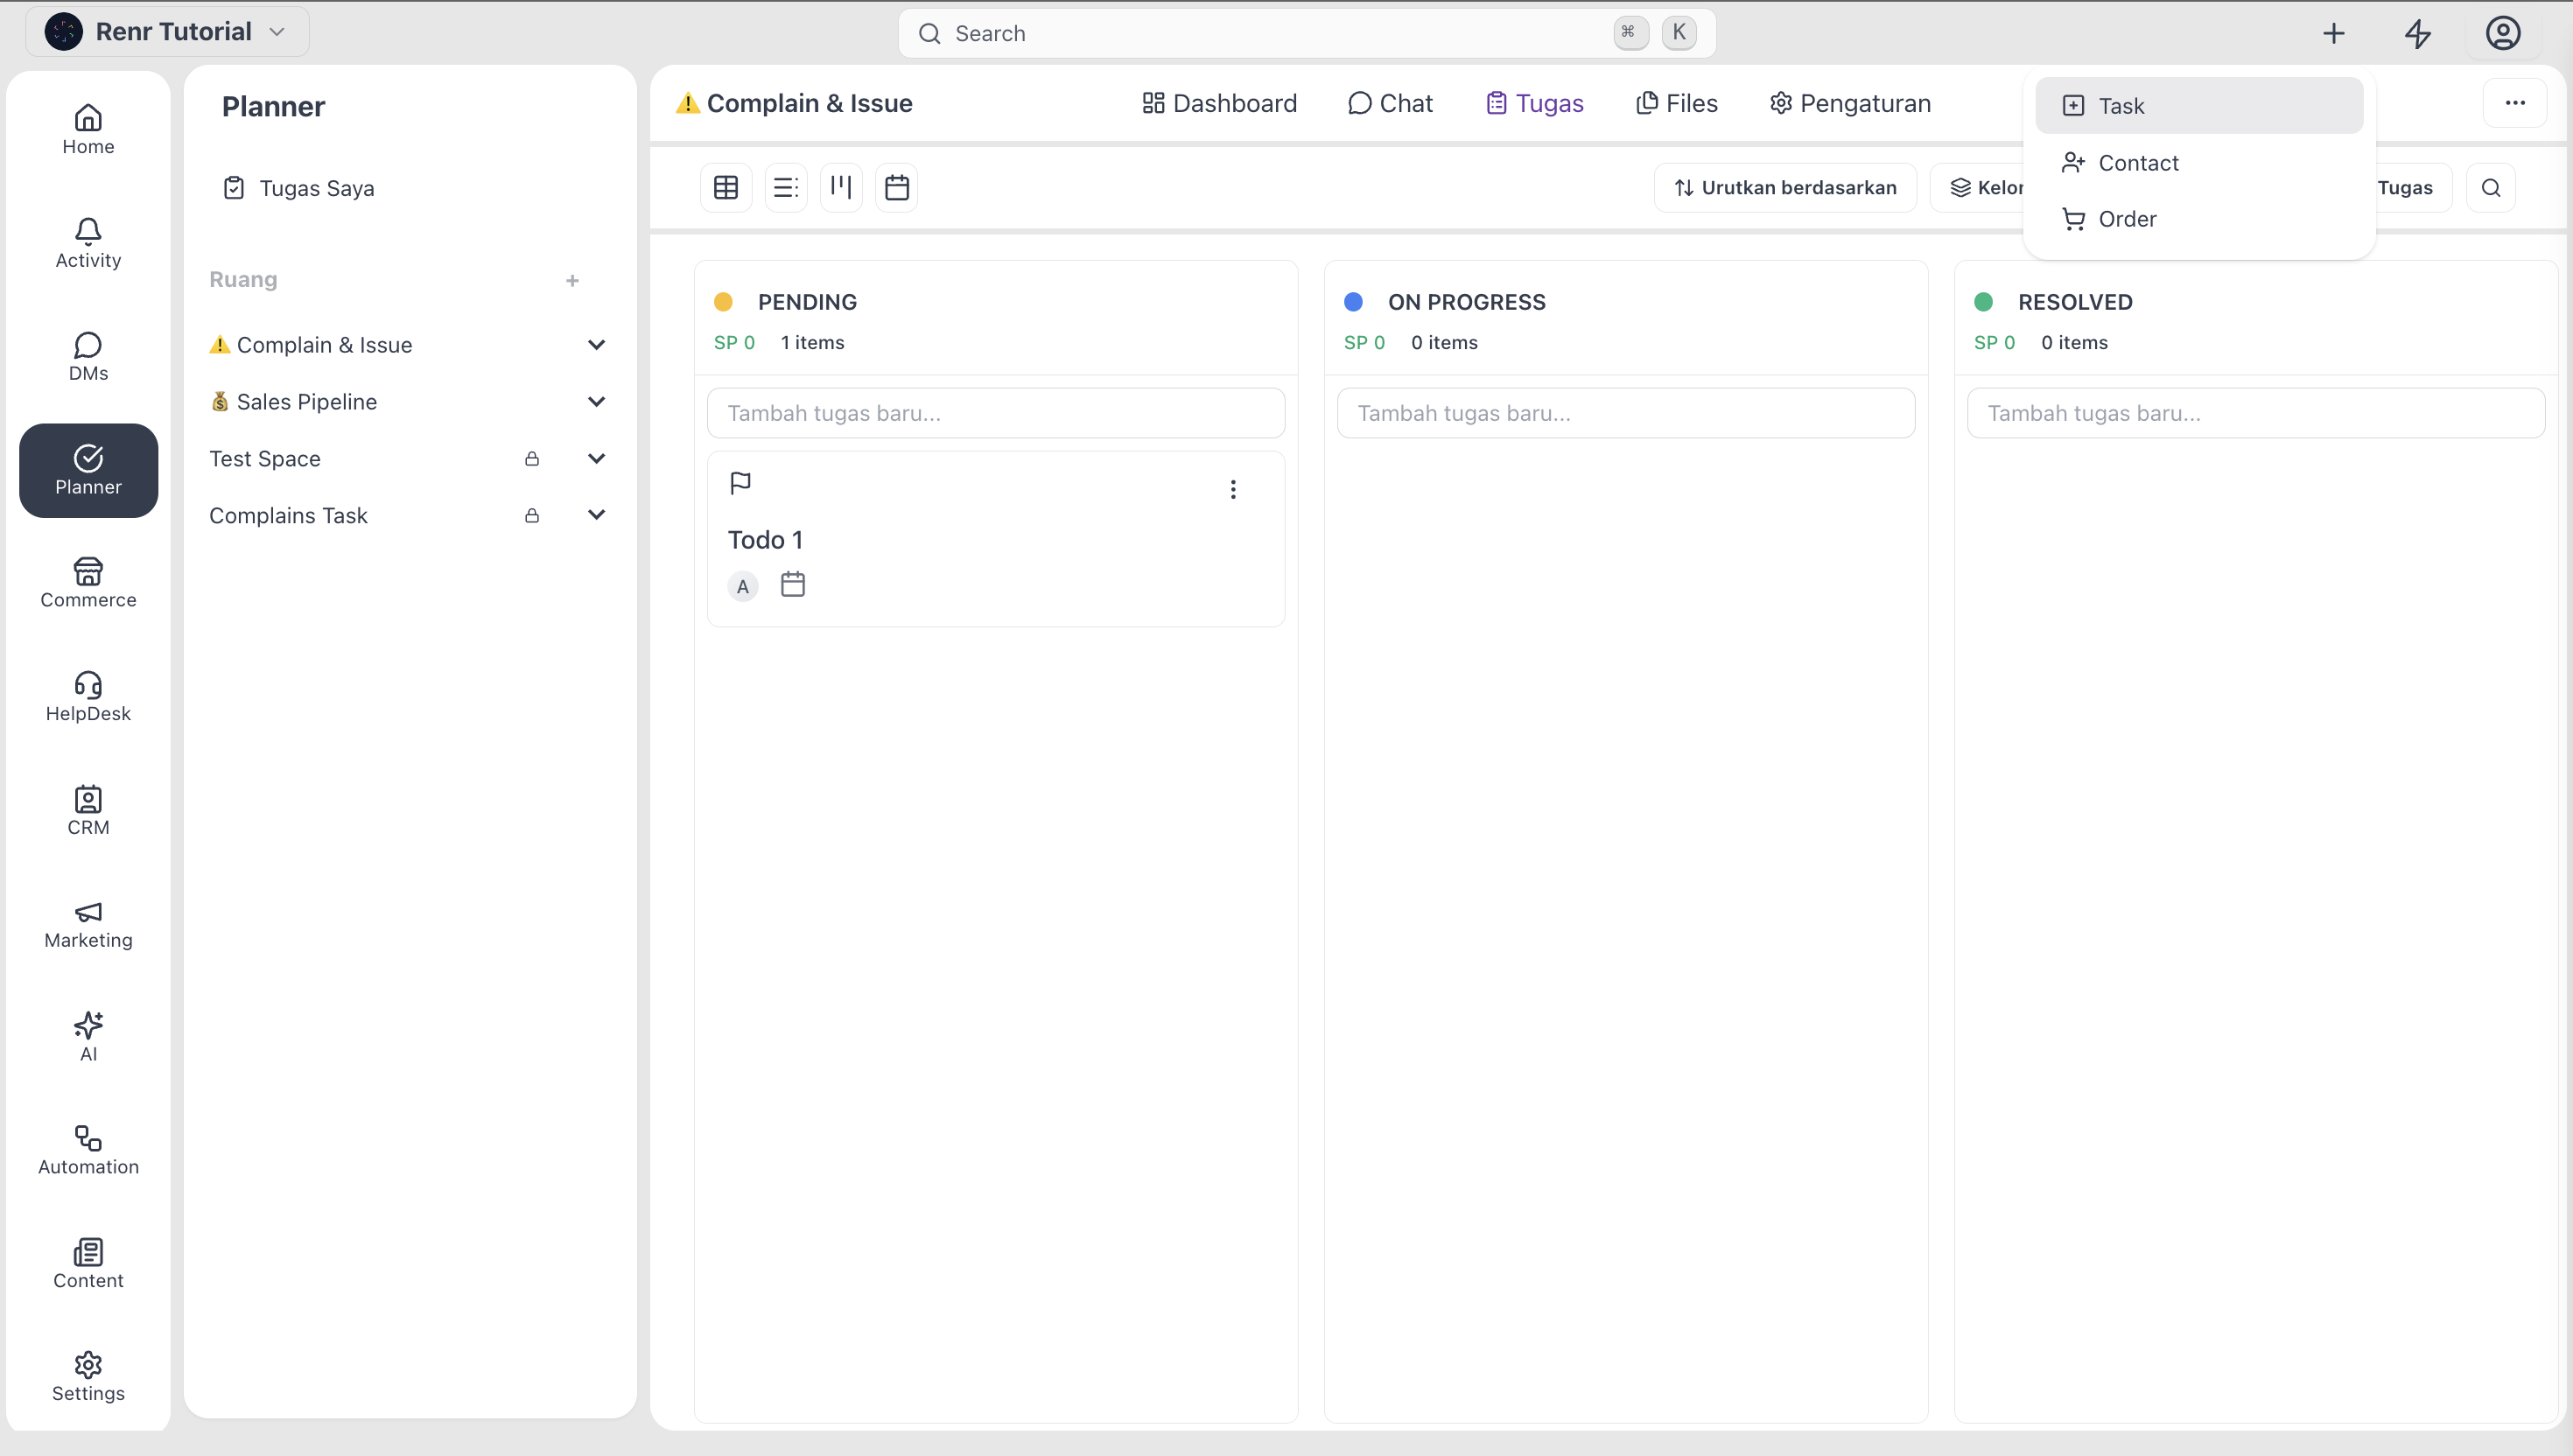
Both paths open the same modal. Use the column-level + when you already know which status the new task belongs to.
Type the Title
Click in the large title field at the top of the modal and type a short, specific name for the Task.
A good title says exactly what needs to be done: "Send Q2 invoice to Acme" beats "Invoice." You'll thank yourself when you scan a board later and need to find the task at a glance.
Add a Description
The Description is a rich-text editor—bold, italic, lists, links, and code blocks. Use it for details that don't fit in the Title: requirements, context, and acceptance criteria.
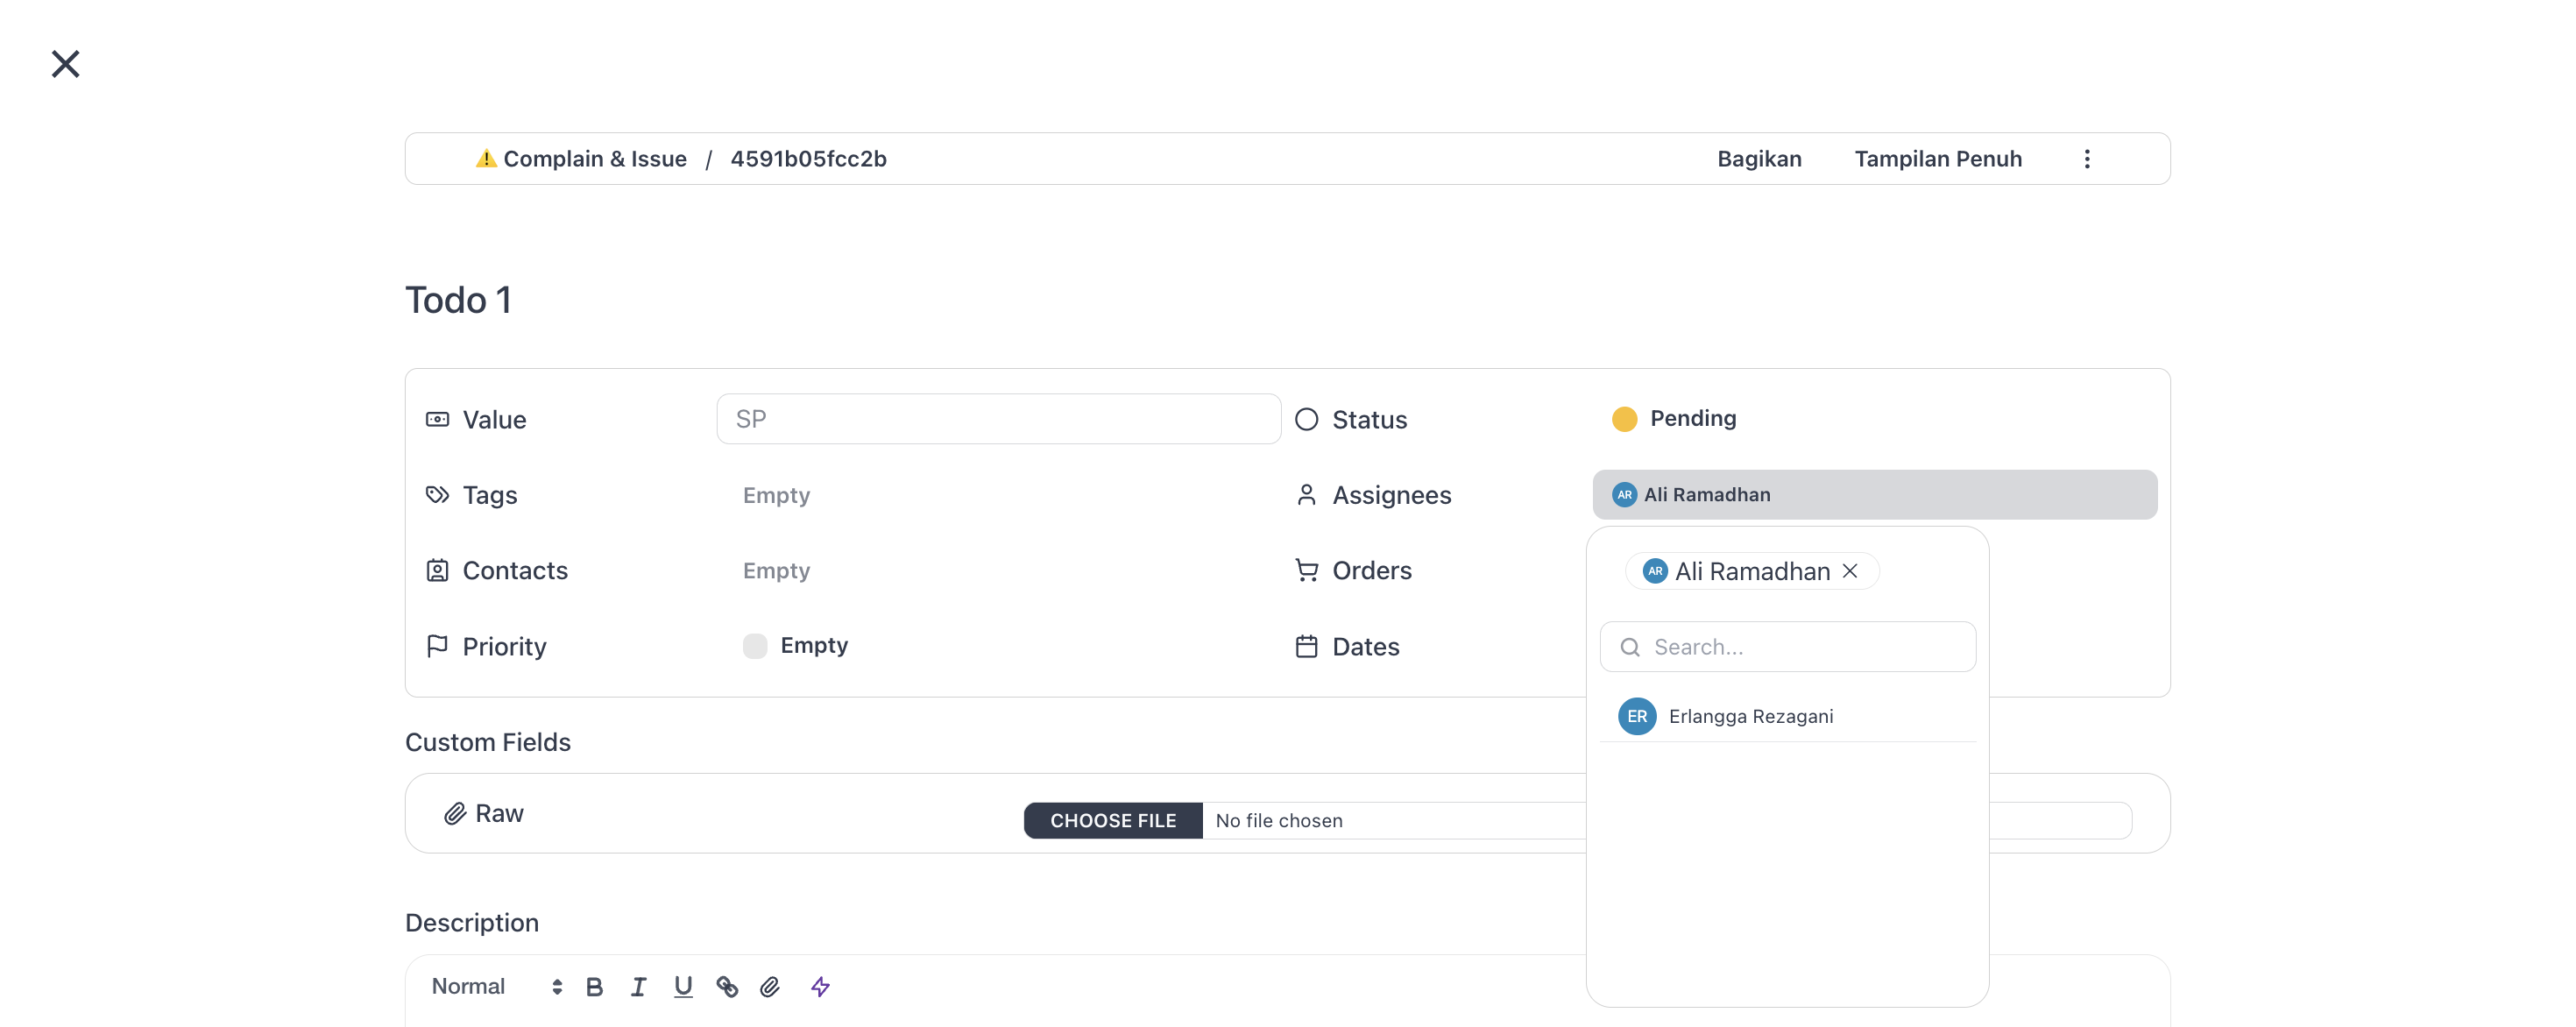
Set the Assignee
Click the Assignee pill and pick one or more teammates from the dropdown.
Two things to know:
- You can pick multiple people—the task appears in each of their My Tasks.
- If you have the Member role on this Space, the Assignee pill is hidden in Quick Create. Tasks you create are auto-assigned to you.
Set the Start Date and Due Date
Click the date pill and pick a date and time from the calendar picker. Tasks without a due date are easy to lose, so set one even if it's a rough placeholder you can adjust later.
Set the Priority
Click the Priority pill and pick from the priorities defined for the space—the default set is urgent, high, normal, and low.