.png)
Your Products catalog is where everything you sell lives. This guide walks you through creating a product, adding photos and files, setting its price and stock, and publishing it so it's ready to add to orders.
Open your product catalog
Click Products in the Commerce section of the left sidebar. You'll see every product with its status — Draft, Active, or Archived — along with search and filters for name, SKU, category, price, and stock.
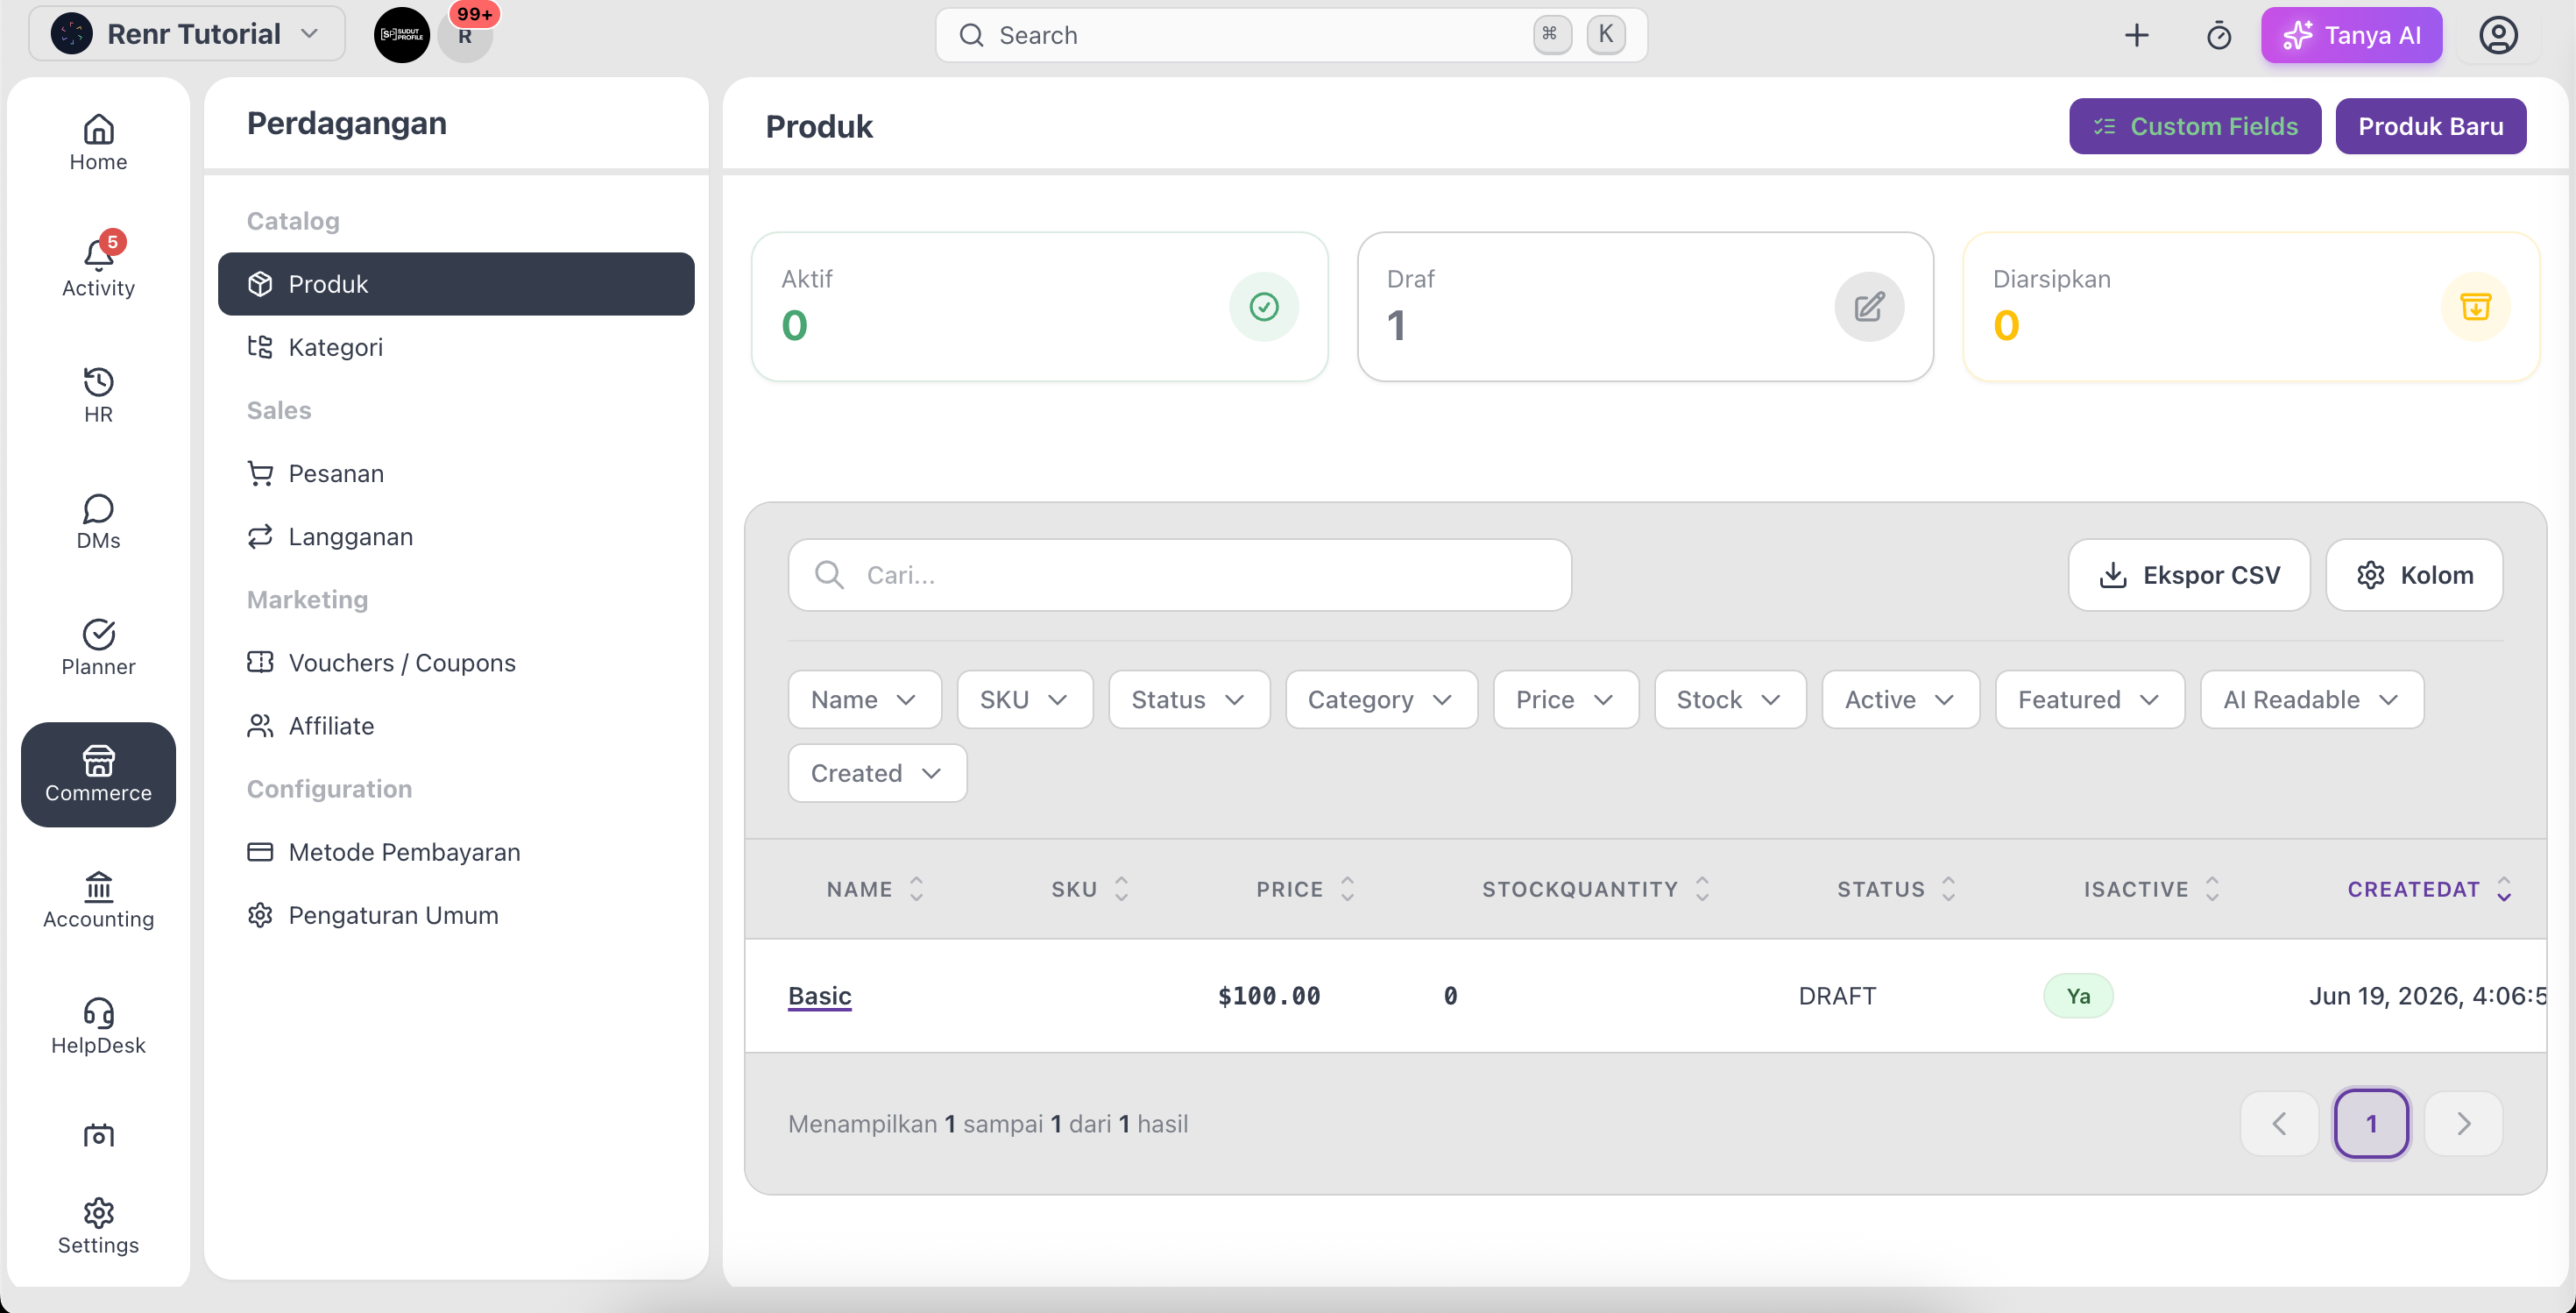
Create a product
- Click New Product. A draft product is created instantly and its detail page opens.
- Give it a name and, if you use them, a SKU and category.
- Set the price and add a description customers will see.
- Click Save.
Add images and files
On the product detail page:
- Click Upload Image to add one or more photos. The first image is used as the main image. Use the remove icon on any image to delete it.
- Click Upload File to attach downloadable assets — a PDF, guide, or licence — that the buyer should receive.
[Screenshot: the product detail page with the image gallery and key fields.]
Track stock
Enter the quantity on hand and an optional low-stock threshold. When stock drops to or below that threshold, the product is flagged so you can restock before you run out.
Publish the product
Use the status dropdown to move the product through its lifecycle:
- Draft — still being prepared; hidden from customers.
- Active — live and ready to add to orders.
- Archived — retired but kept for your records.
Tip: Add at least one clear photo and a short, benefit-led description before setting a product to Active — it's what customers rely on when deciding to buy.