.png)
Your business is the workspace that holds your contacts, conversations, tasks, and content in Omni. This guide walks you through the registration wizard step by step, so you can create a new business and land on your dashboard in just a few minutes.
Before you start
- You'll need a Renr account and to be signed in. If you haven't created one yet, see Account Management.
- Have your business name, industry, and team size handy — the wizard asks for them.
Open the registration wizard
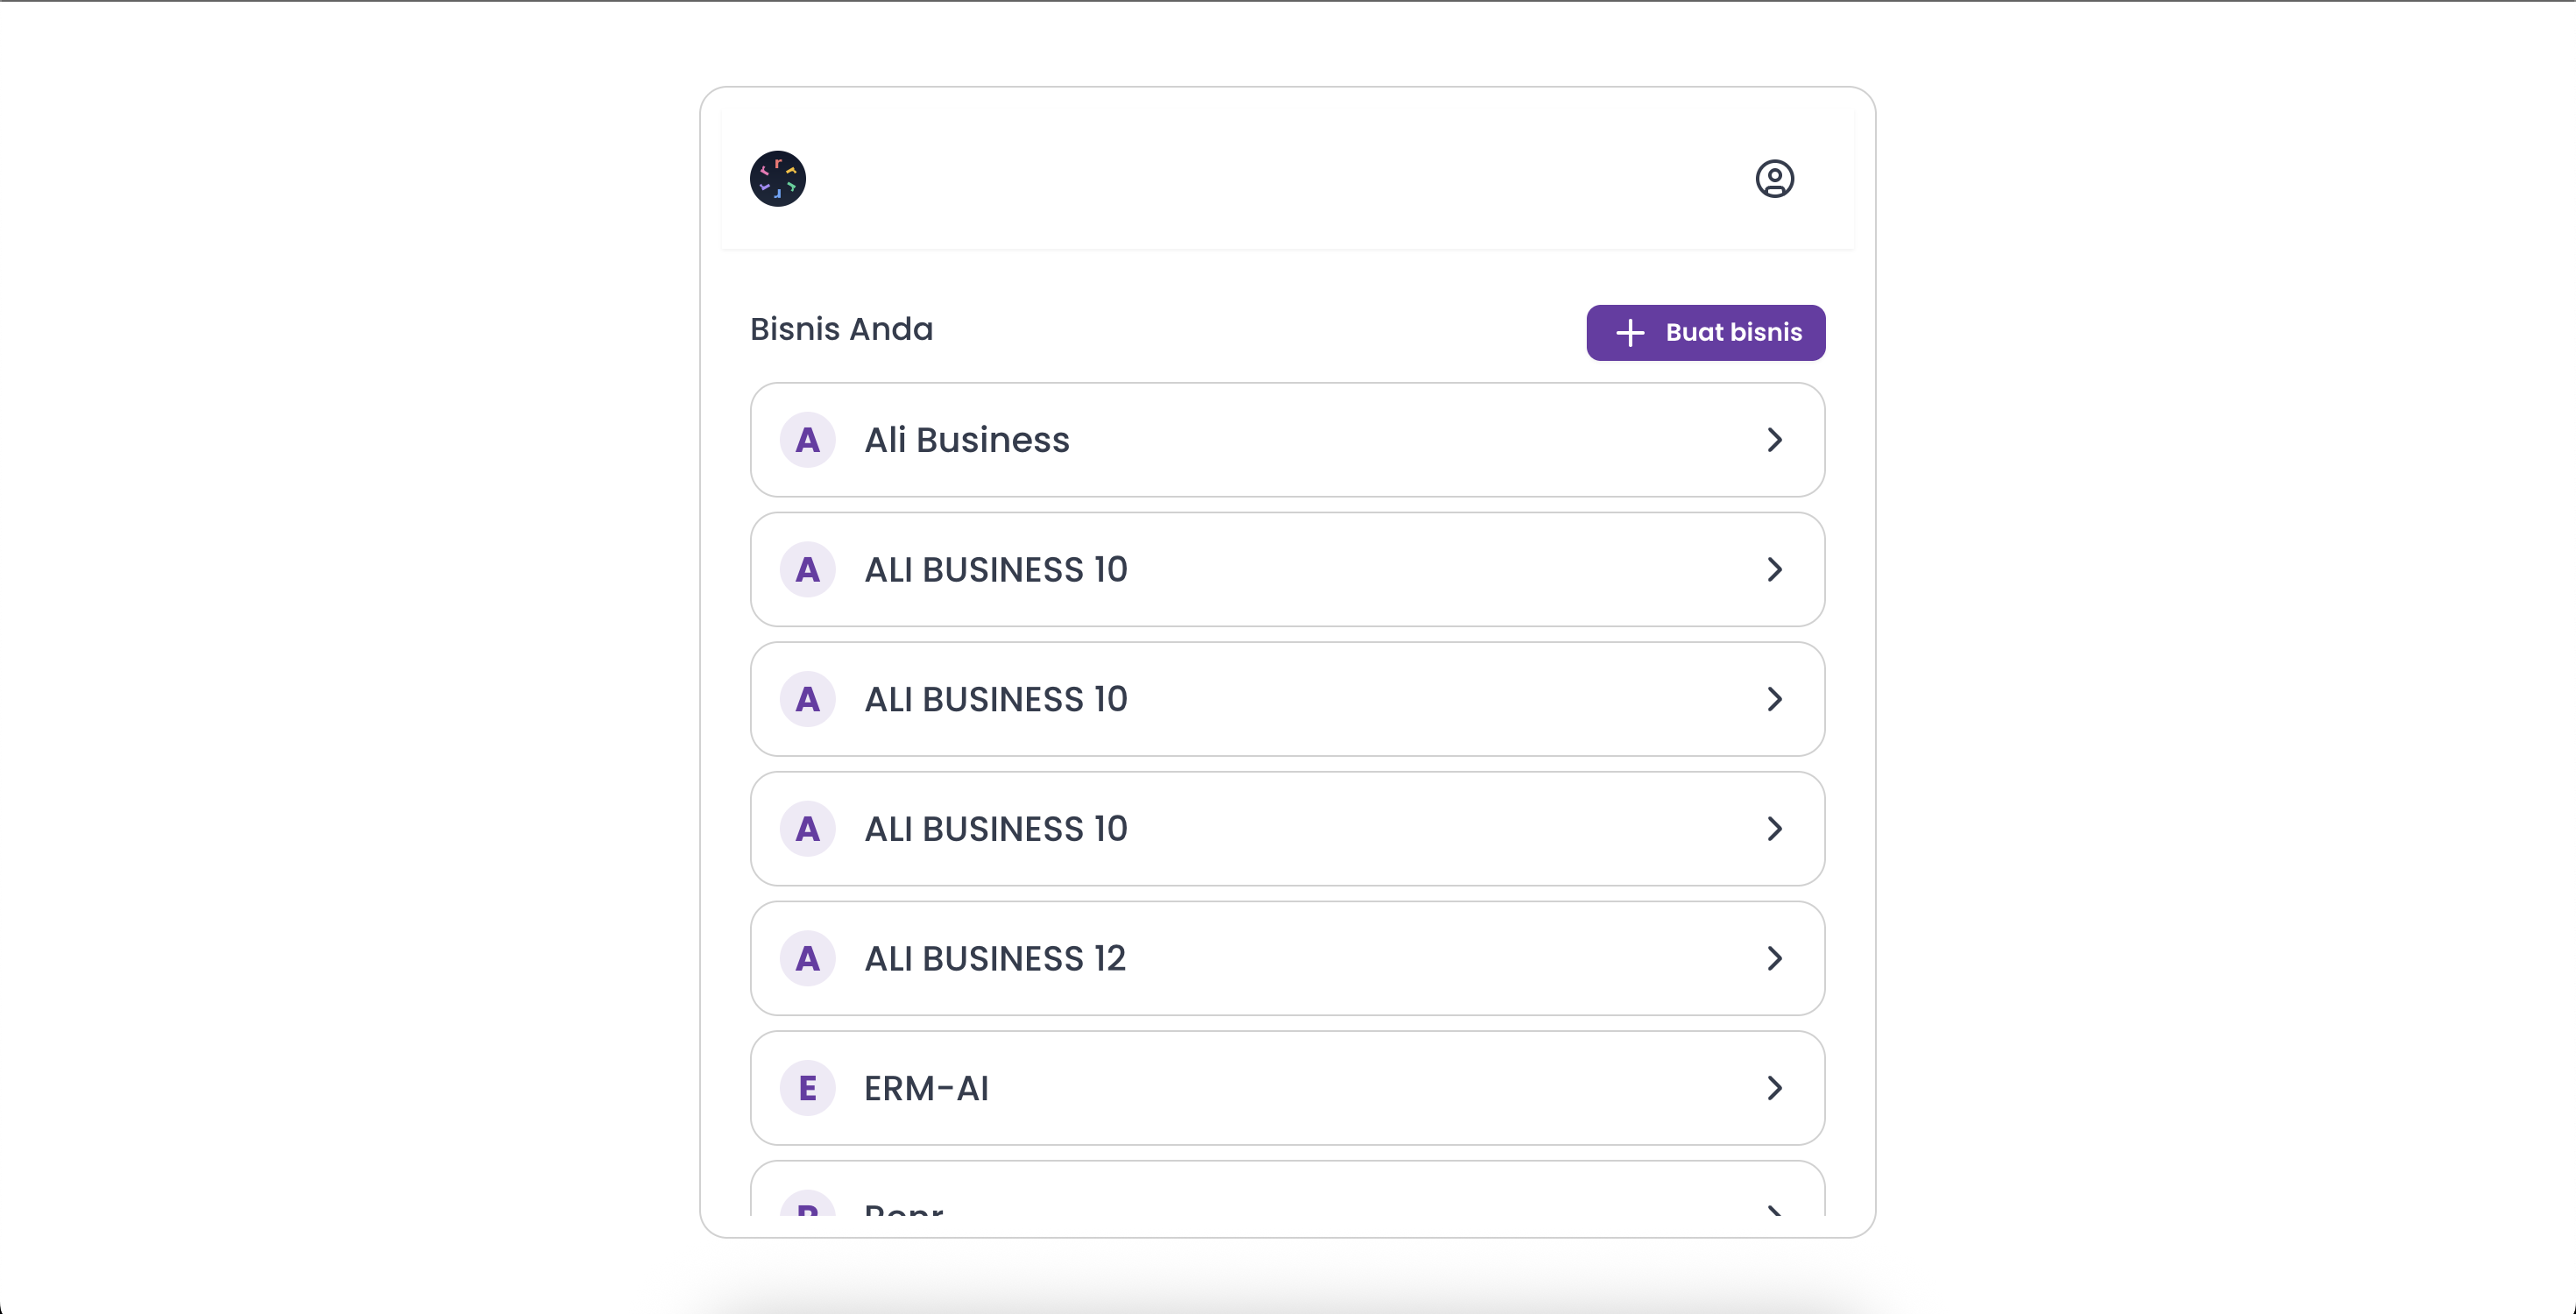
From the business hub, click Create business. If you've just signed up and don't have a business yet, Omni brings you here automatically. When asked, choose Create a new business rather than joining an existing one.
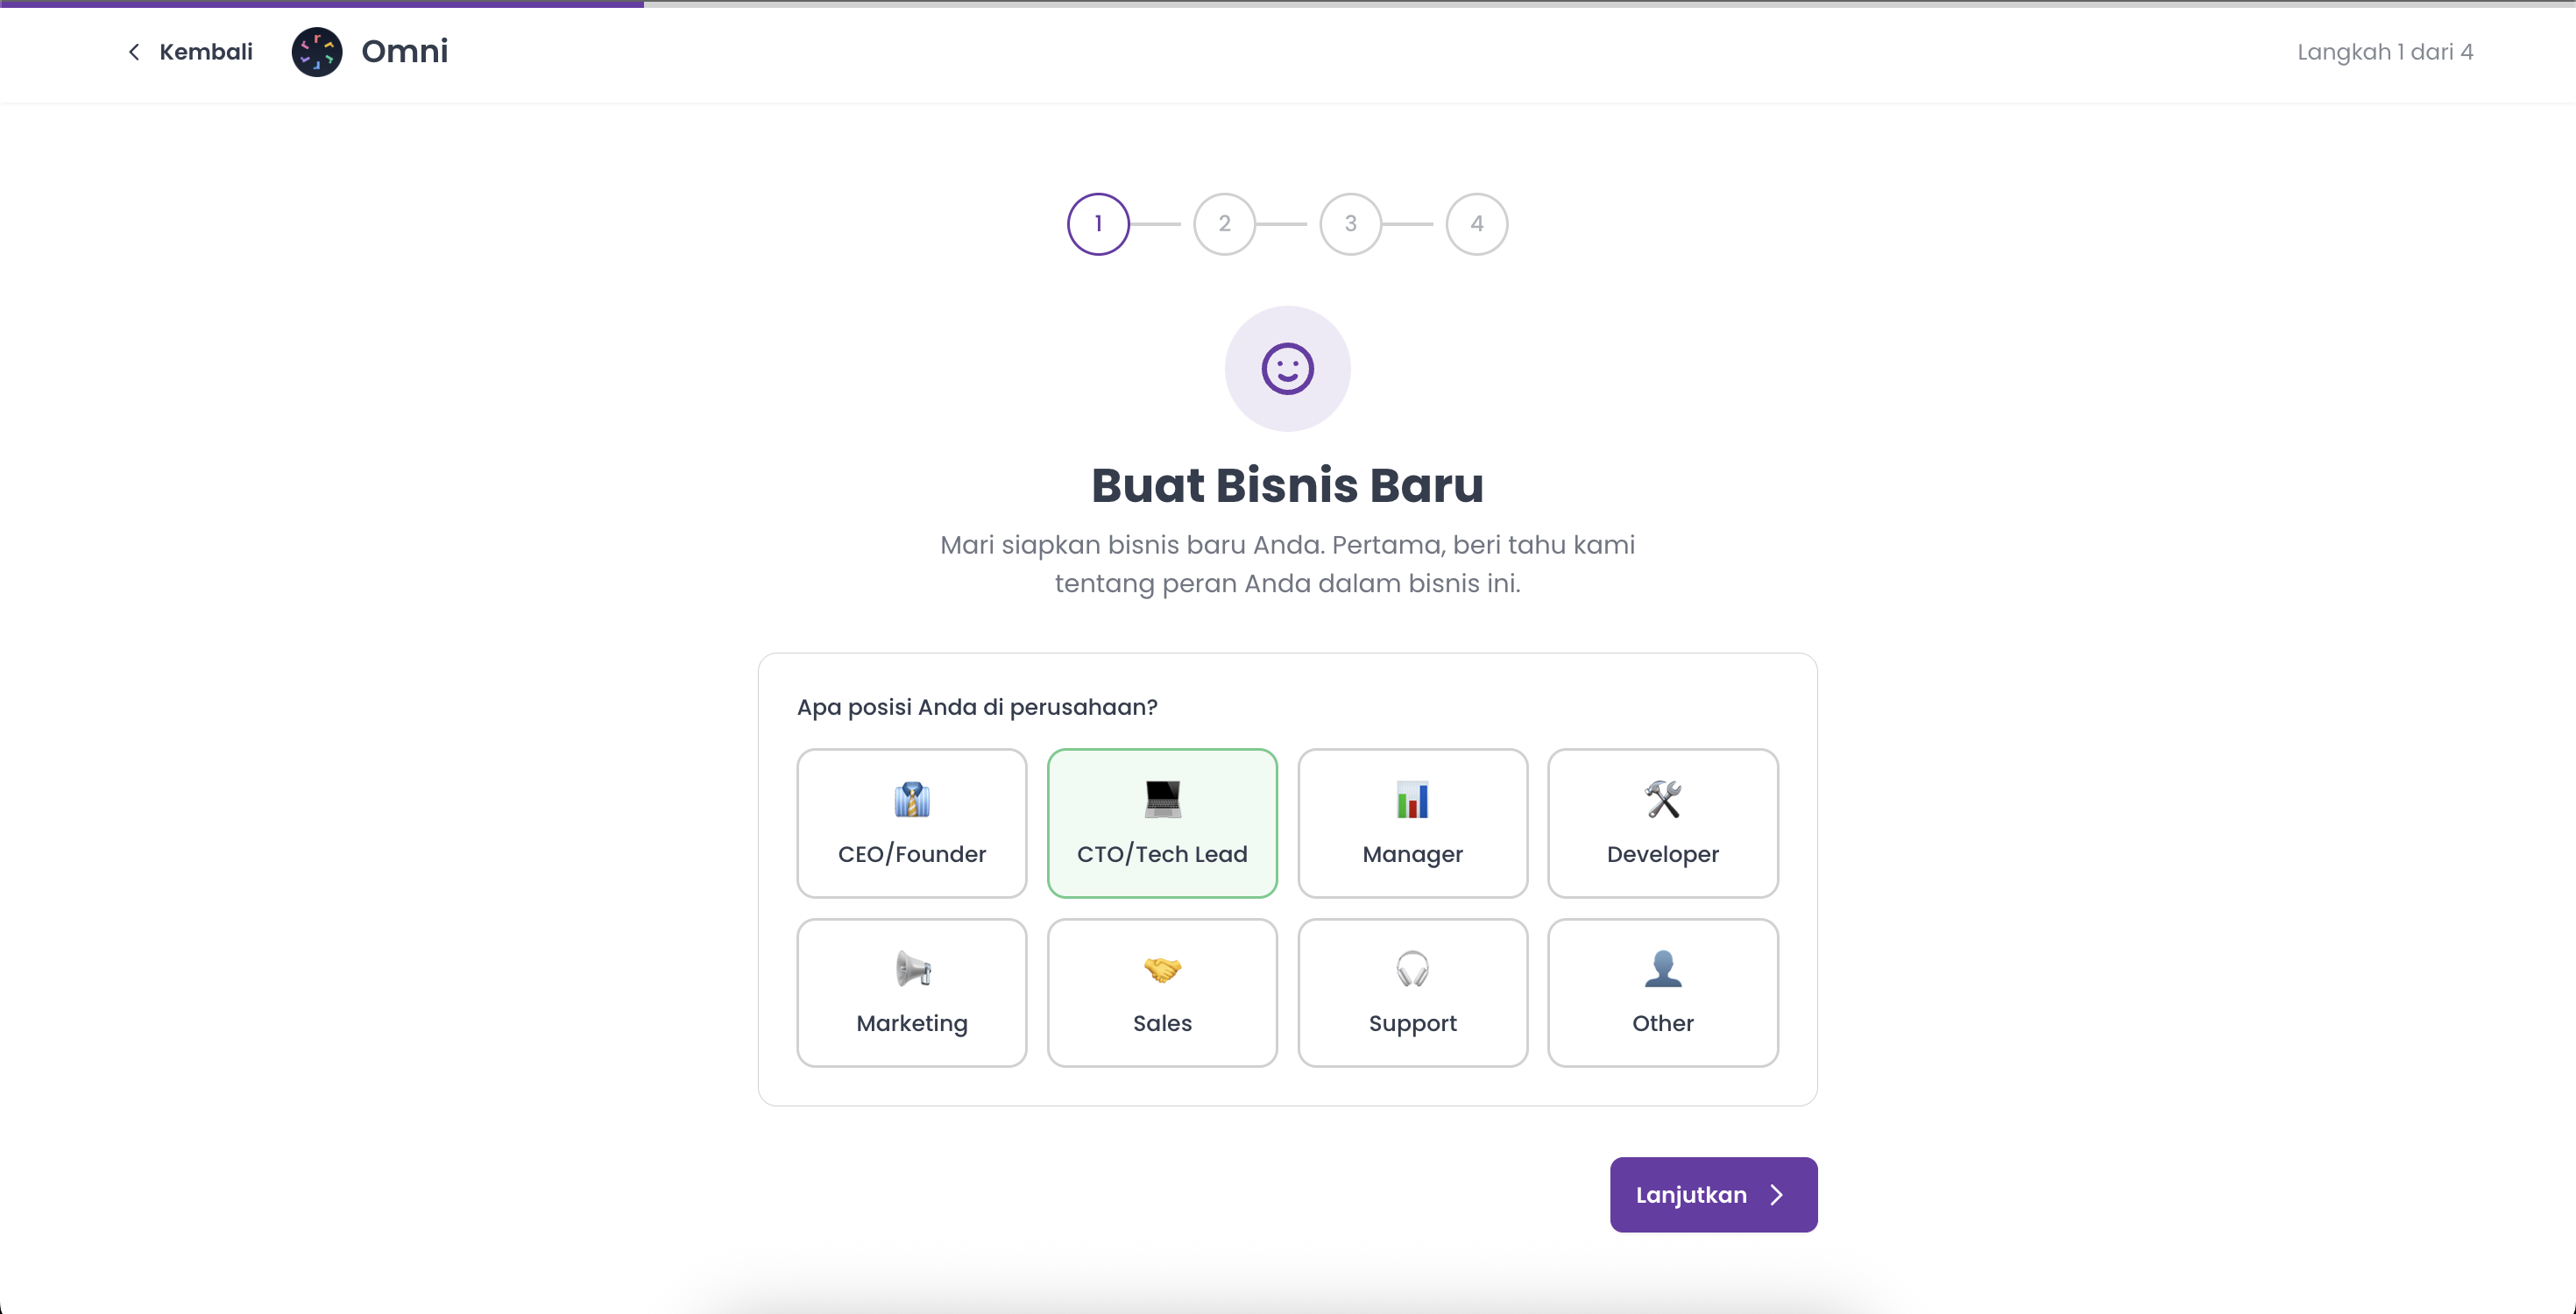
The wizard guides you through four short steps, shown by the Step X of 4 progress bar at the top.
Step 1 — Your role
Under What's your position in the company?, pick the role that best describes you — CEO/Founder, CTO/Tech Lead, Manager, Developer, Marketing, Sales, Support, or Other. Then click Continue.
Step 2 — Company details
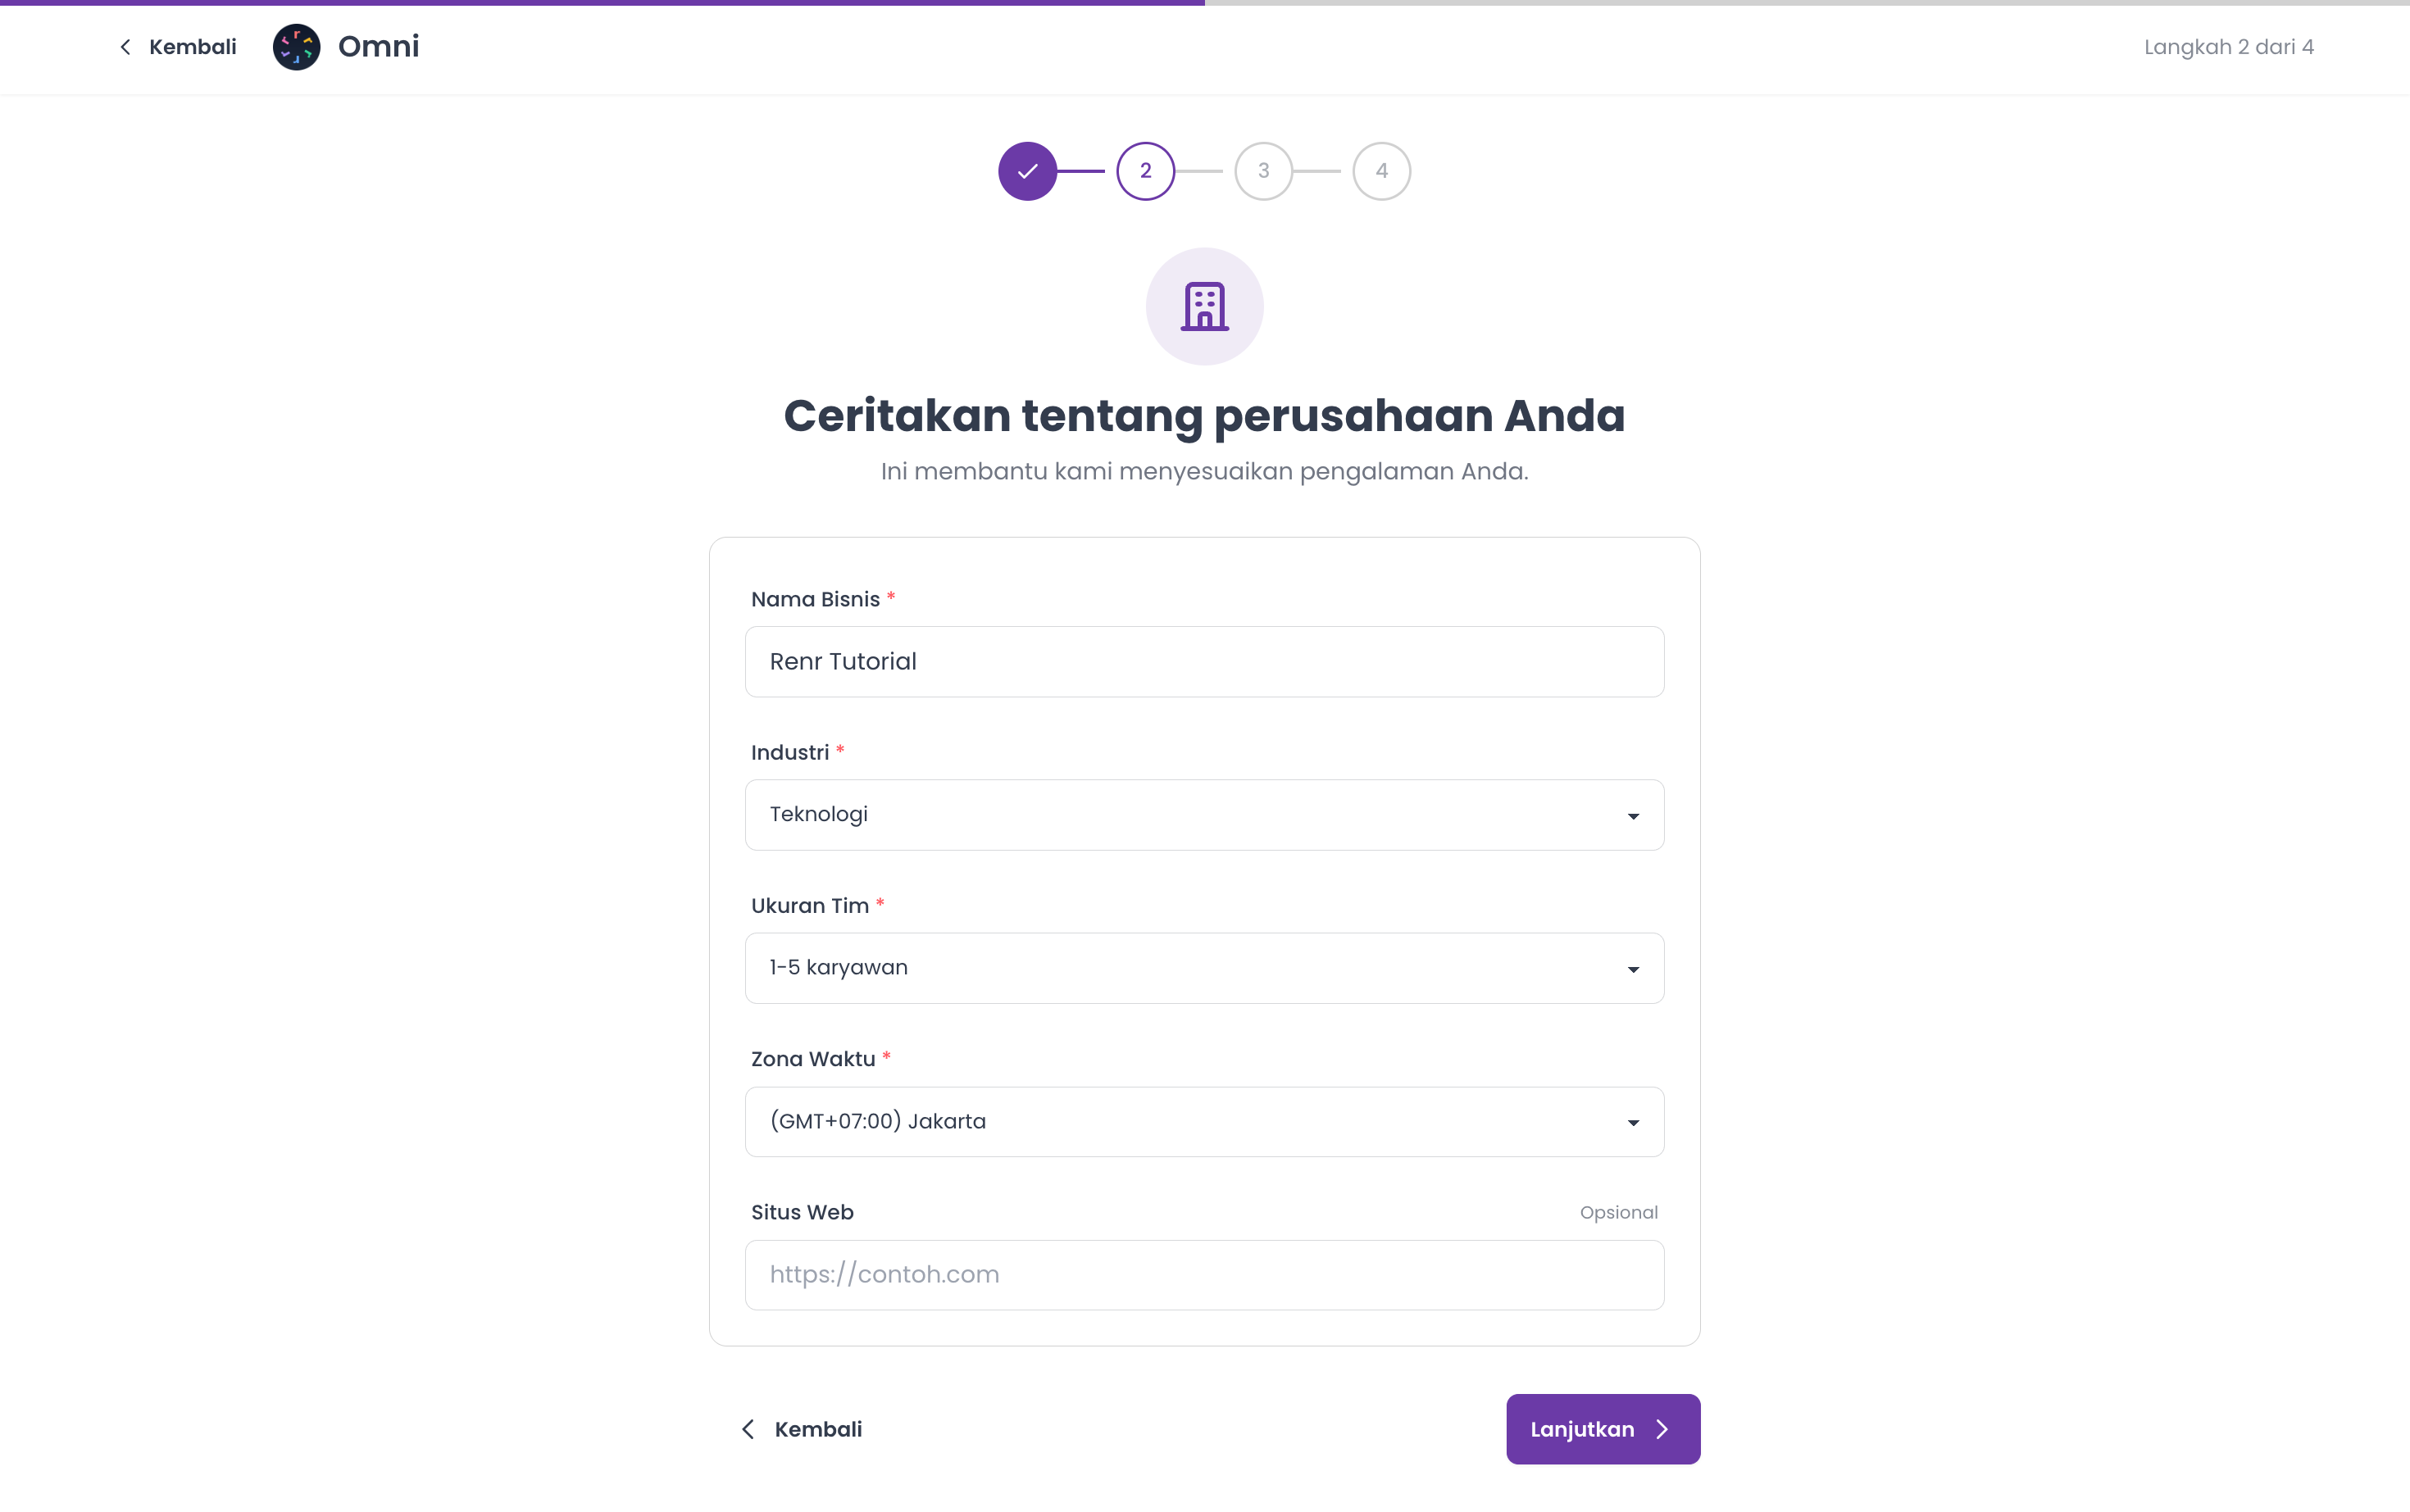
On the Tell us about your company step, fill in:
- Business Name (required) — between 3 and 150 characters. Omni uses this name to generate your workspace's web address, so choose it carefully.
- Industry (required) — choose the closest match from the list.
- Team Size (required) — select your headcount band (1-5, 6-20, 21-50, 51-200, 201-500, or 500+).
- Timezone (required) — pick the timezone your team works in; this sets the clock for scheduling and reports.
- Website (optional) — add your website URL if you have one.
Click Continue.
Tip: You can change any of these details later from your business settings.
Step 3 — Choose your modules
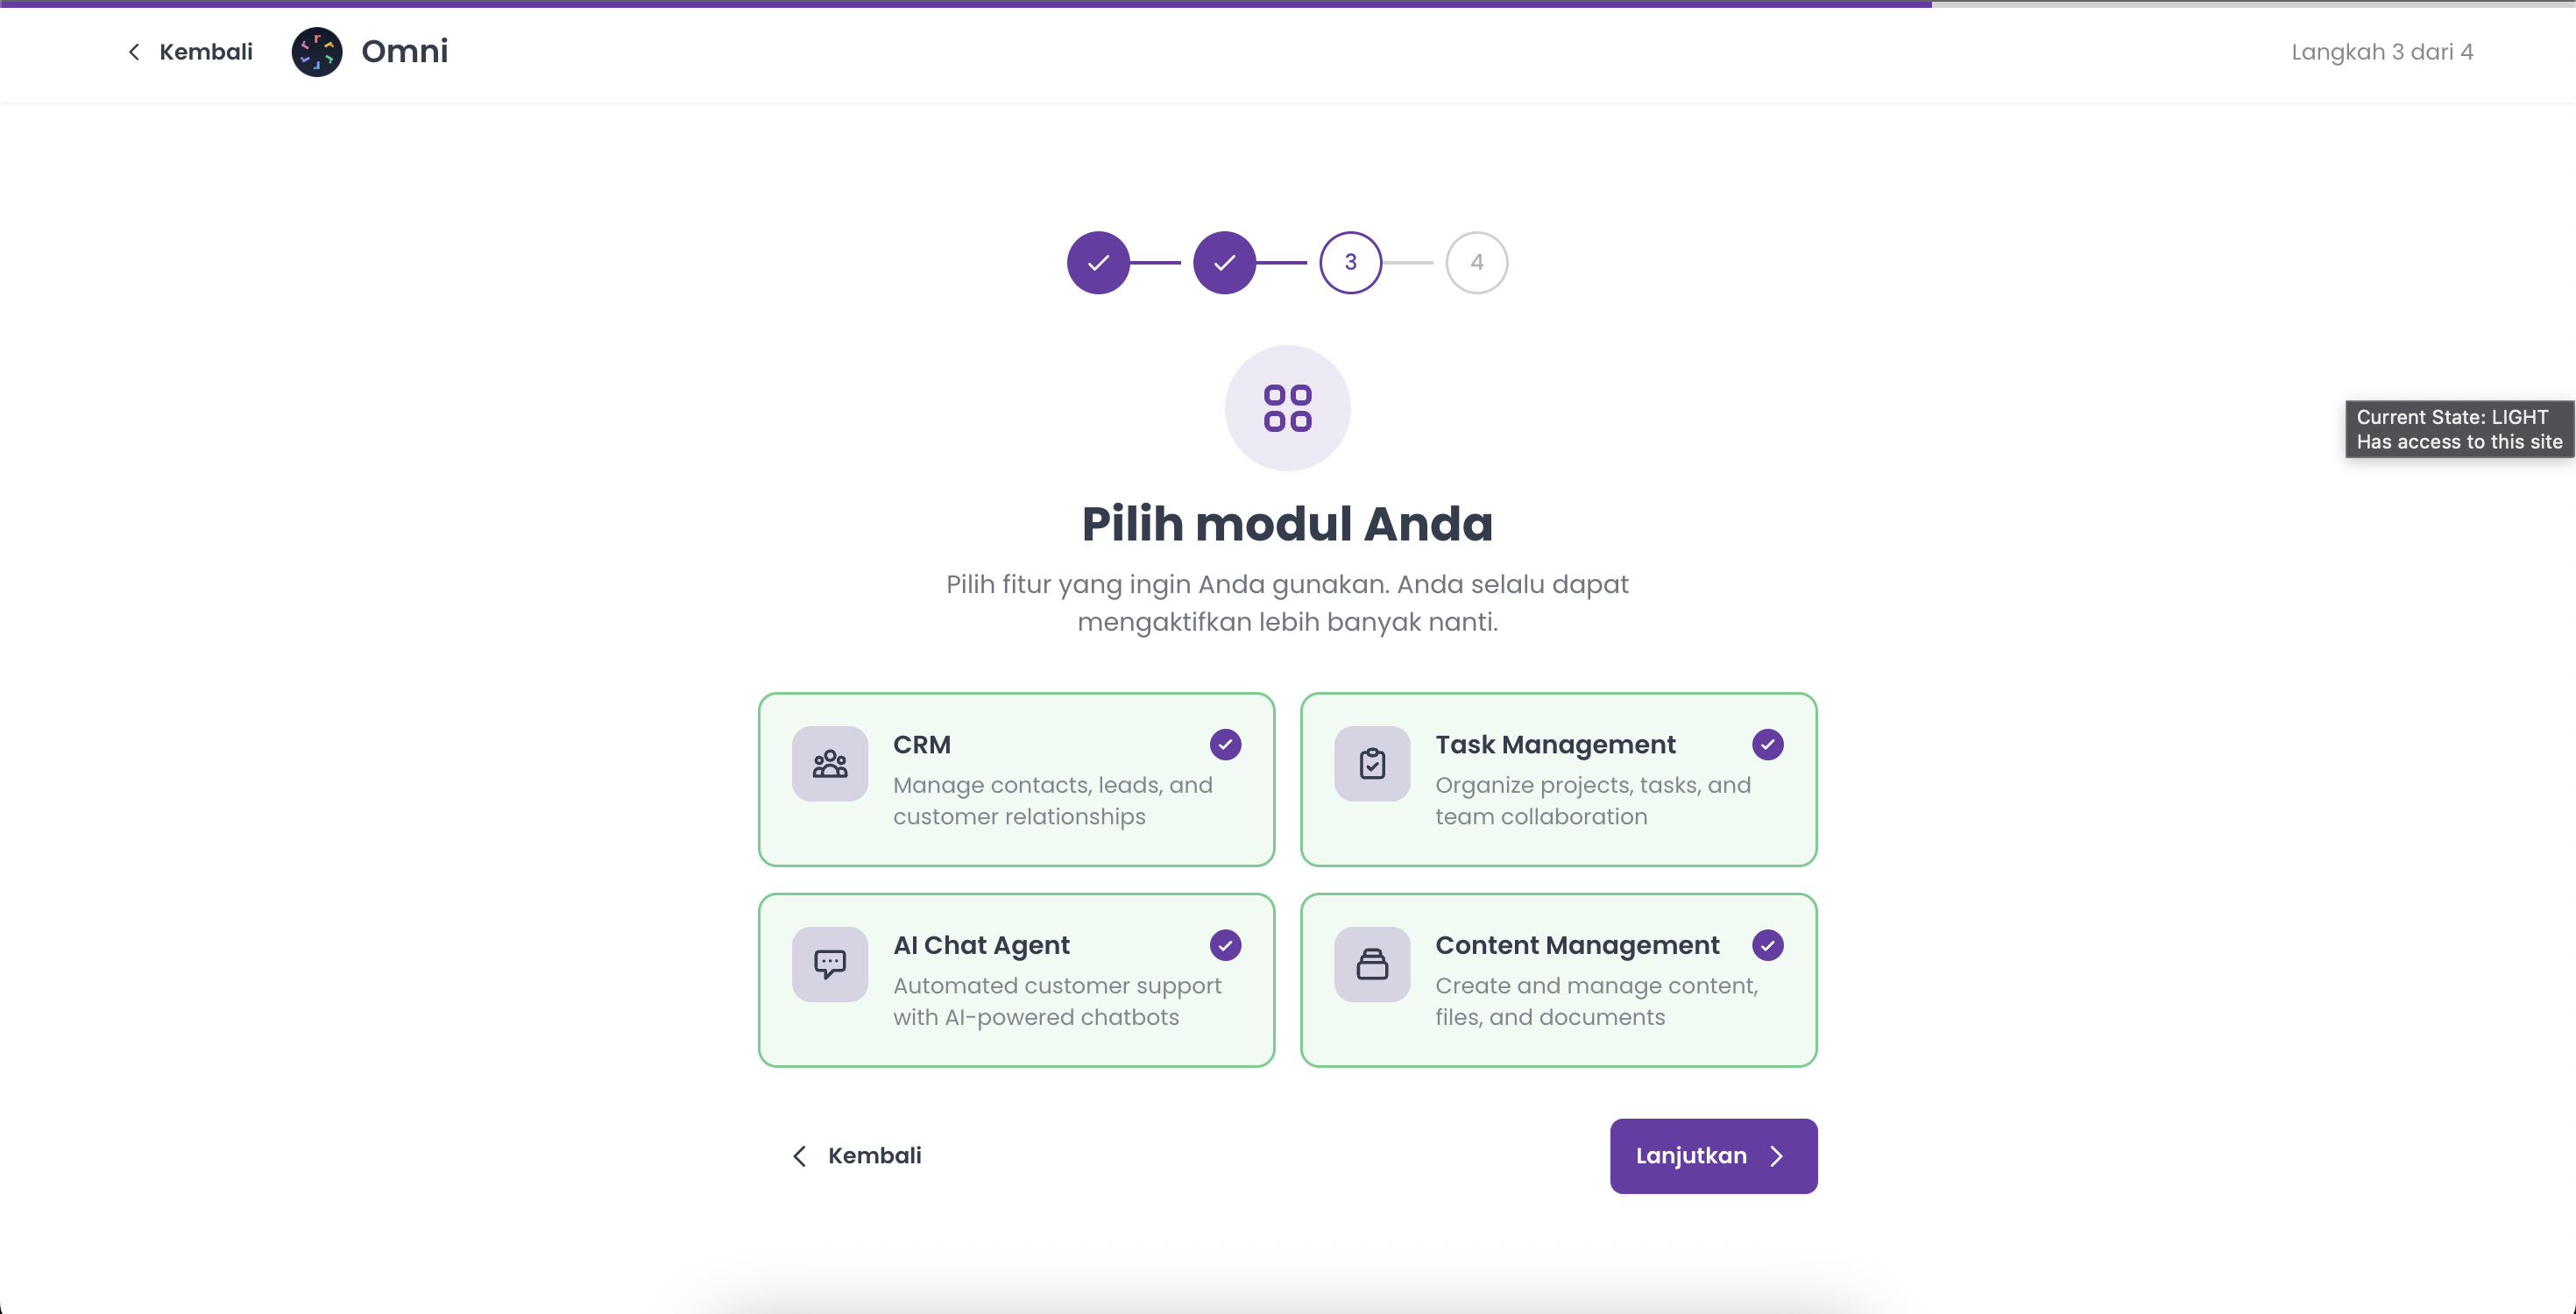
On Choose your modules, select at least one of the features you want to start with:
- CRM — manage contacts, leads, and customer relationships.
- Task Management — organize projects, tasks, and team work.
- AI Chat Agent — automated customer support powered by AI.
- Content Management — create and manage content, files, and documents.
Pick at least one to continue — you can always enable more modules later. Then click Continue.
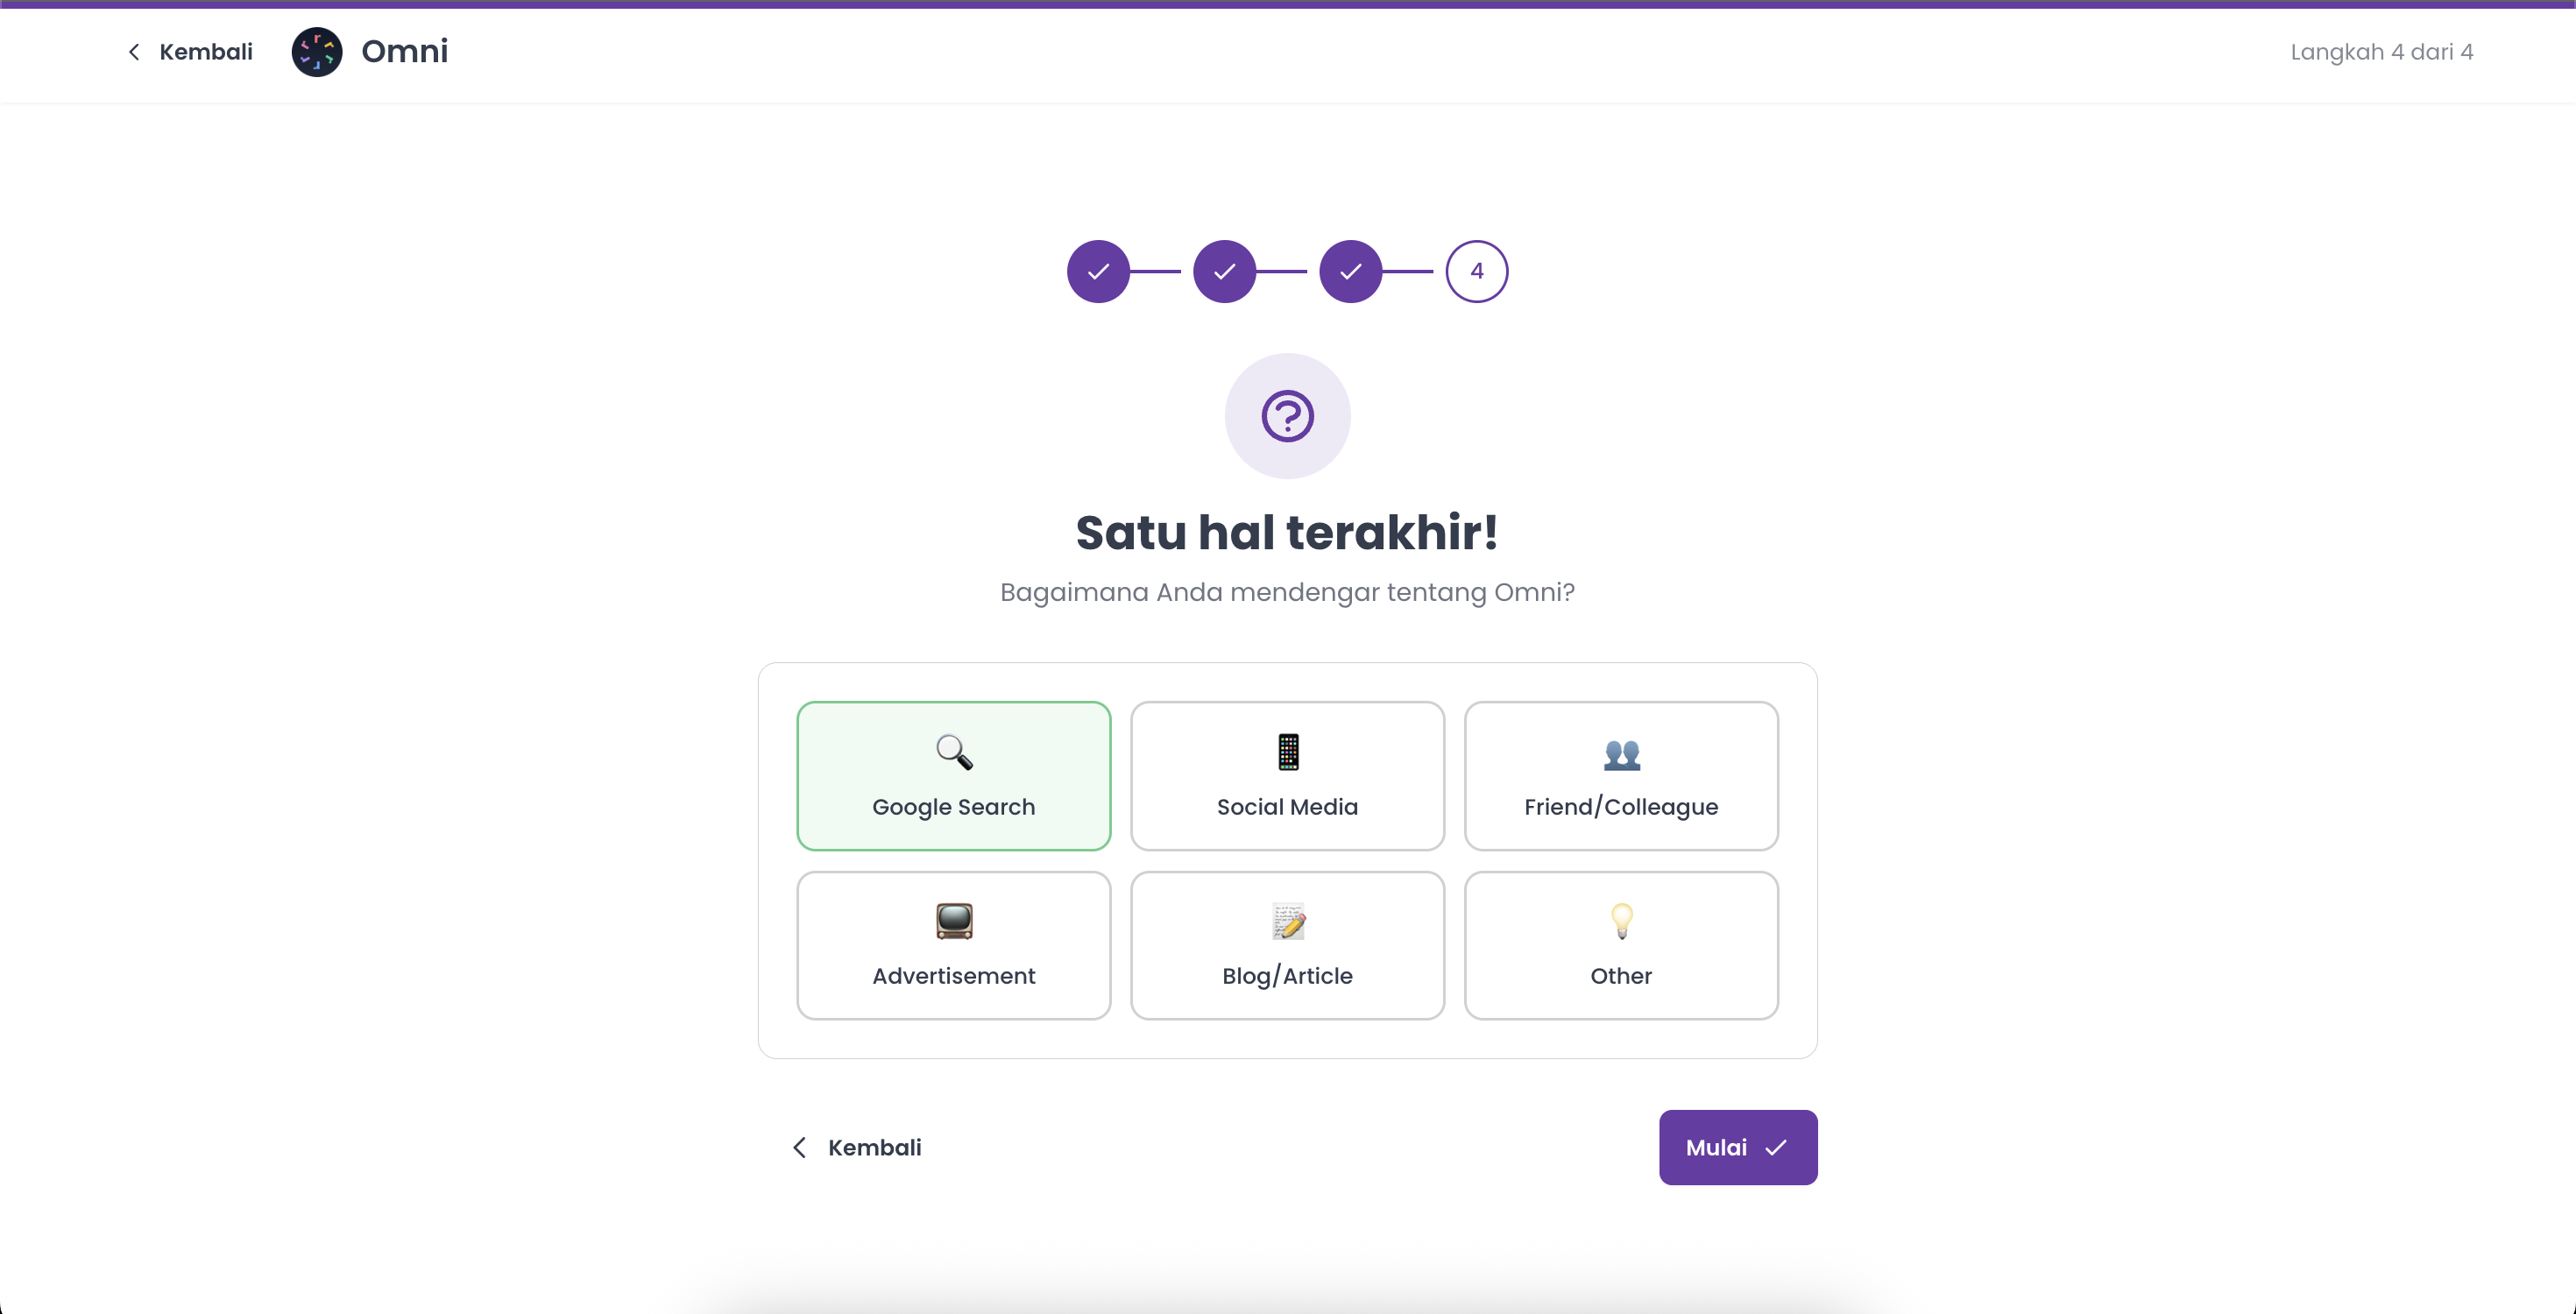
Step 4 — How you found us
On the final step, How did you hear about Omni?, choose a source — Google Search, Social Media, Friend/Colleague, Advertisement, Blog/Article, or Other. If you pick Other, add a quick note in the box that appears.
Click Get Started to create your business.
Note: Omni creates a unique web address for your business automatically from its name — you don't need to set one yourself.
You're all set
Omni creates your business and takes you straight to its Home. From here you can invite teammates, connect channels, and start working in the modules you selected.