.png)
This guide picks up where Create a Space leaves off. Your Space exists; now you'll set it up so your team can work inside it — inviting people, assigning roles, deciding what each role sees, and tuning statuses and priorities to match how your team works.
Note: If you created your Space from a template, much of this is already done — statuses, priorities, and views come pre-configured. Skim the steps below and adjust only what you need.
What you'll need
- An existing Space — created with the Create a Space guide.
- An Owner or Admin role on that Space.
- The names or emails of the people you want to invite.
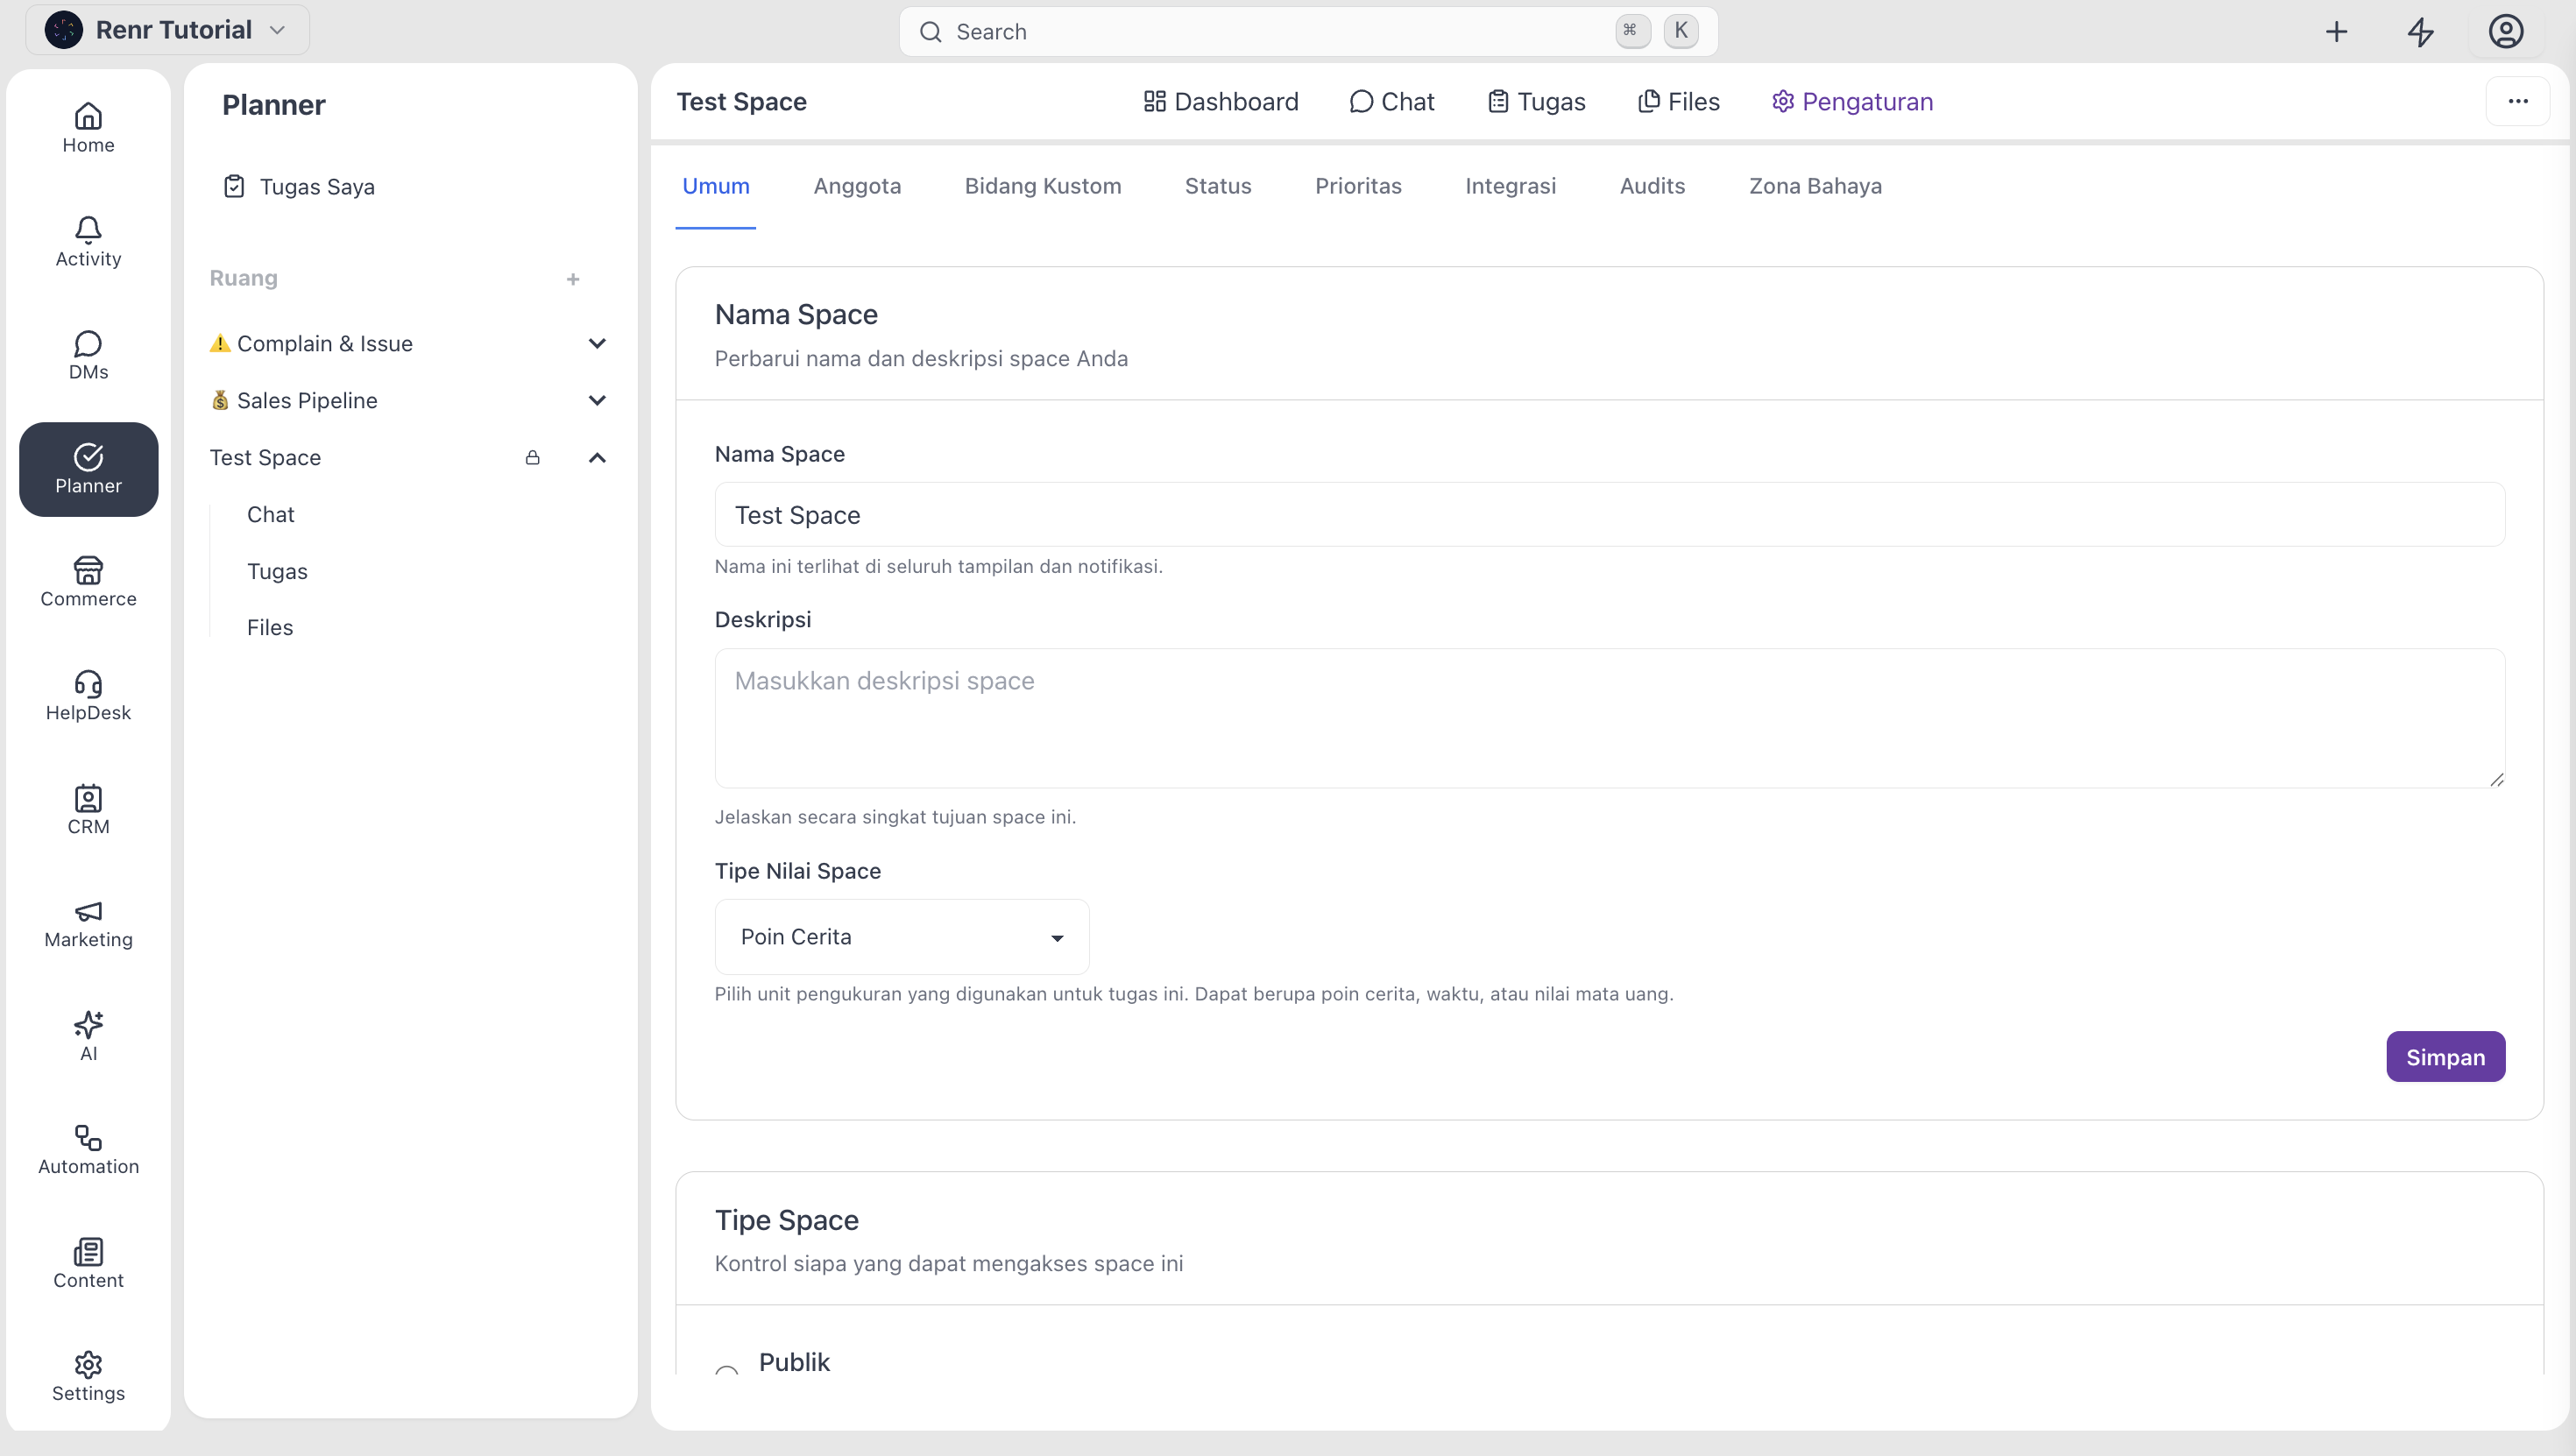
Open Space settings
Everything you configure lives in Settings. Click the Settings tab to open it. The left rail lists every section: General, Members, Statuses, Priorities, Custom fields, Task visibility, and Integrations.

Invite members
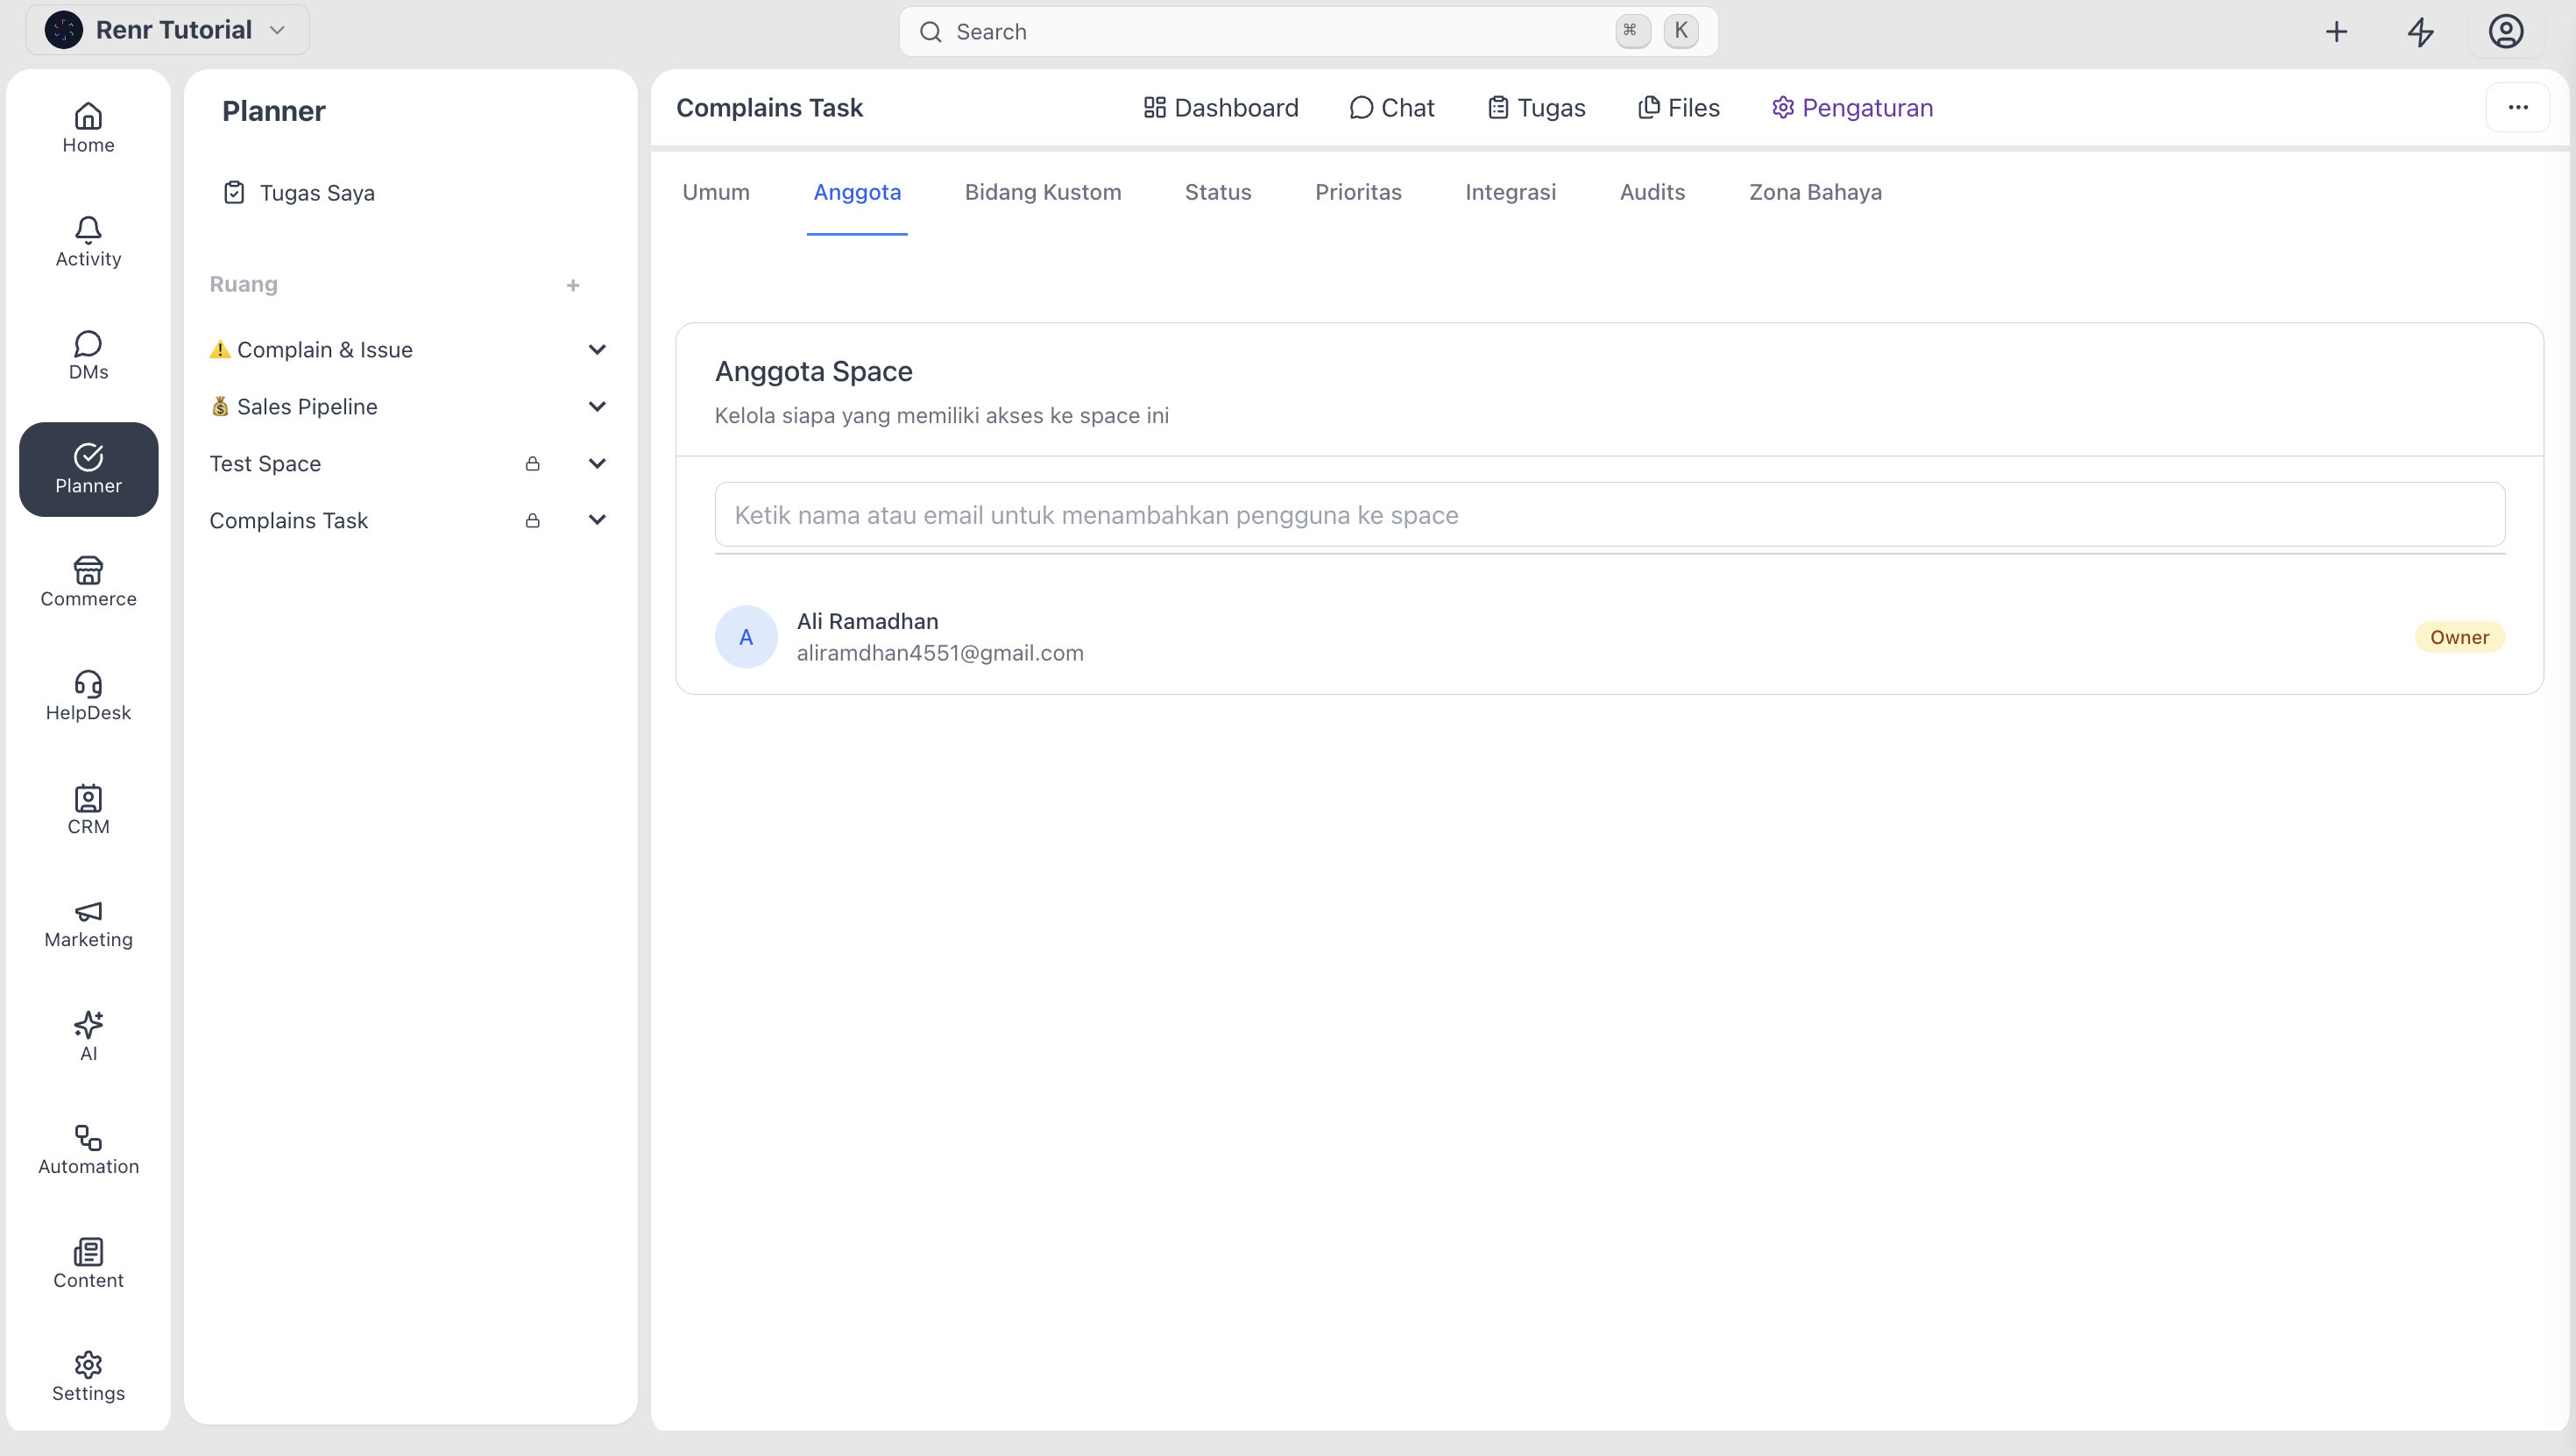
A Space without members is just a folder. For a private Space, invite the people who'll work inside it.
- In Settings, open the Members tab and click Members.
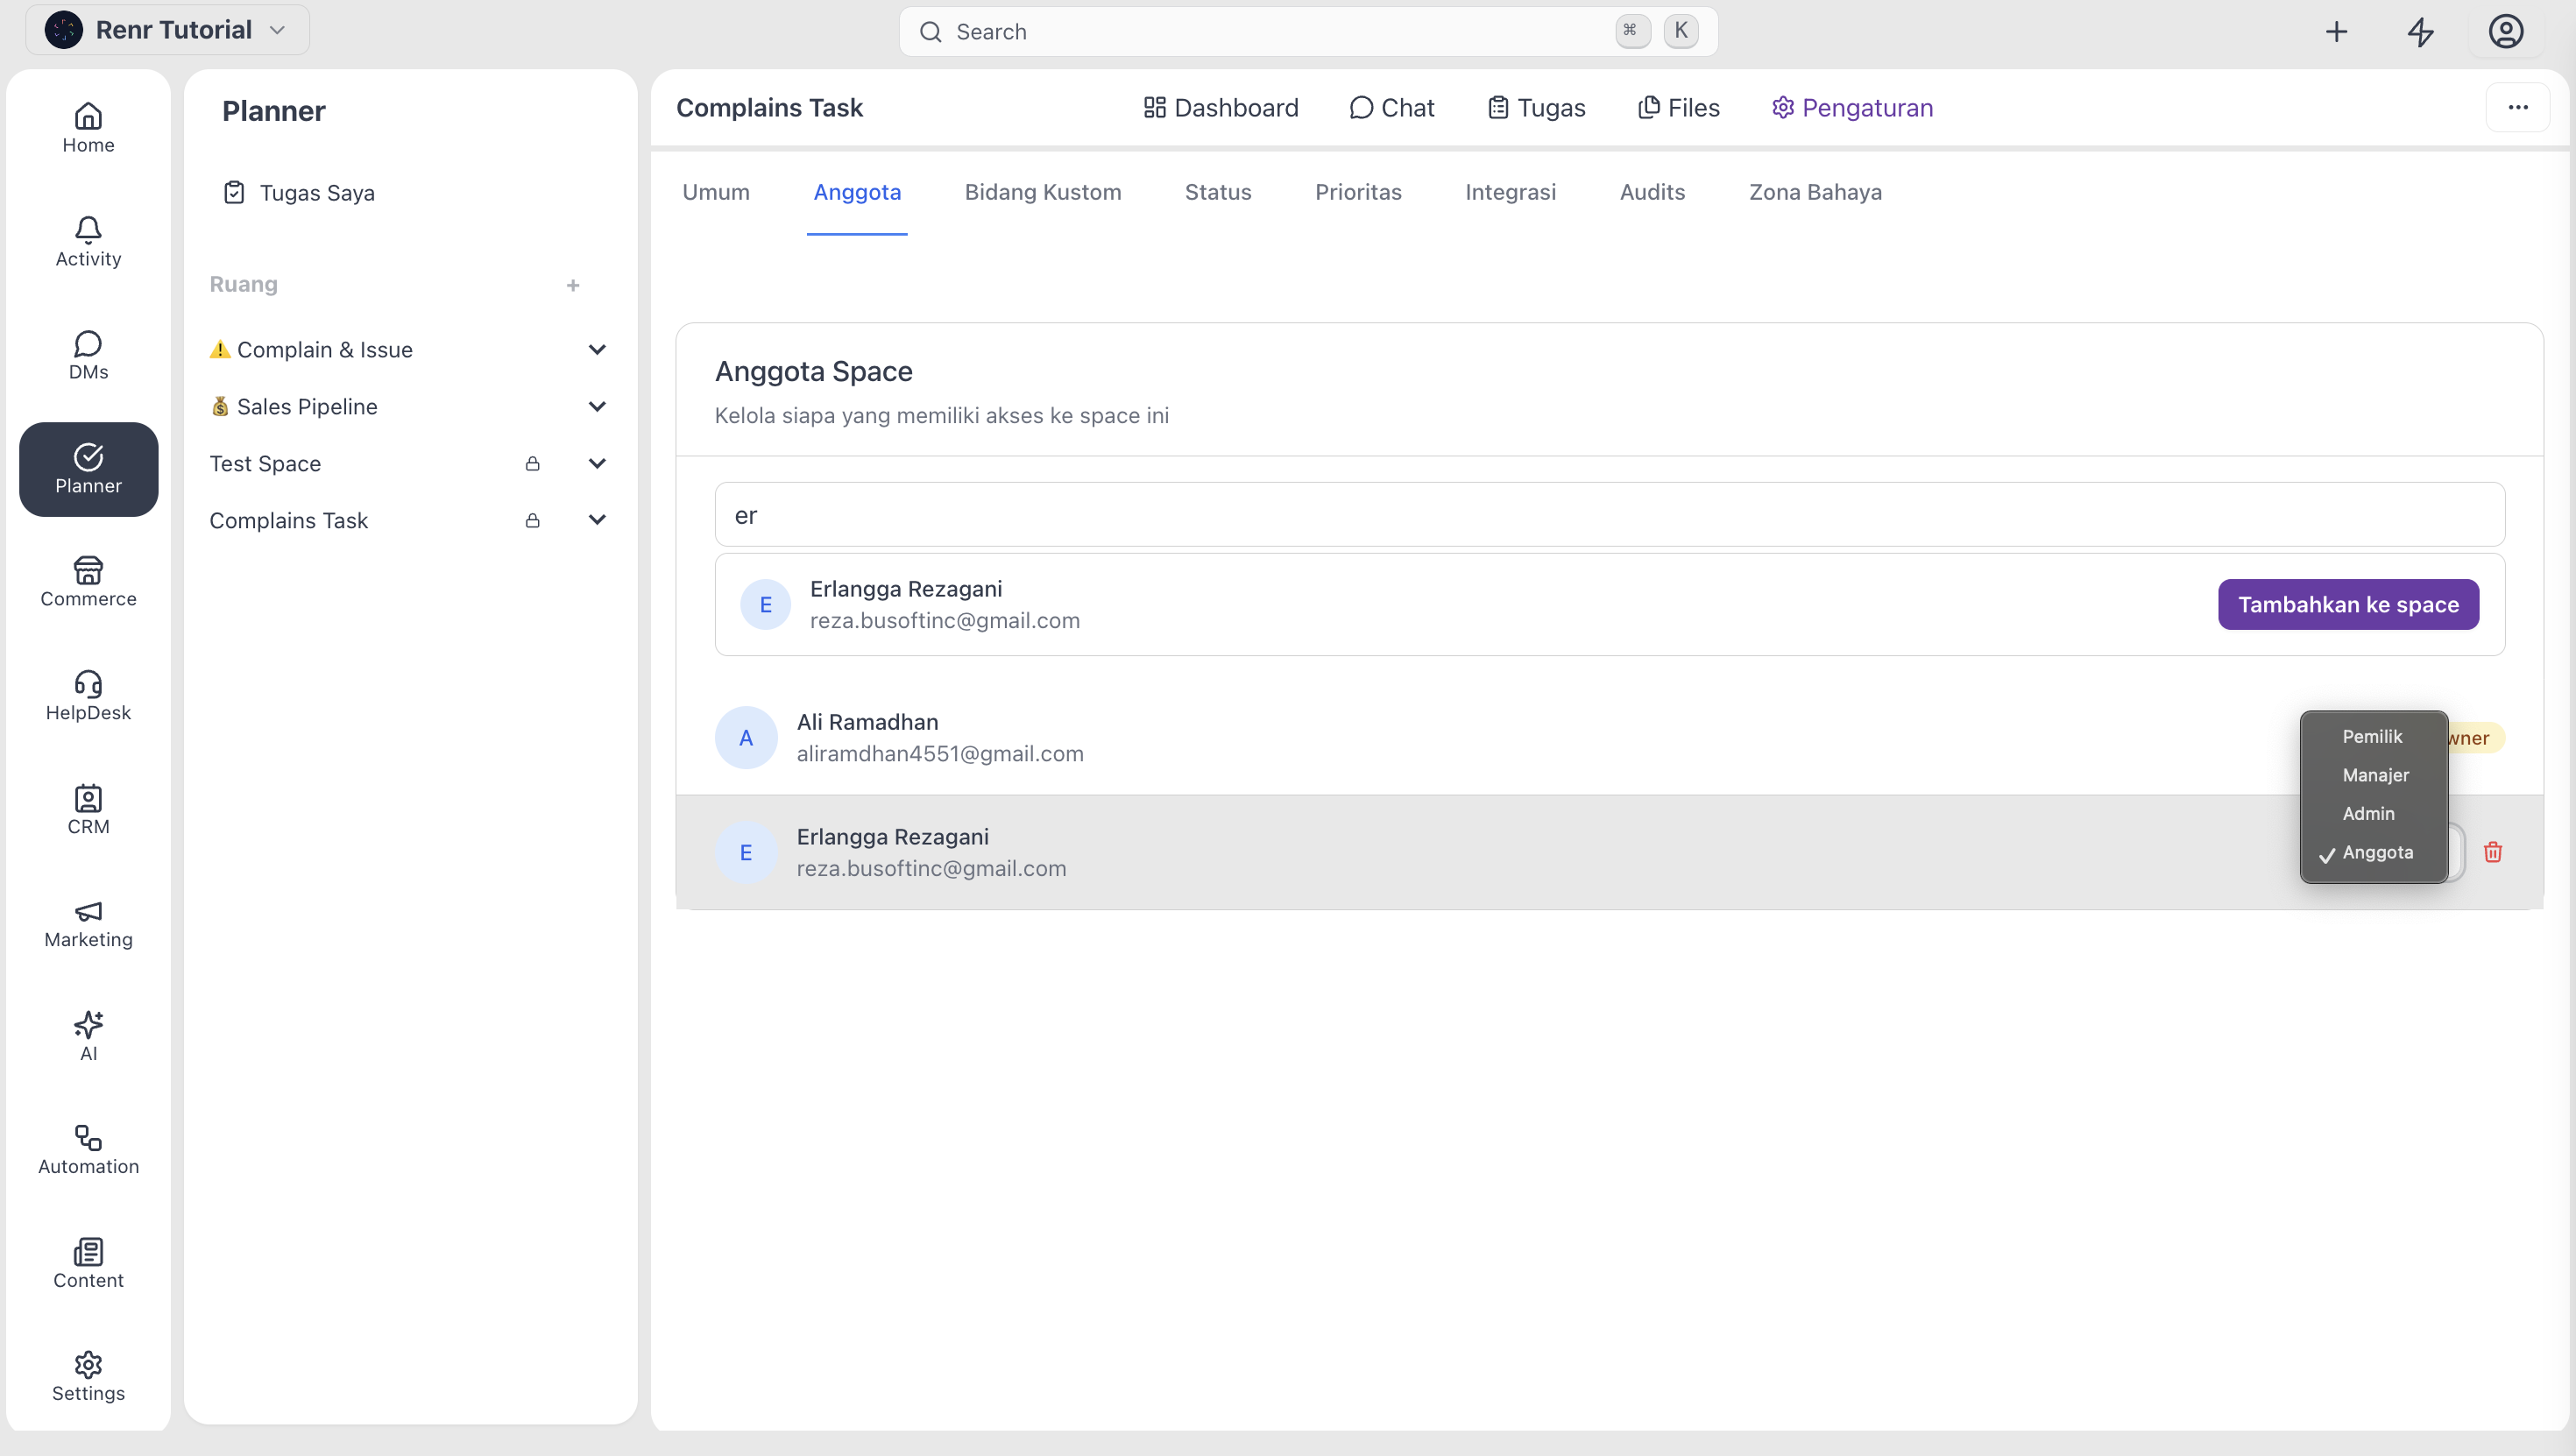
- Search by name or email, then select the person.
- Pick a role from the dropdown — see the next section.
- Click Send invite.
The person gets an in-app notification (and an email, if configured) and joins with the role you assigned.
Assign a role
Every member has exactly one role per Space. You can change it later, though that resets a few permissions.
- Owner — the person who created the Space. Exactly one per Space.
- Admin — same powers as the Owner, but a Space can have several. Use it for senior teammates who help you run the Space.
- Manager — supervises one or more members; sees their own tasks and those of the members they manage. Can't change Space settings.
- Member — does the work; sees their own tasks and, if the Space allows it, other members' too.
Not sure? Start someone as a Member and promote them later.
Configure task visibility
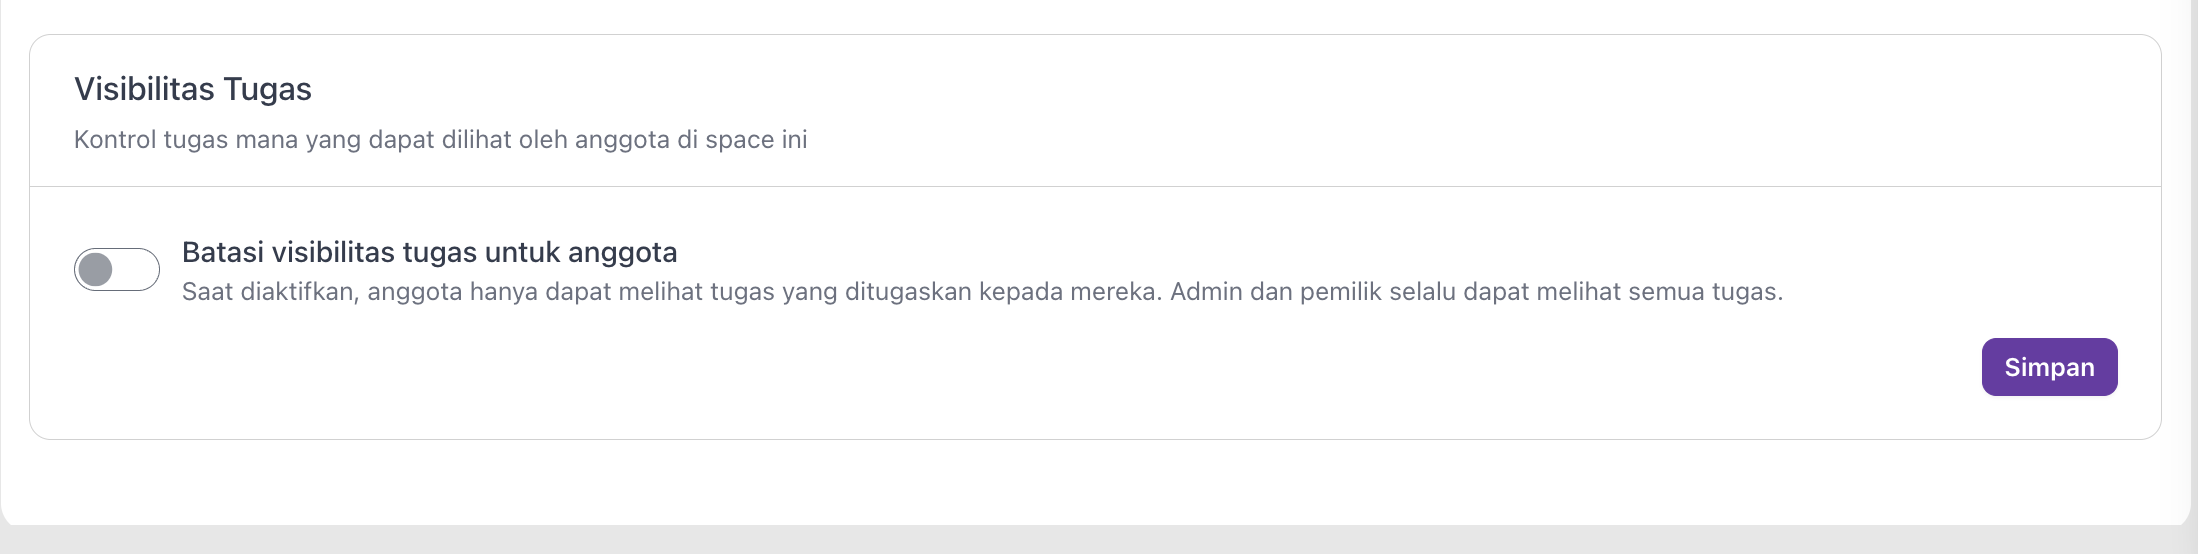
Task visibility decides whether members can see each other's tasks.
- In Settings, open General.
- Choose one:
- Open — everyone in the Space sees everyone's tasks.
- Restricted — members see only their own; managers see theirs and their reports'; owners and admins see everything.
Set up statuses
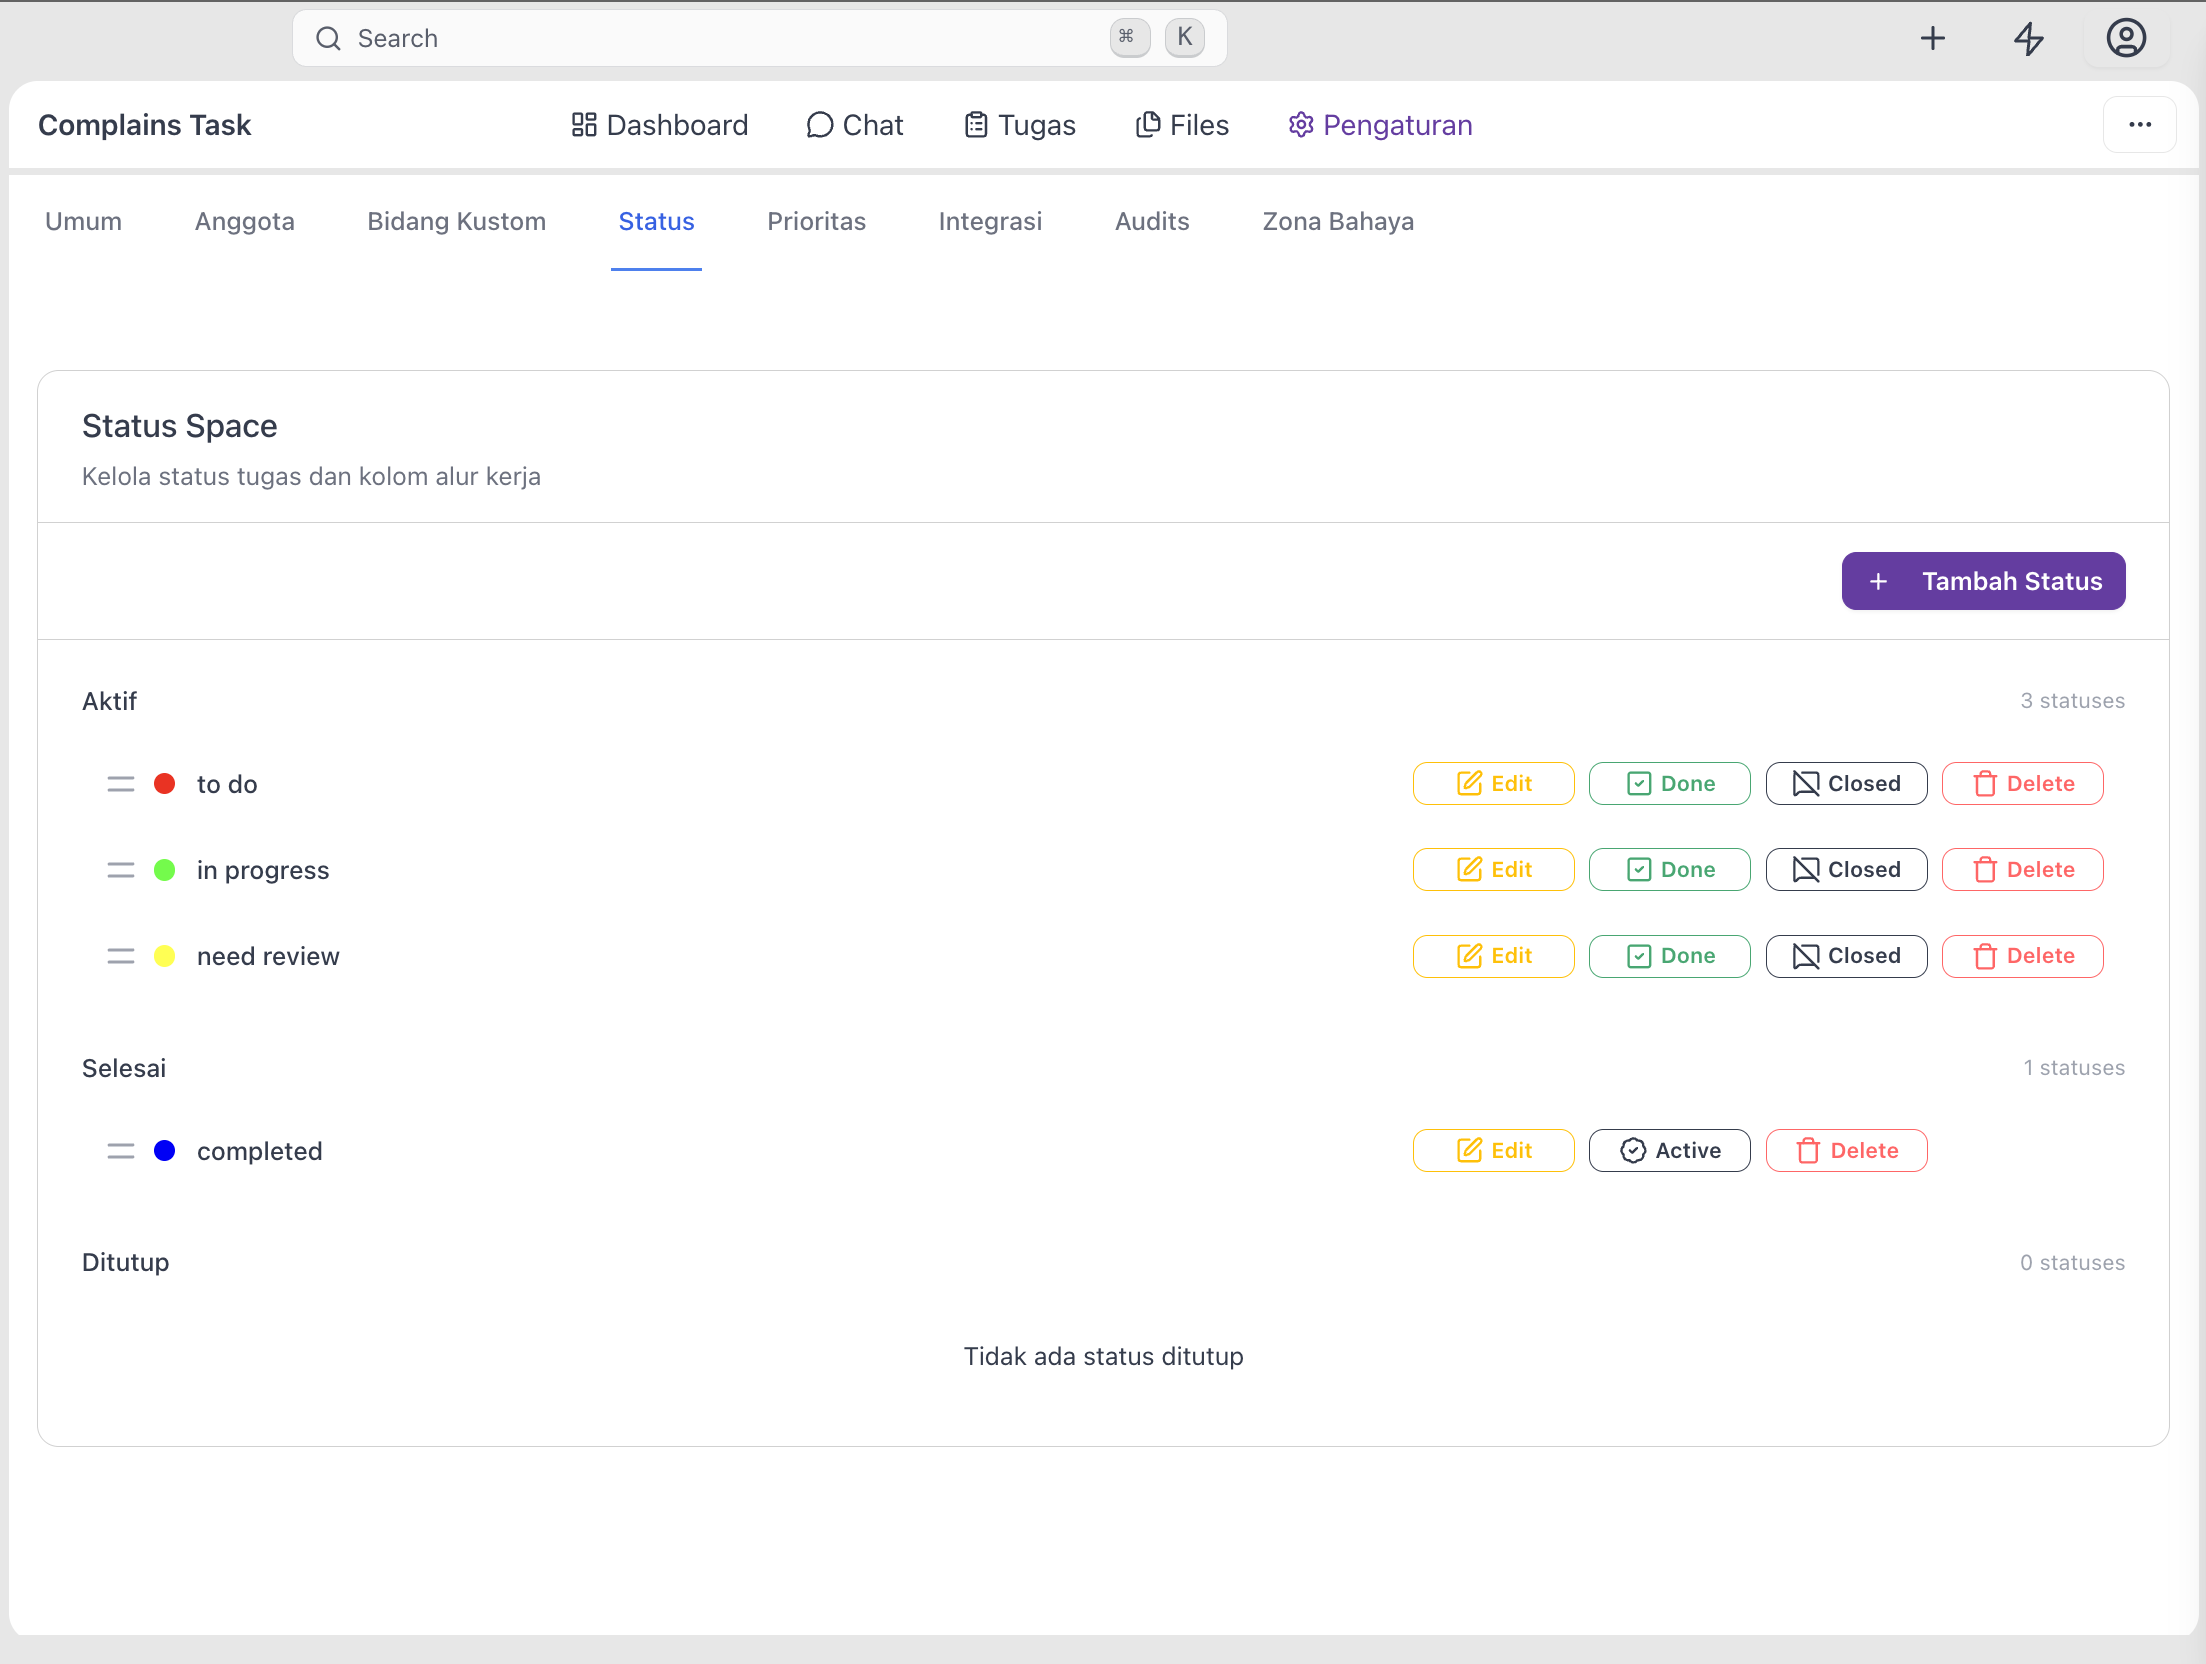
Statuses are the columns on your Board view — by default To Do, In Progress, Review, and Done. Rename, reorder, recolour, or add them to match how your team moves work.
- In Settings, open Manage statuses.
- To rename, click a status name and type the new one.
- To reorder, drag a status up or down.
- To add, click + Add status and set a name, colour, and type — Active for in-flight work, Done for completed, Closed for archived or cancelled.
Set up priorities
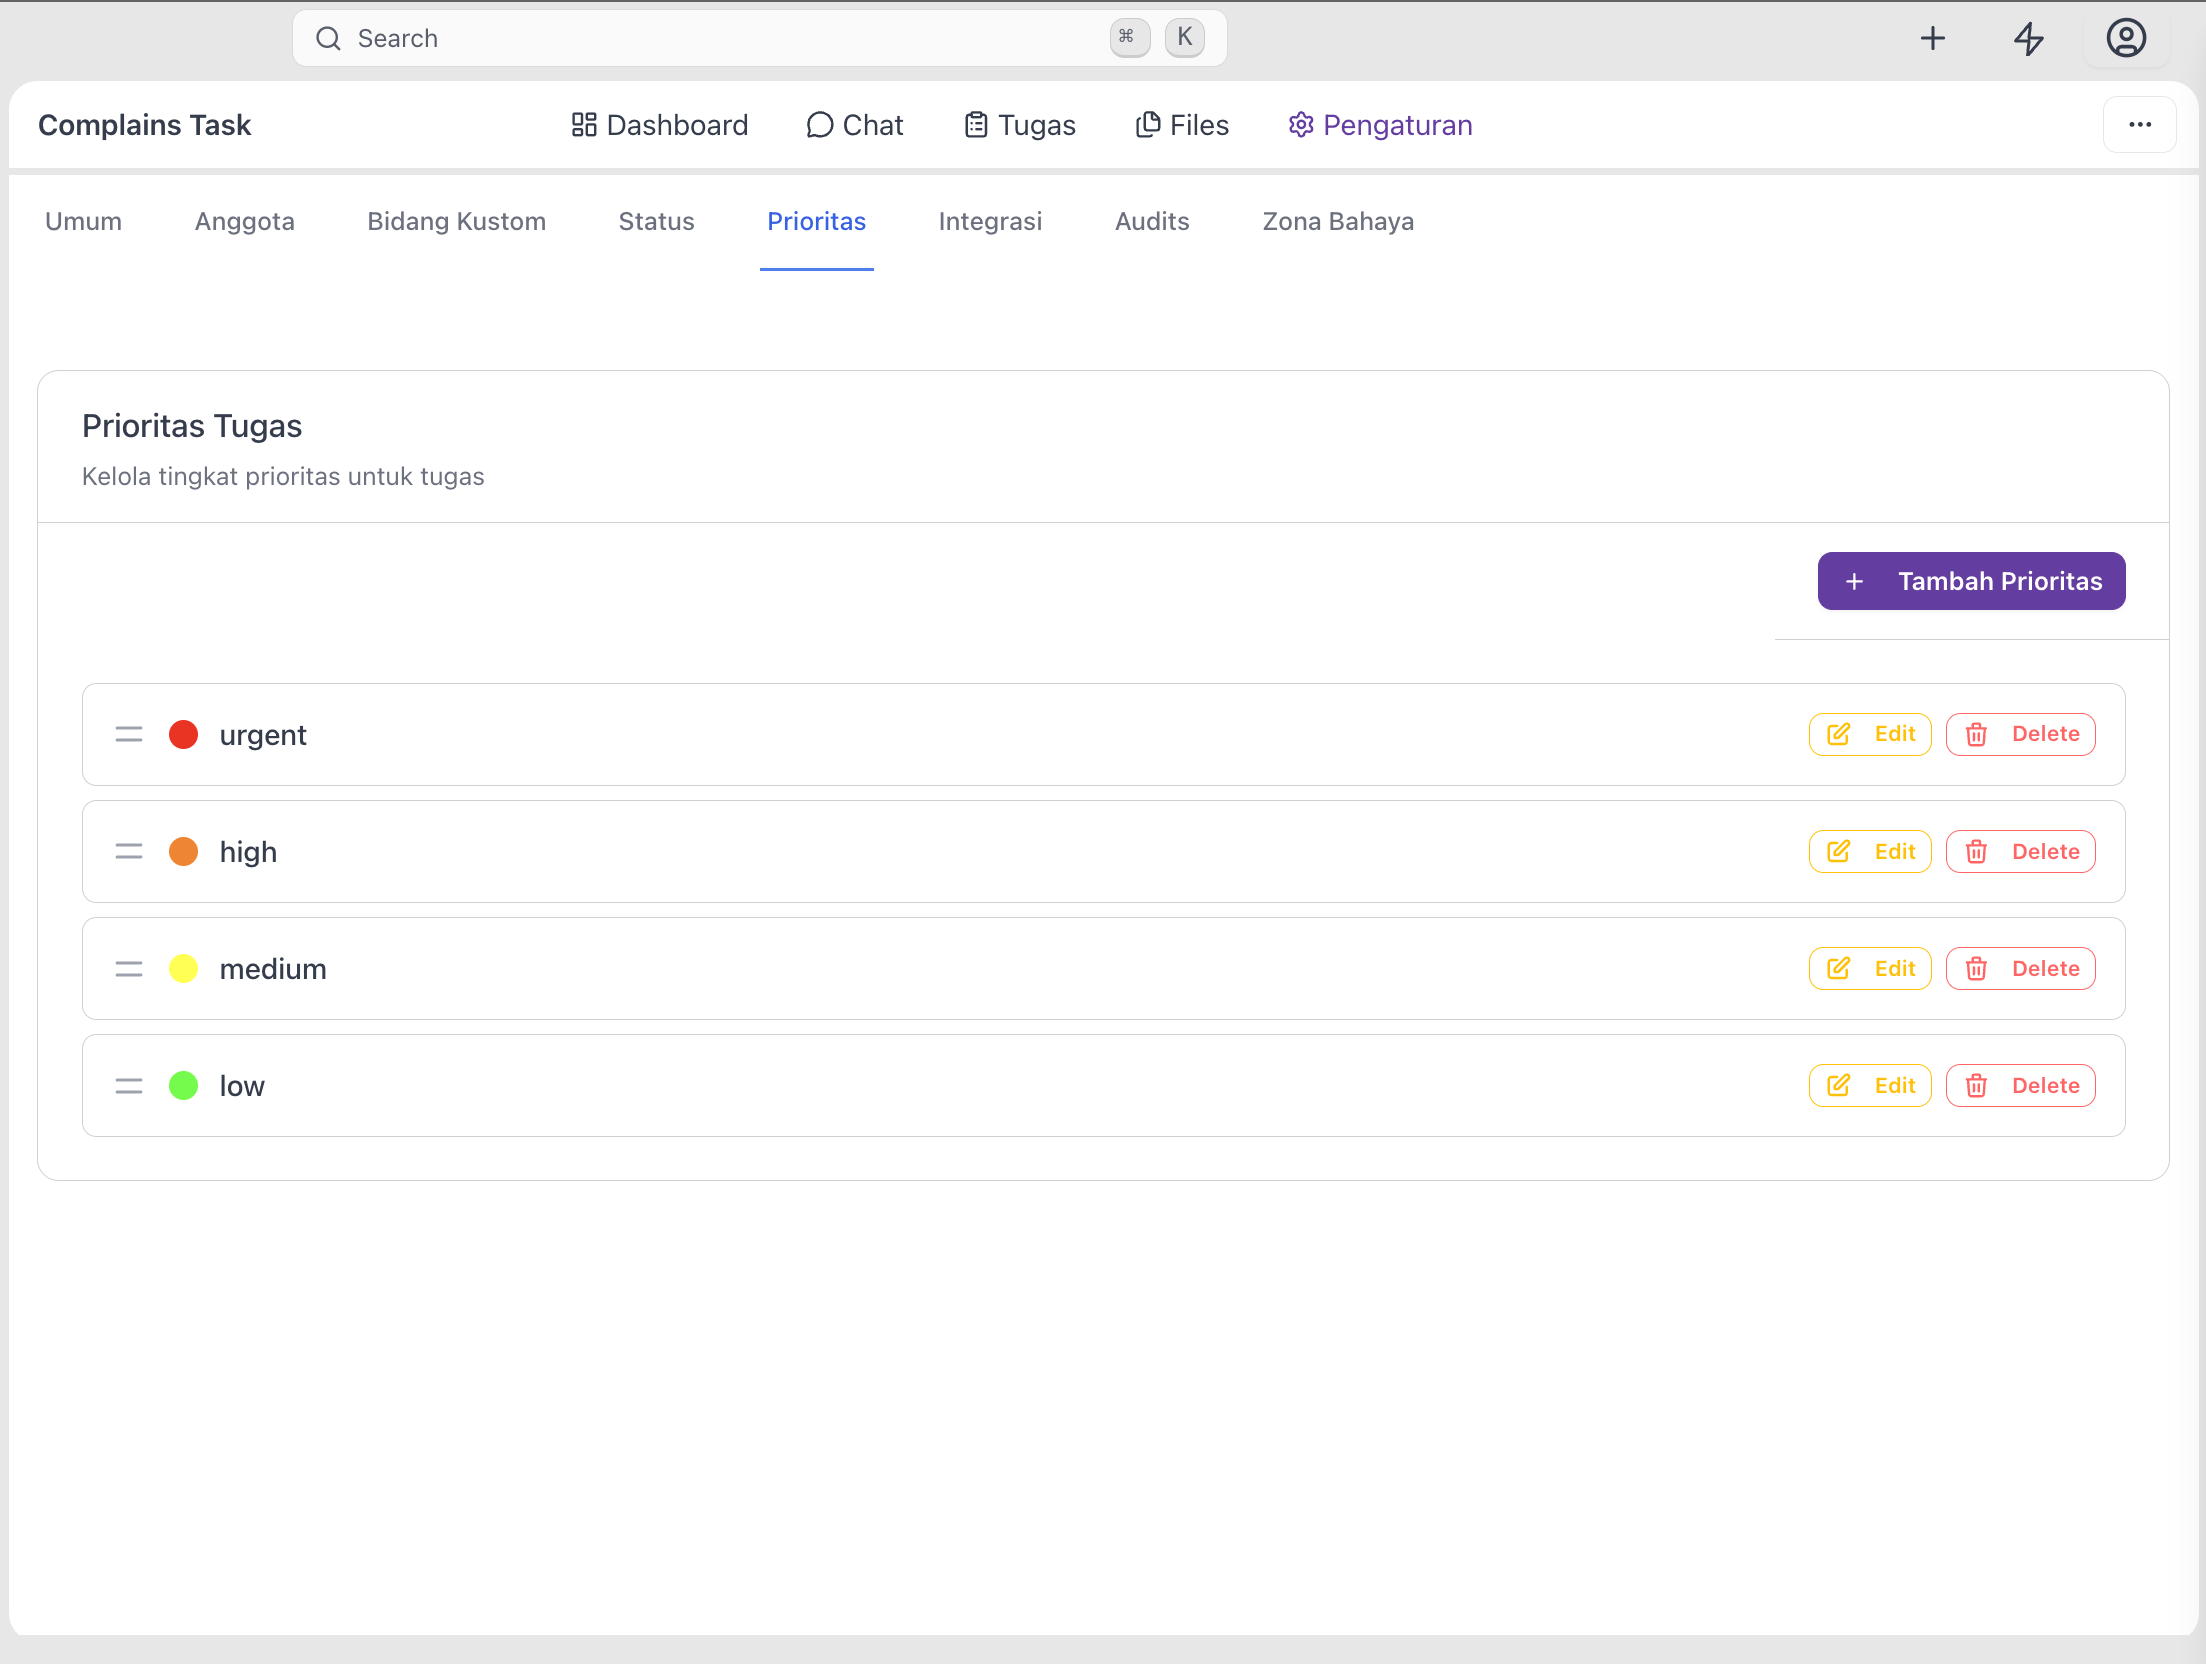
The Space ships with Urgent, High, Normal, and Low. Rename, recolour, or replace them to match how your team talks about urgency.
- In Settings, open Manage priorities.
- Edit a priority, or click + Add priority for a new one.
- Pick a colour that contrasts with your statuses, so one glance tells you both.
Rename or update a Space
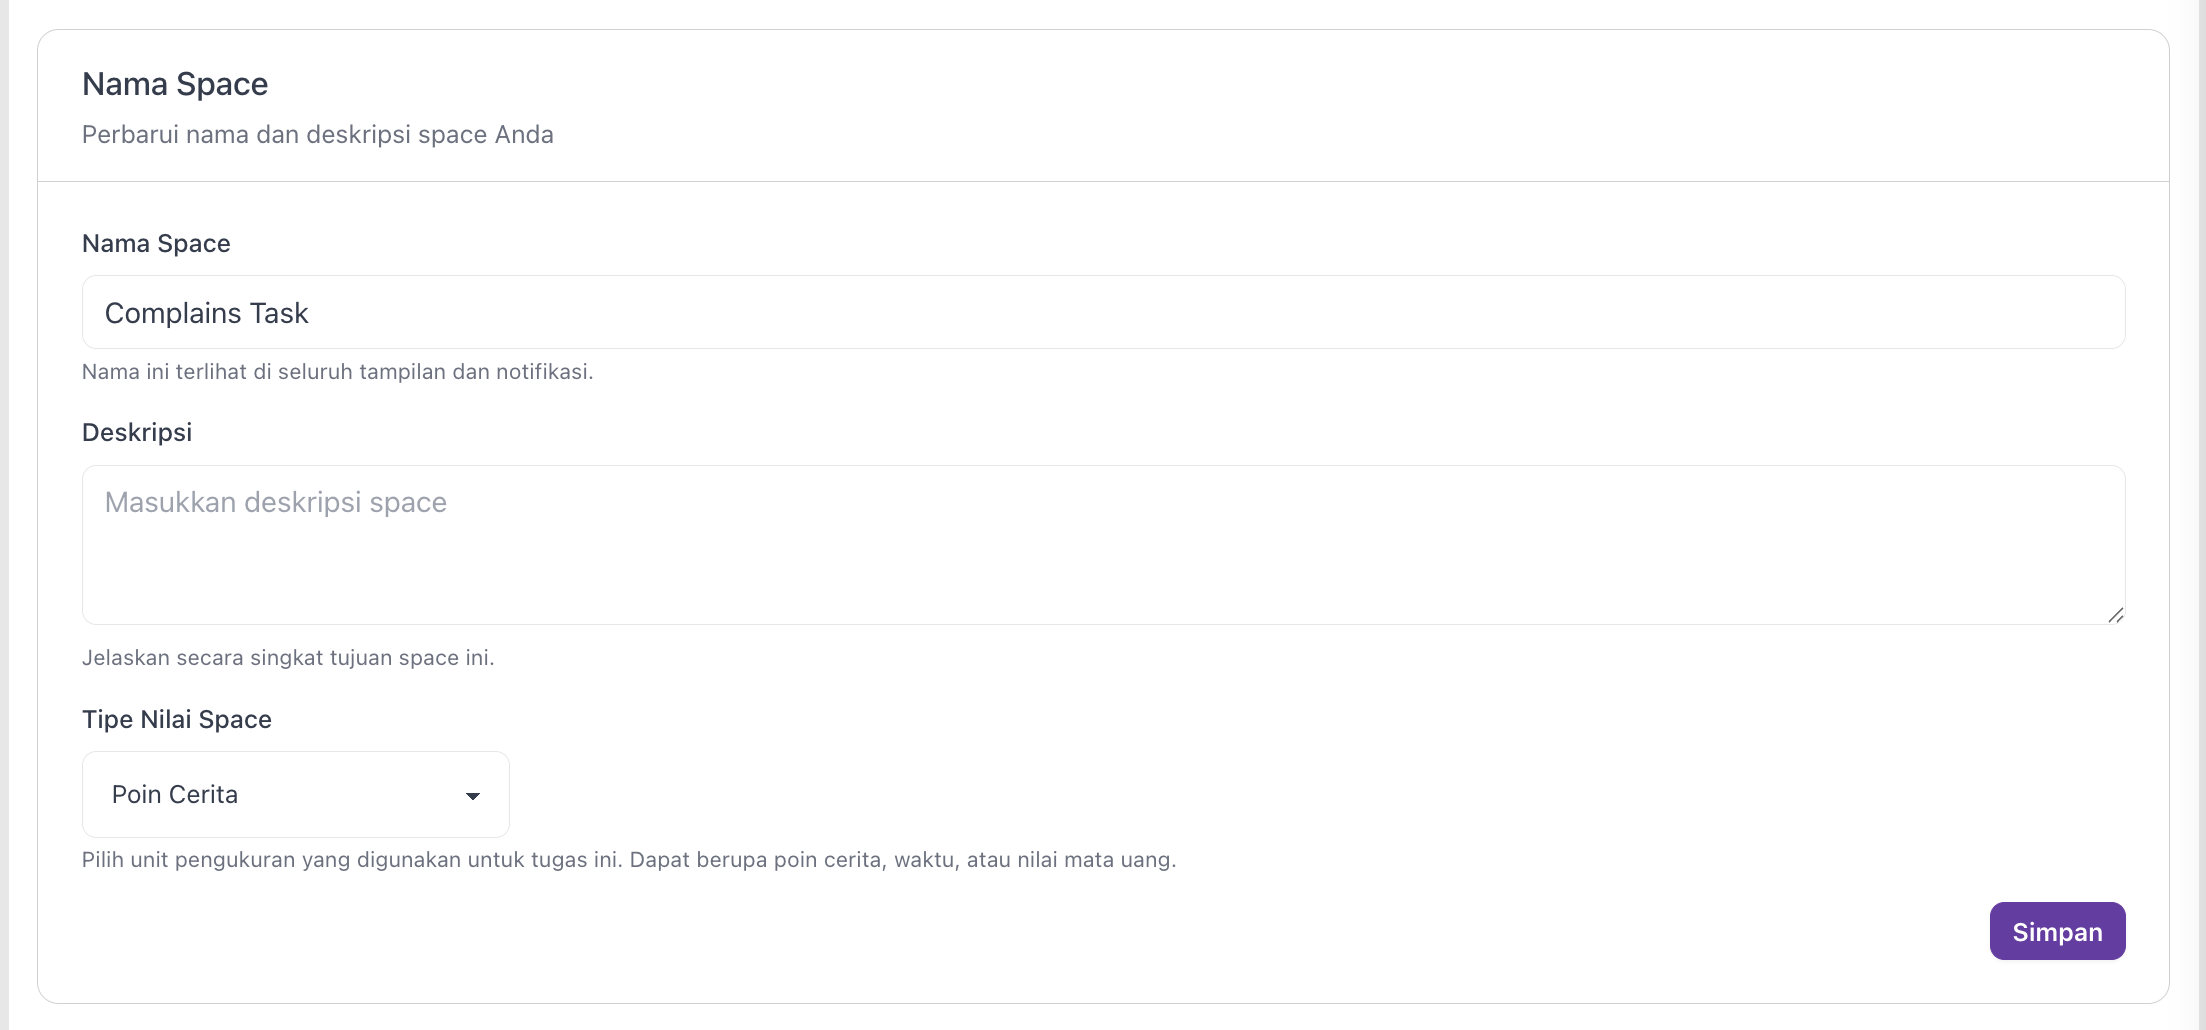
Plans change — you can rename or update a Space at any time.
- Rename: Settings → click the Space name in General → type the new name → press Enter.
- Update the description: Settings → click the Space description in General → type → press Enter.
- Change value: Settings → click the Space name in General → choose the value → press Enter.
Conclusion
A Space is only as useful as the setup behind it. Spend a few minutes inviting the right people, assigning roles thoughtfully, deciding what they can see, and tuning statuses and priorities — and your Space will quietly do its job for as long as the project lasts.