.png)
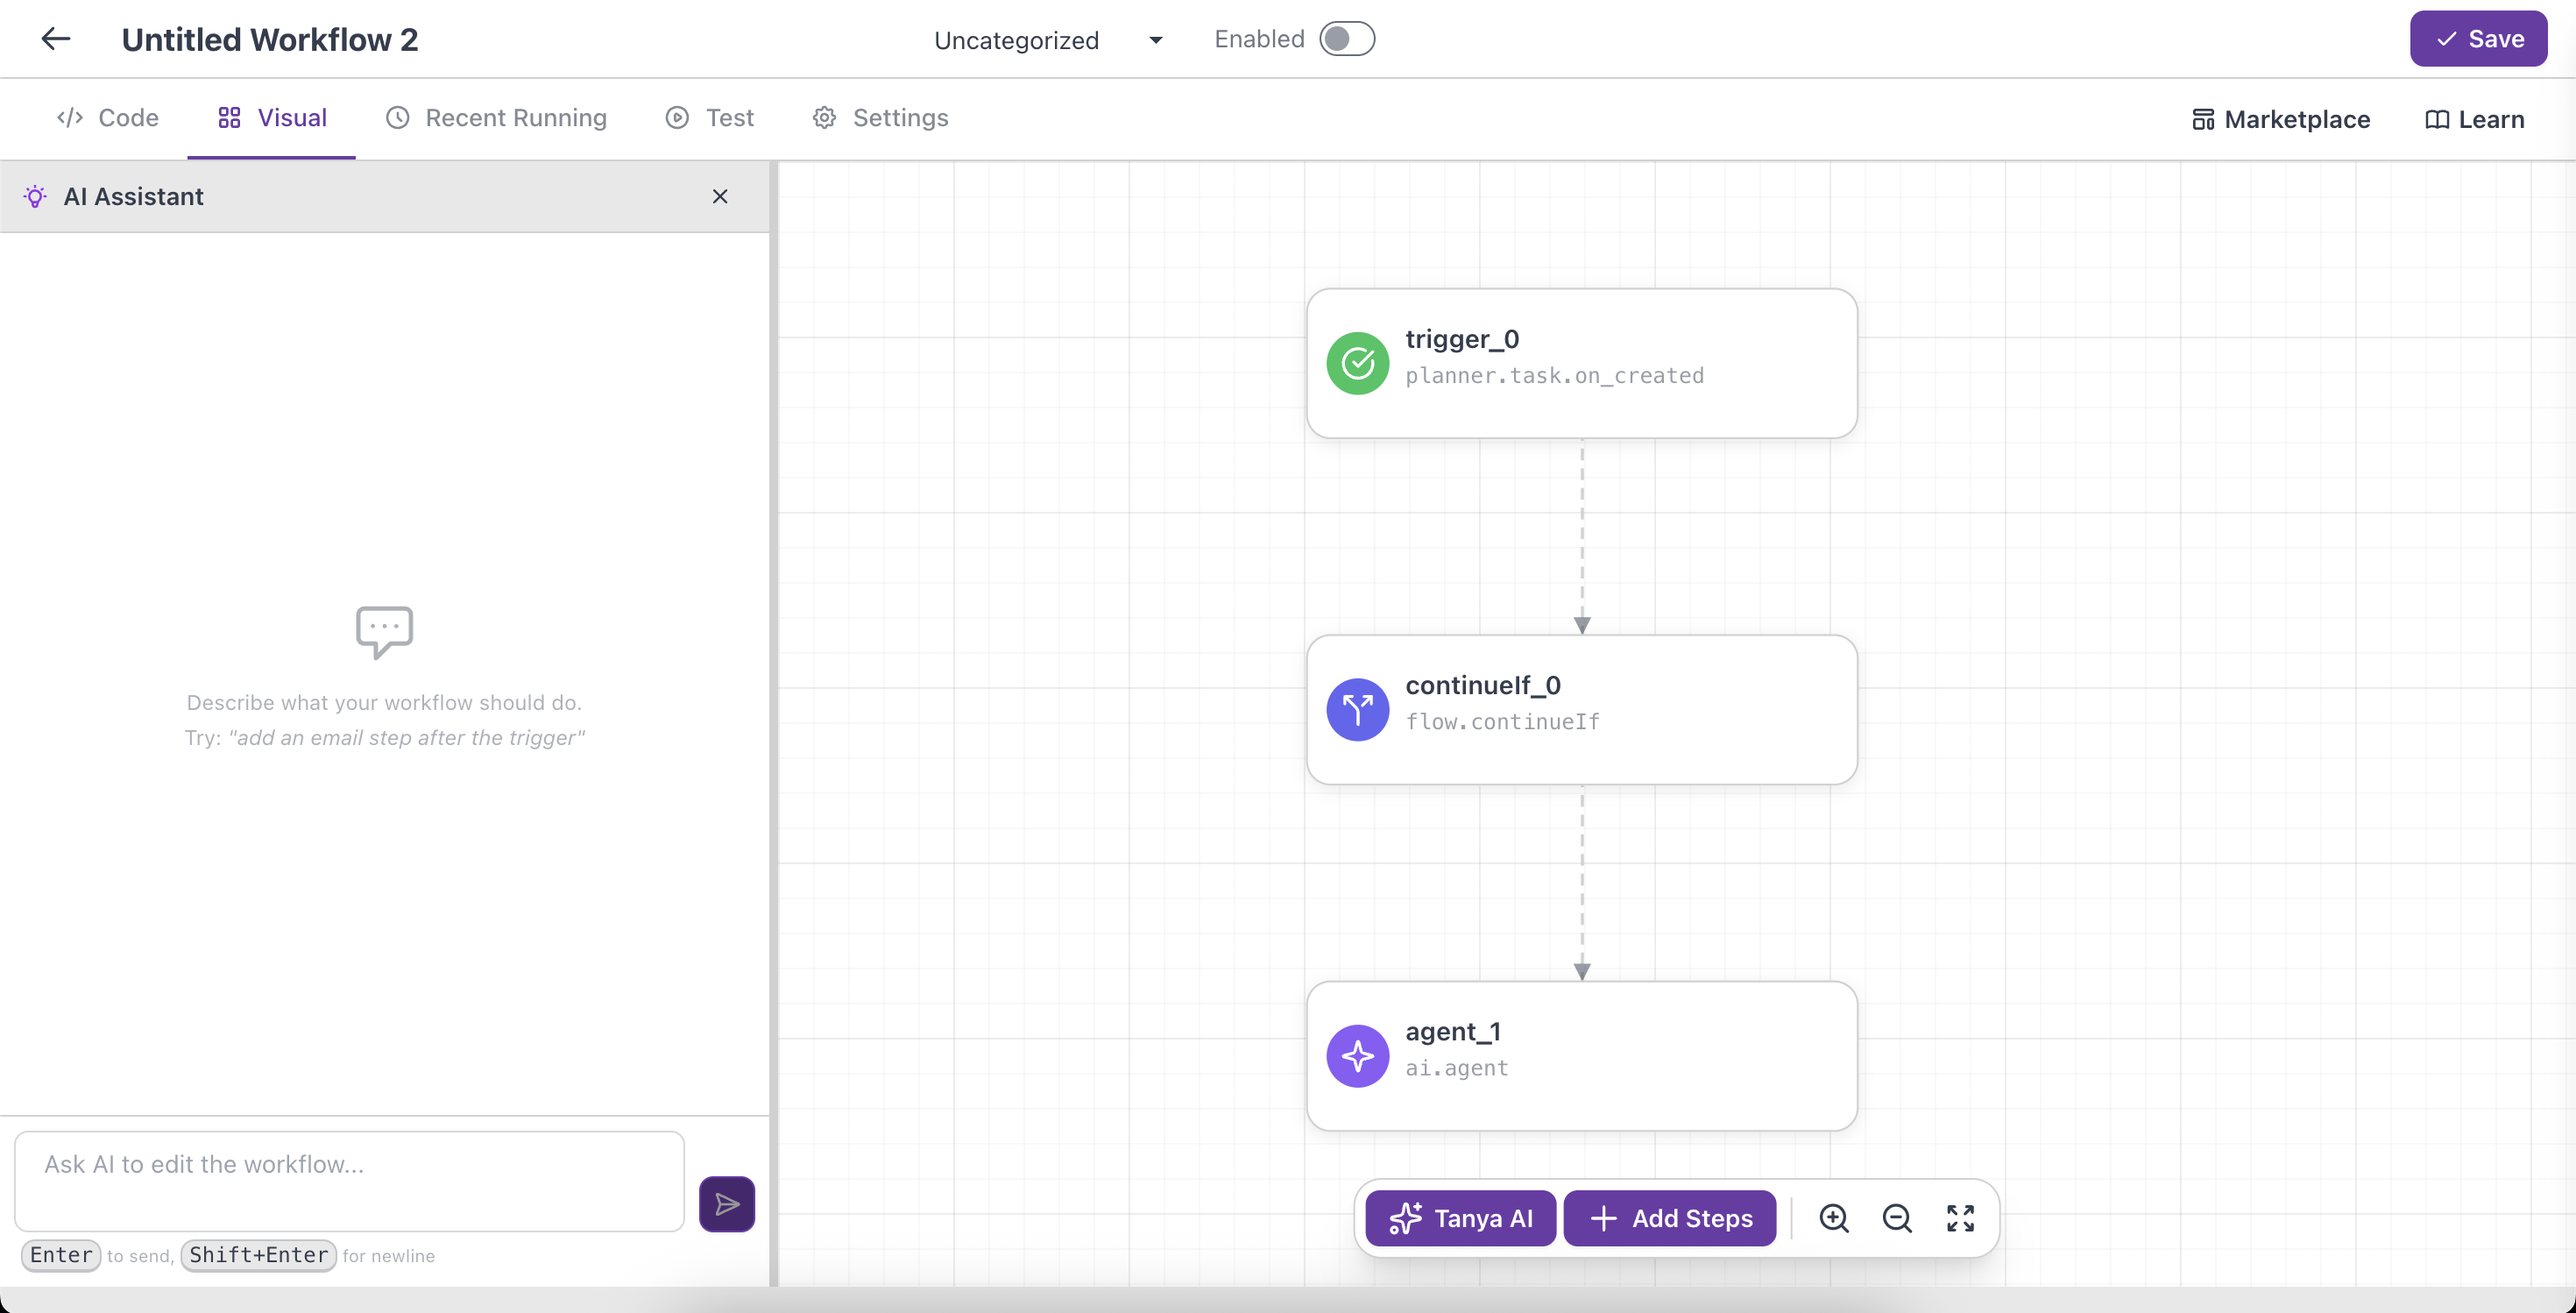
Every automation is built from one trigger and one or more actions. The trigger decides when your workflow runs; the actions decide what it does. This guide shows you how to choose both.
Triggers: what starts your automation
A trigger is the event Renr watches for. When it happens, your workflow runs. Common triggers include:
- When a new task is created — react the moment work lands in your planner.
- When a task's status changes — for example, when something moves to Done.
- On a schedule — run at a fixed time, such as every morning at 9am.
- When a webhook is called — let another app start your workflow by calling a URL.
Browse the full list any time from the Learn tab in the editor.
Add a trigger
- Open your workflow in the editor.
- In the triggers section, choose the event you want to react to.
- Fill in any options the trigger offers — for example, a schedule's time, or a specific status to watch for.
Actions: what your automation does
Actions are the steps that run, in order, from top to bottom once the trigger fires. Common actions include:
- Send an email — message a customer or your team.
- Create or update a task — keep your planner in sync automatically.
- Generate text with AI — draft a reply or summary.
- Call another app — send a request to an outside service.
Add an action
- In the steps section, add a step and pick the action you want.
- Give the step a short name so you can refer to it later.
- Fill in its fields, then add more steps as needed.
- Click Save.
Pass data between steps
Steps can reuse data from the trigger and from earlier steps using variables wrapped in ${ }:
${trigger.task.title}— a value from the trigger, such as the task's title.${steps.stepName.field}— a value produced by an earlier step, by its name.
Note: Some actions need an API key to work. Store the key once in Credentials, then attach it to the step using the name@module.action format — see the guide on managing credentials.