.png)
The Contacts module is where you manage individual customers. Each contact holds detailed information, linked tasks, an activity log, and team discussions — everything about a person in one place. This guide shows you how to create contacts, keep their details up to date, link tasks, review activity, and collaborate with your team.
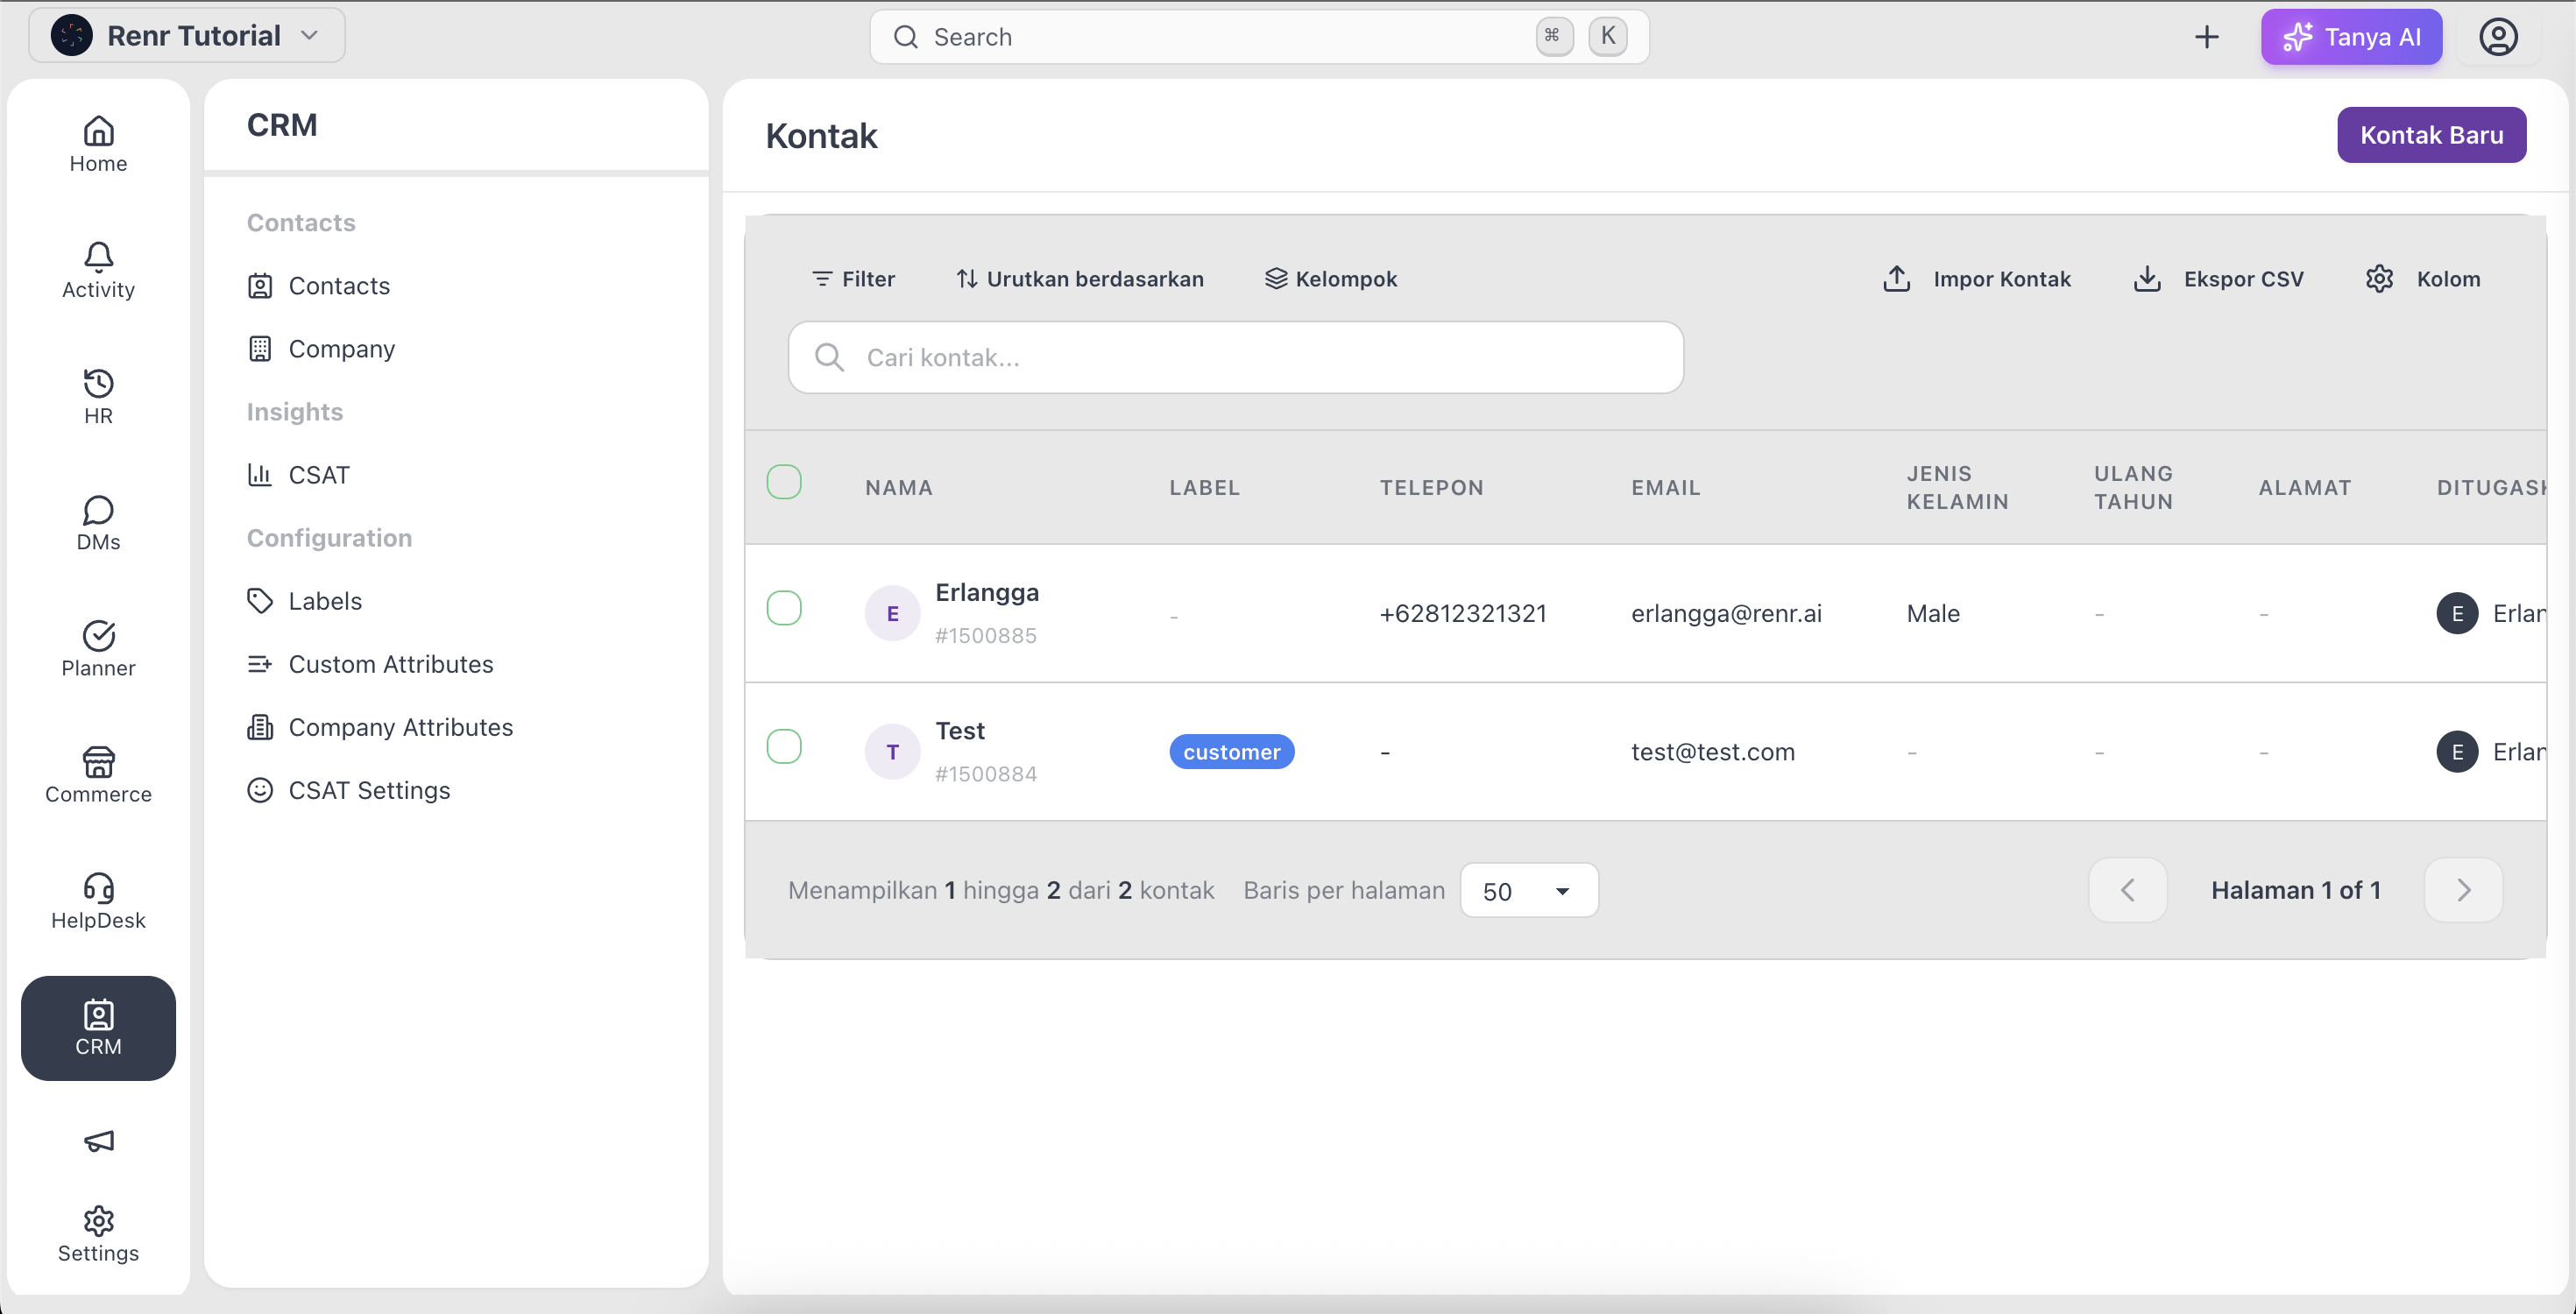
Create a contact
- On the Contacts page, click New Contact at the top right.
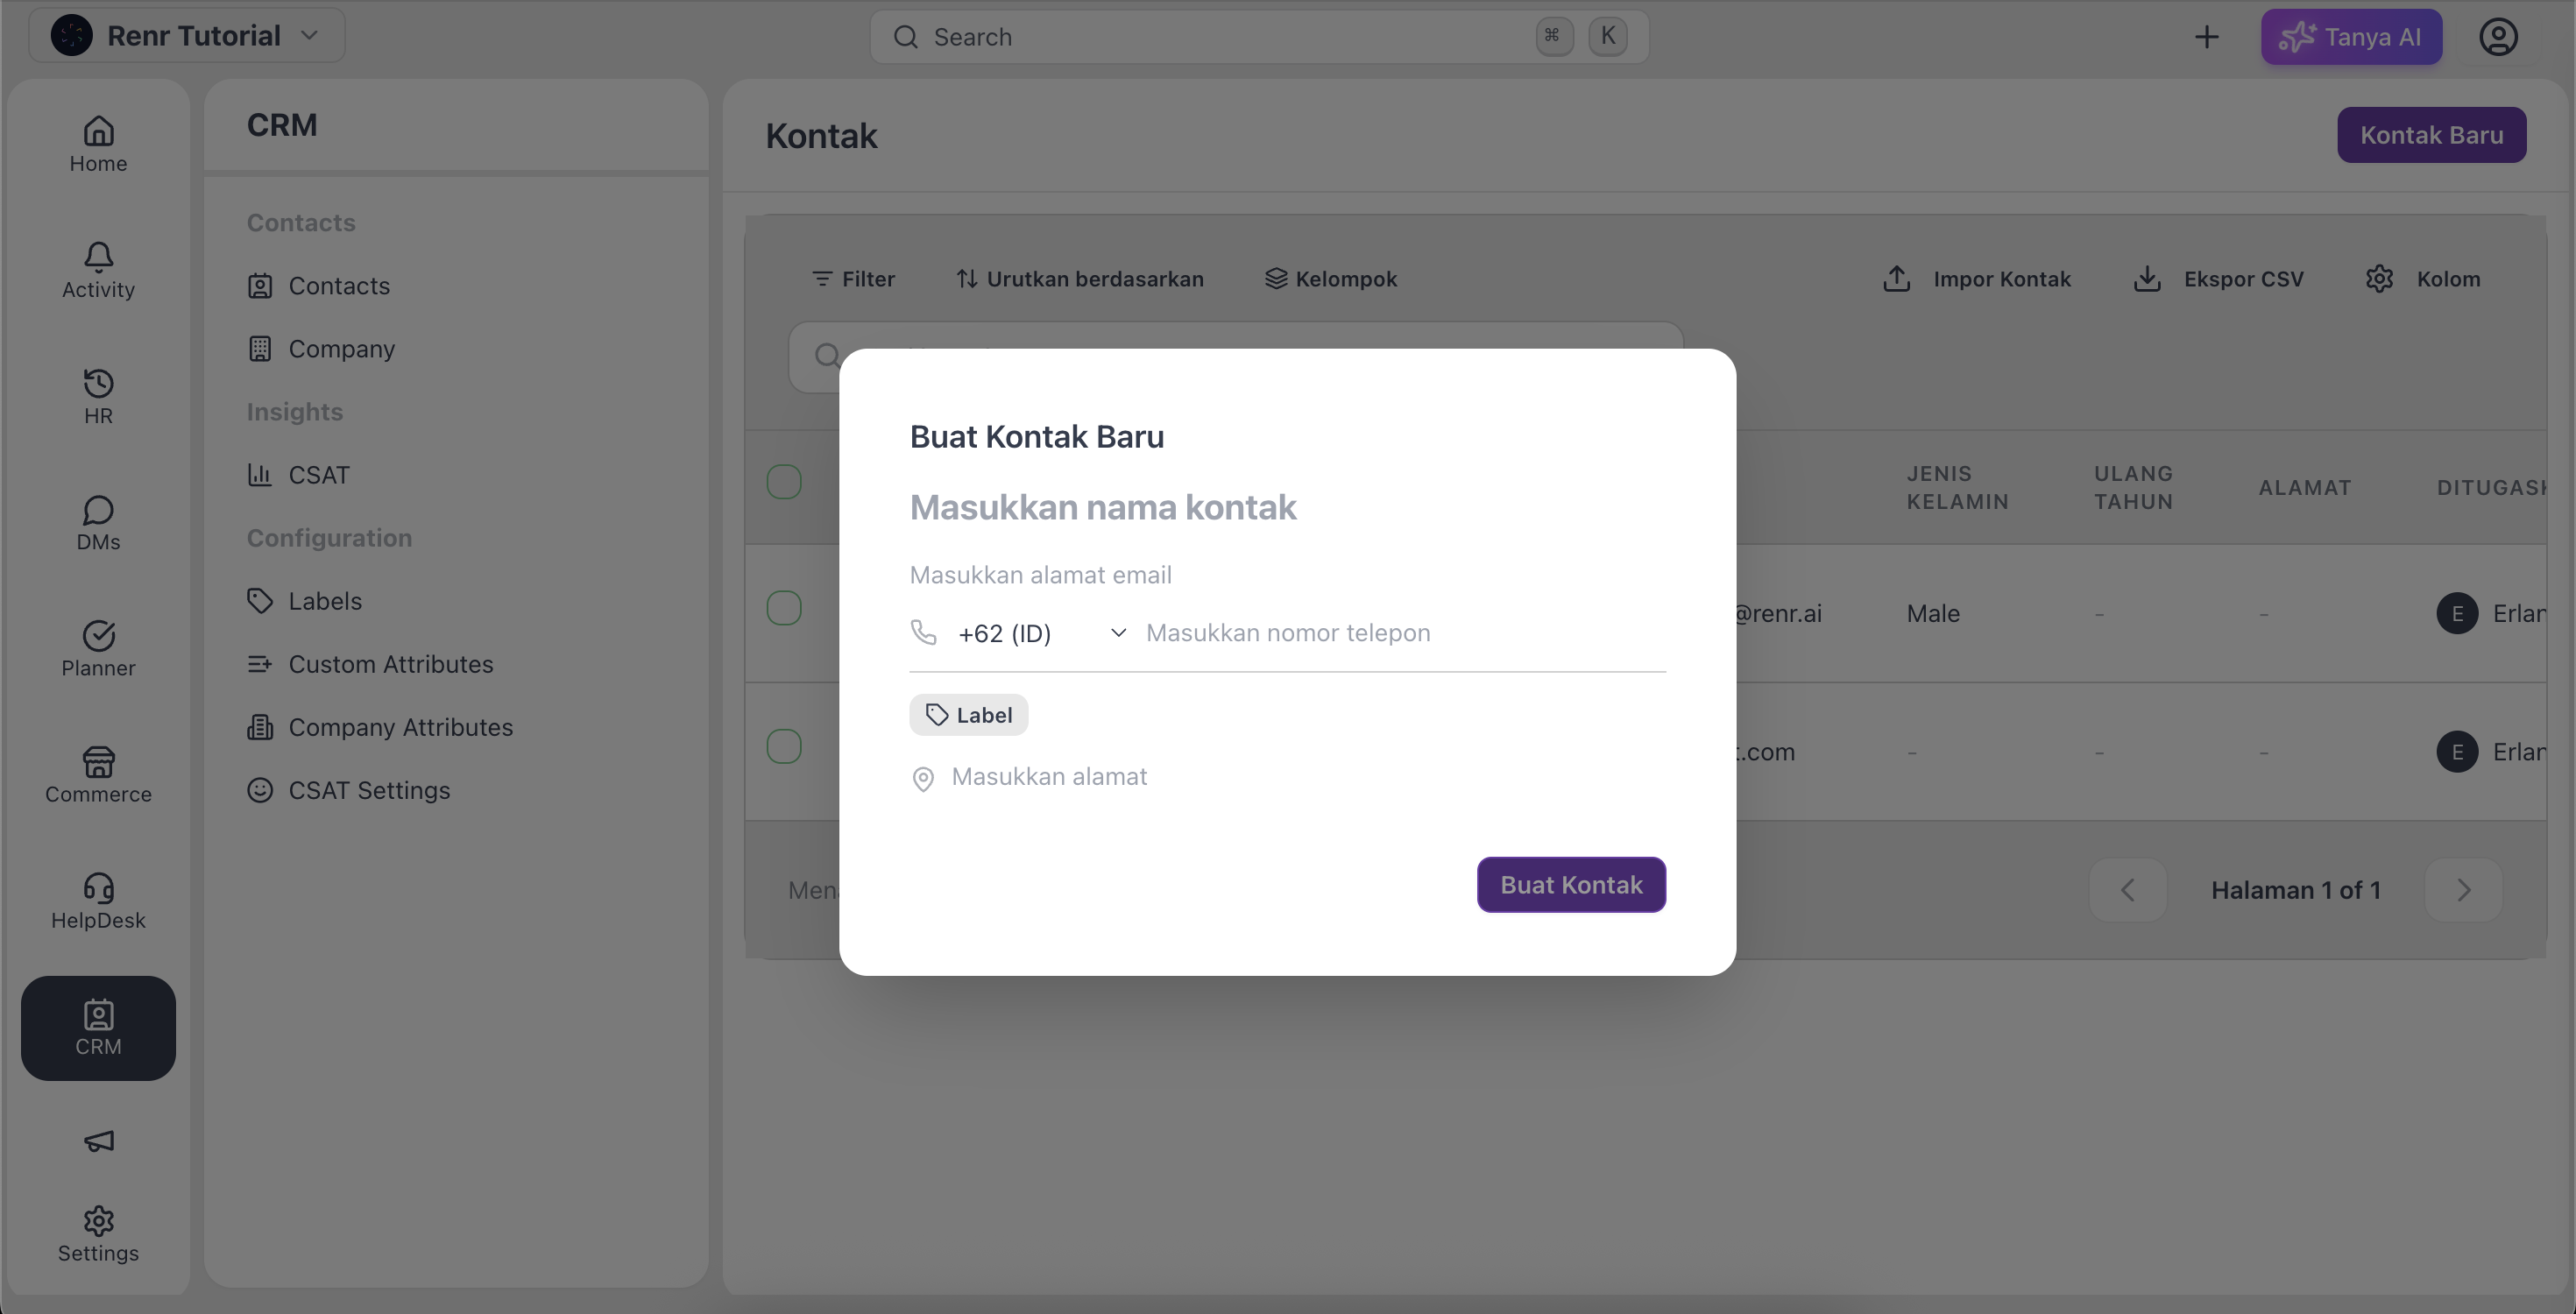
- Enter the contact's information — Name (required), Email, and Phone.
- Click Create Contact to save.
View and update contact information
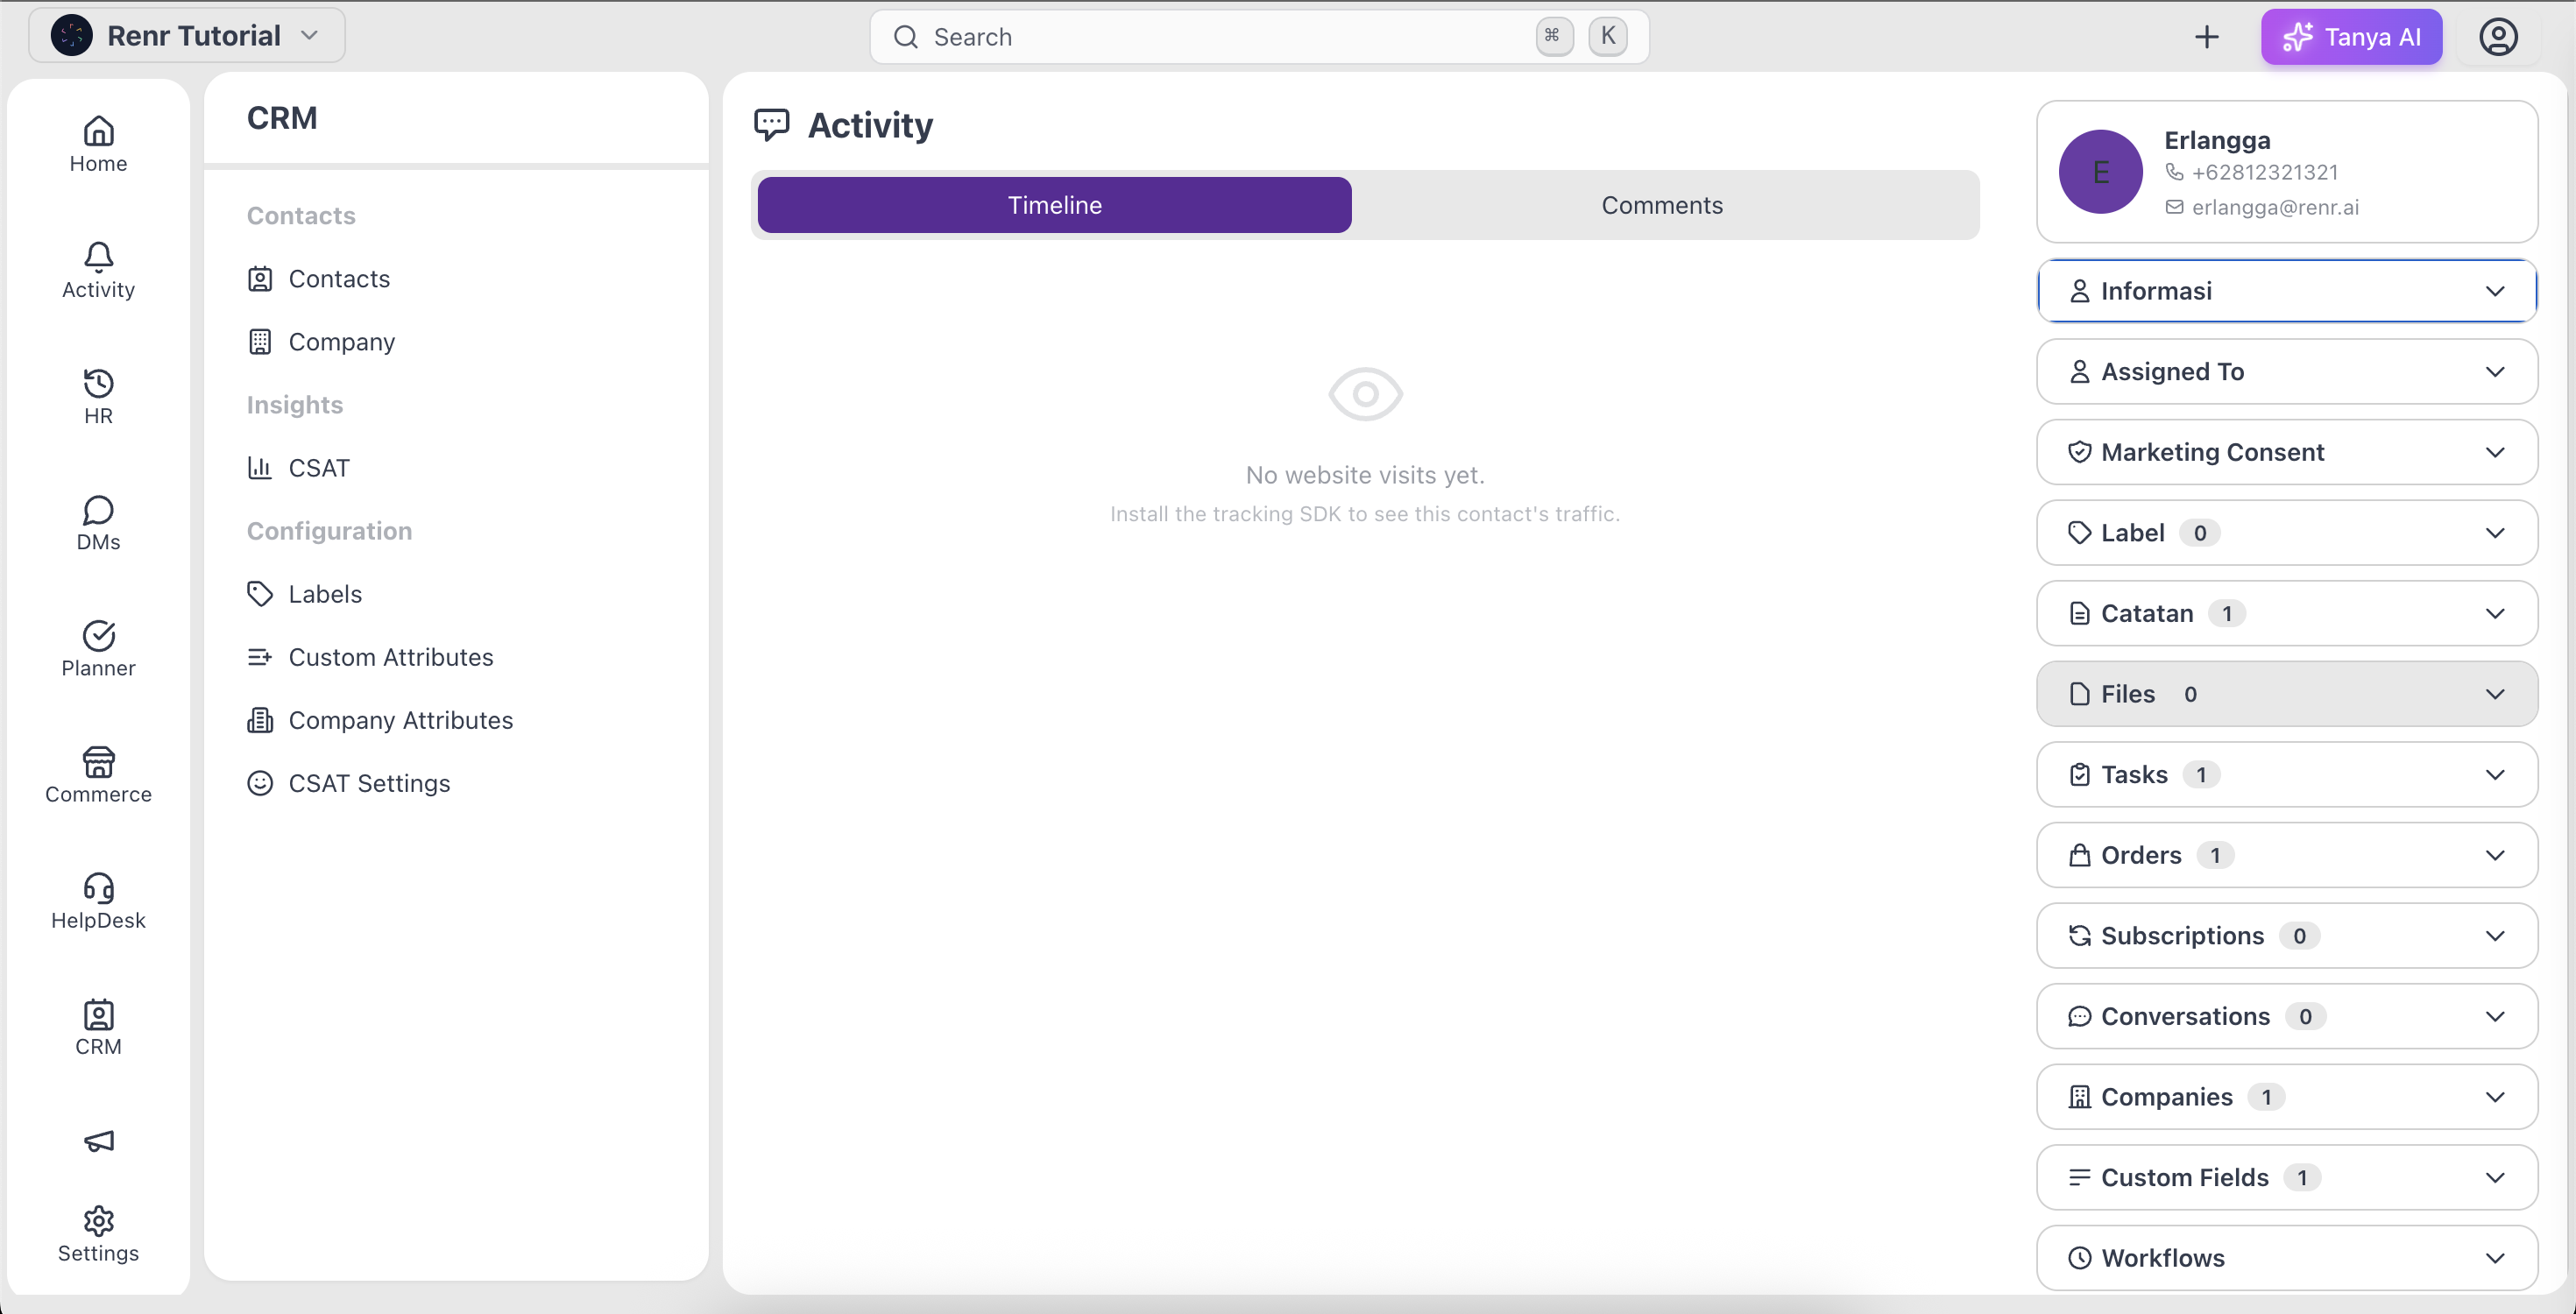
From the Contacts list, click a contact to open its full details. In the Information section you can view and update the contact's Name, Phone, Email, Gender, Labels, Address, Custom Fields, Notes, and Files. After editing, click Save Changes.
To find contacts quickly, use the Filter tool on the Contacts list:
- Choose a field such as Name, Phone, Email, or Label.
- Select a condition — Contains, Equals, Starts with, or Ends with.
- Enter your keyword and apply the filter.
Work with tasks
- From the Contacts list, click a contact to open its full details.
- Open the Tasks section to view or create tasks linked to the contact.
- Select the Space, enter the Task Title, and click Add Task. You're taken to the task view.
- Set the task details — description, dates, assignee, priority, and status (see the Planner Management guides for more).
- Close the task view to return to the contact. The task is saved automatically and stays linked to the contact.
Review activity
From the Contacts list, open a contact and click the Activity tab to see the full history related to that contact, including profile edits, tasks created or completed, notes added, and files uploaded.
Discuss and collaborate
Open a contact's details and select the Discussion tab to talk privately with your team about this contact.
- Type your internal message and send it.
- For a live conversation, click Start Voice Channel to talk in real time — with screen sharing, recording, and live transcription for collaborating with your team.
Note: Discussion messages are internal to your team and are never shown to the customer.
Import and export contacts
To add contacts in bulk, click Import Contact on the Contacts list and upload a CSV or Excel file with column headers in the first row — Name is required; Email, Phone, Address, Gender, and Tags are optional. To download your contacts, click Export CSV.
Organize with labels
Labels are color-coded tags for grouping contacts. To manage them, go to Settings > Contact Labels, click New Label, set a Name, Description, and Color, then click Create Label. Apply labels from the Labels field in a contact's Information section.
Configure custom fields
To capture information specific to your business, go to Settings > Custom Attributes for contacts, create an attribute, and choose its type (such as Text, Select, or Date). Your custom fields then appear in the Custom Fields area of every contact's detail page.