.png)
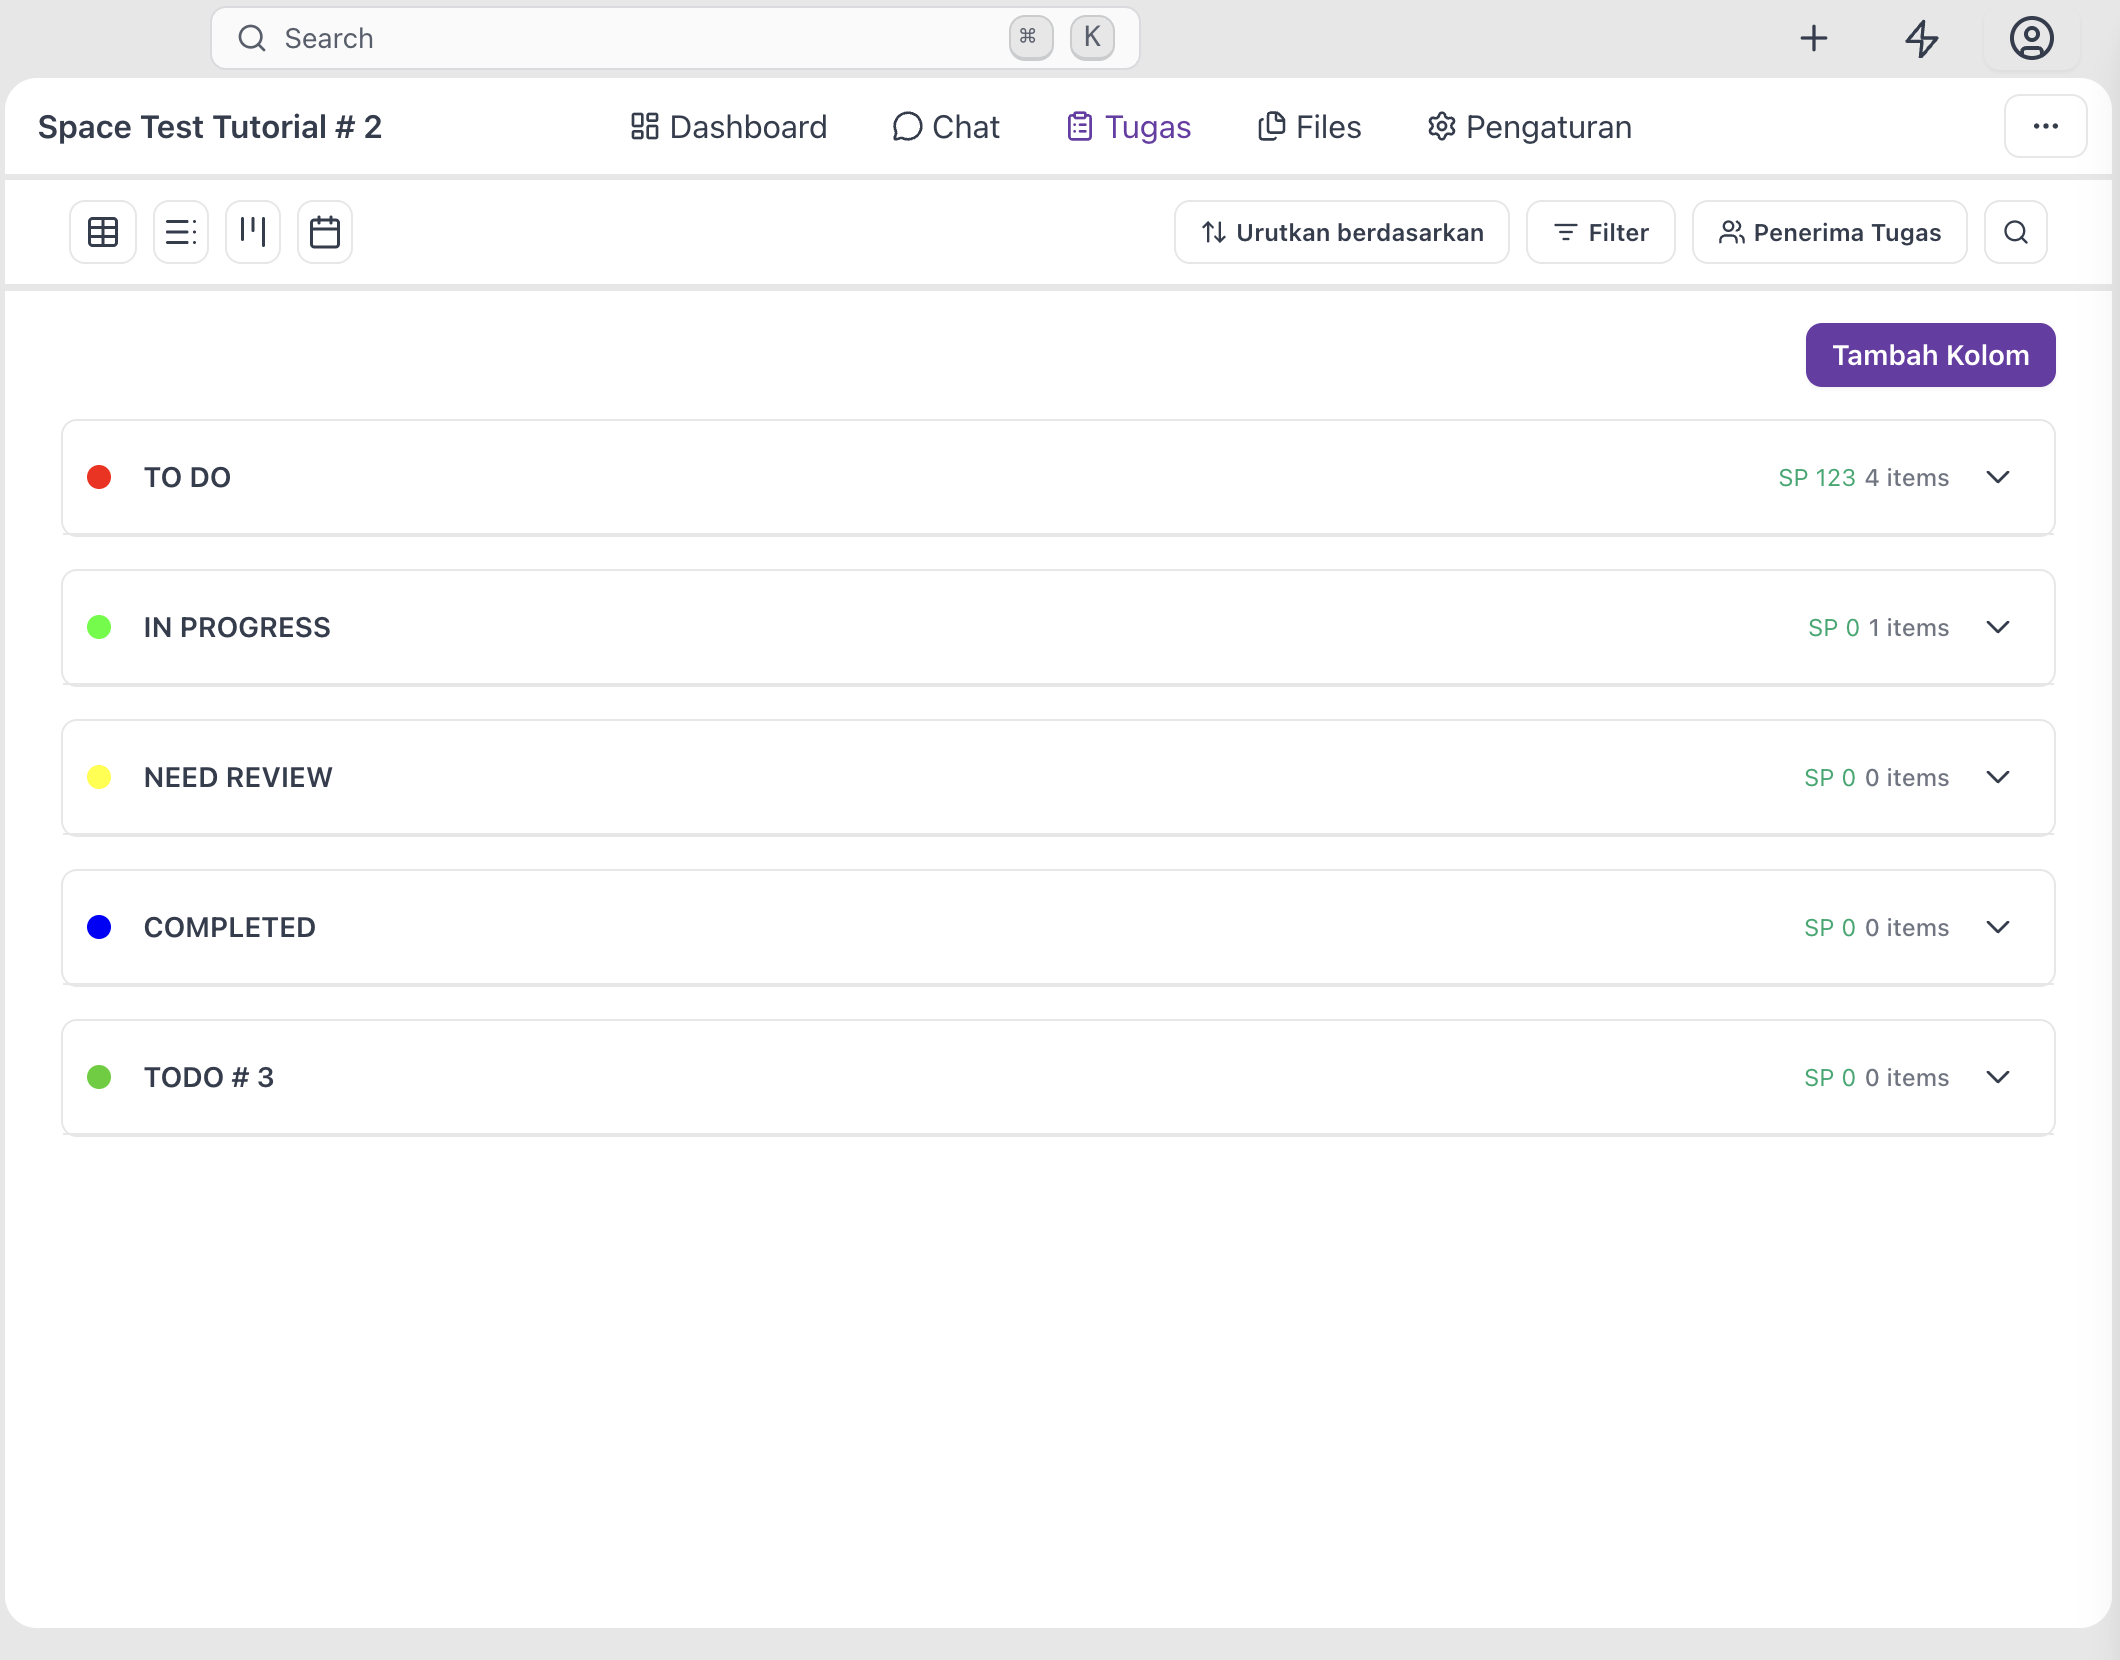
The list view displays all tasks within a space in a structured row format, grouped by their status columns for easier tracking and organization.
What you'll need
- Access to a Space — see Create a Space if you don't have one yet.
- A role that can create tasks (every role—Owner, Admin, Manager, and Member—can create tasks).
- The Task tab opens on List view.
Open Tab view
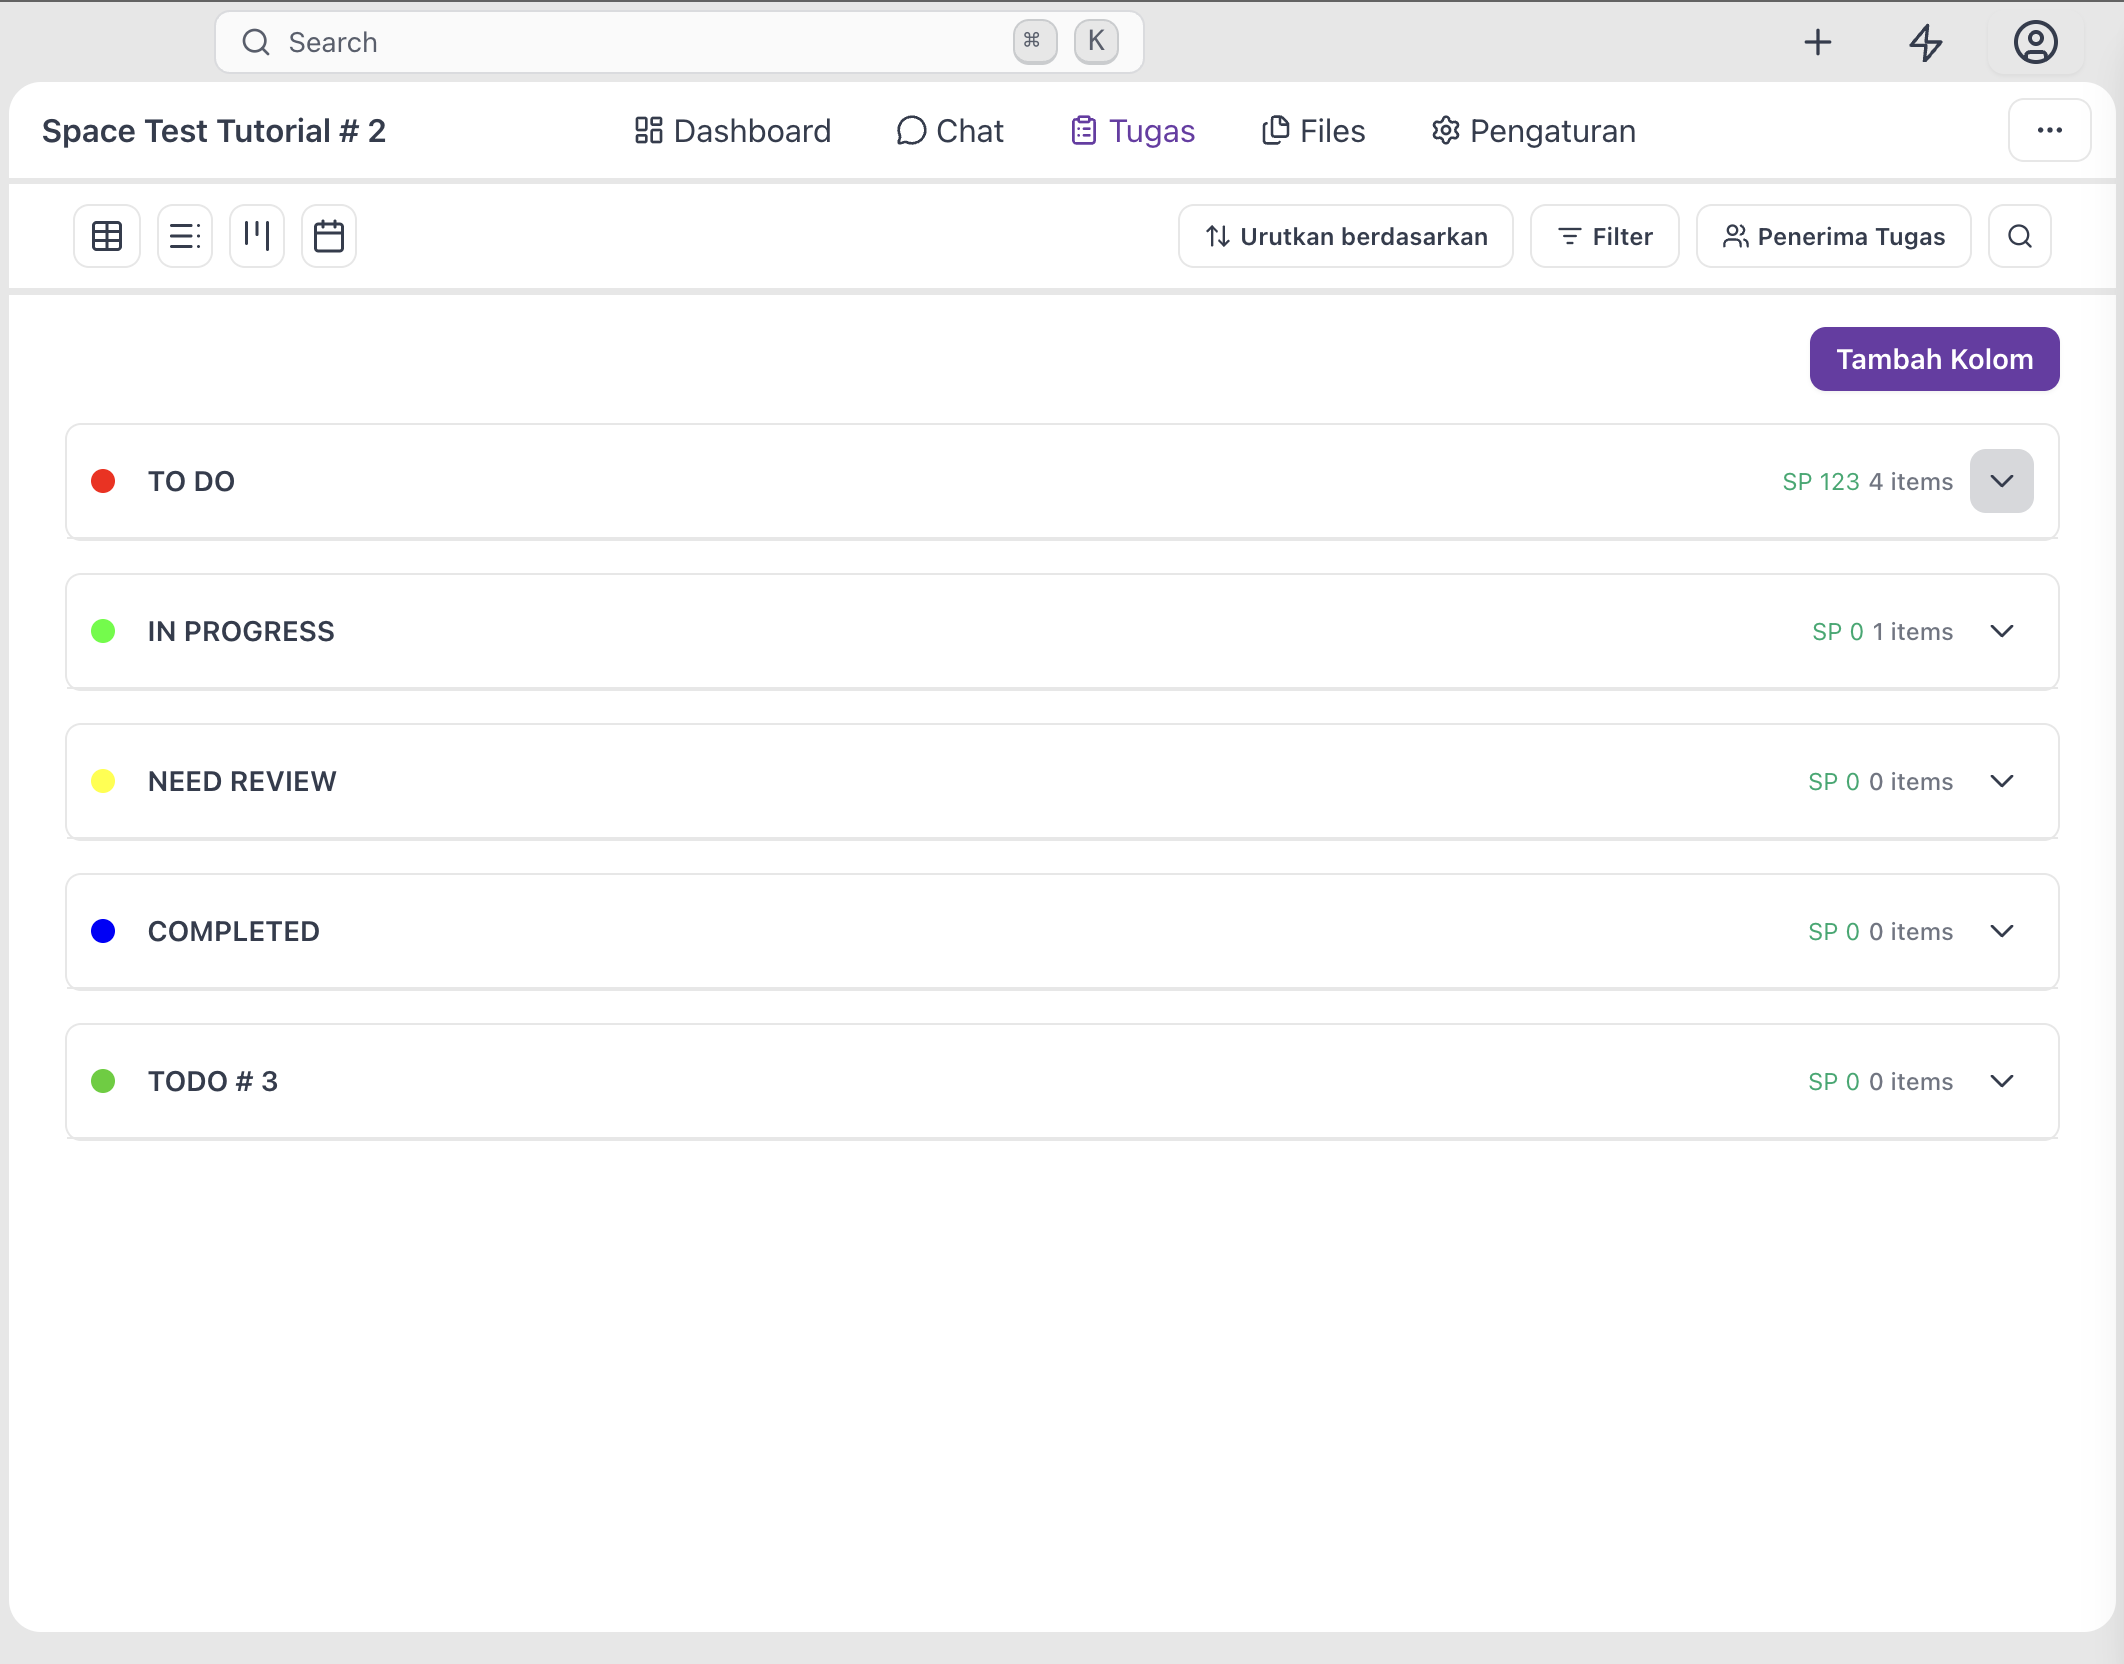
Click the Task tab in the space tab bar, then click List in the view switcher at the top.

Click the input field at the bottom of the list table to create a new task.
You can also open a status group and scroll to the bottom of the list, where you will find the inline + Add a new task row.
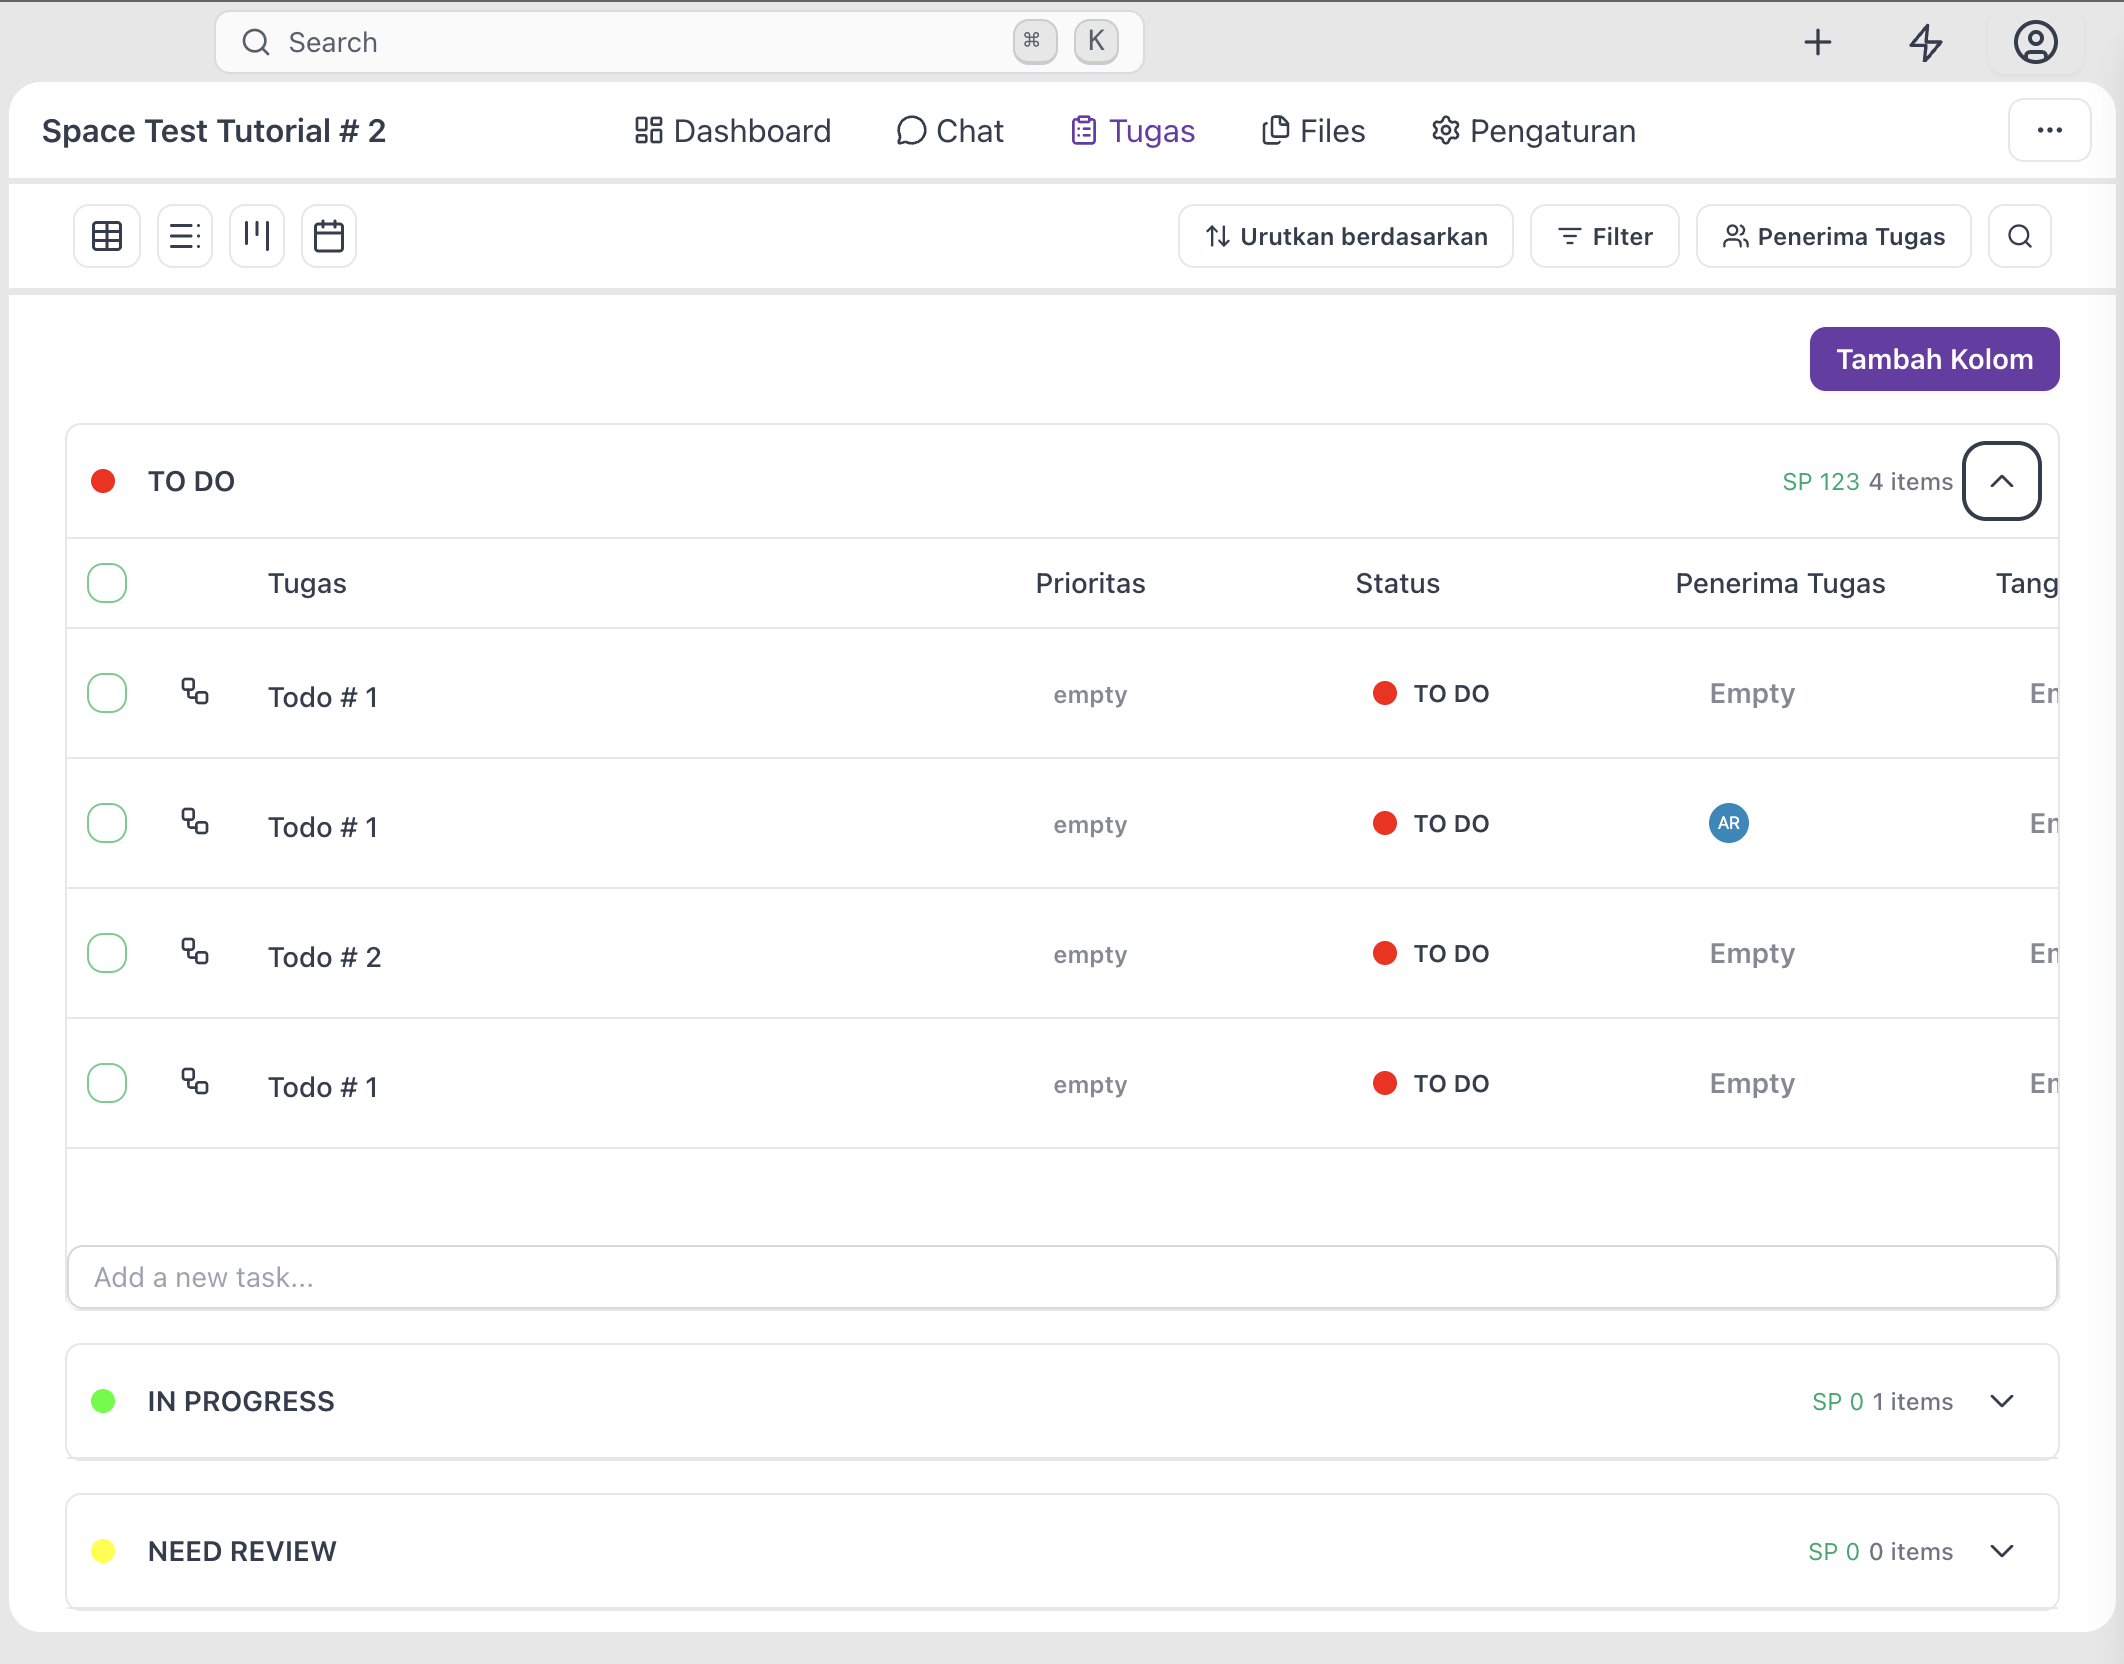
Type a title and press Enter.
The task is created in that column with no description, assignee, or due date. You can fill those in later by clicking the new card to show the detail page.
The new task appears immediately:
- As a card at the top of the column you clicked.
- In the picked space—as a card on a board, a row on a list and table, or a bar on a calendar (if start or due dates are set).
- For every assignee—in their My Tasks page.